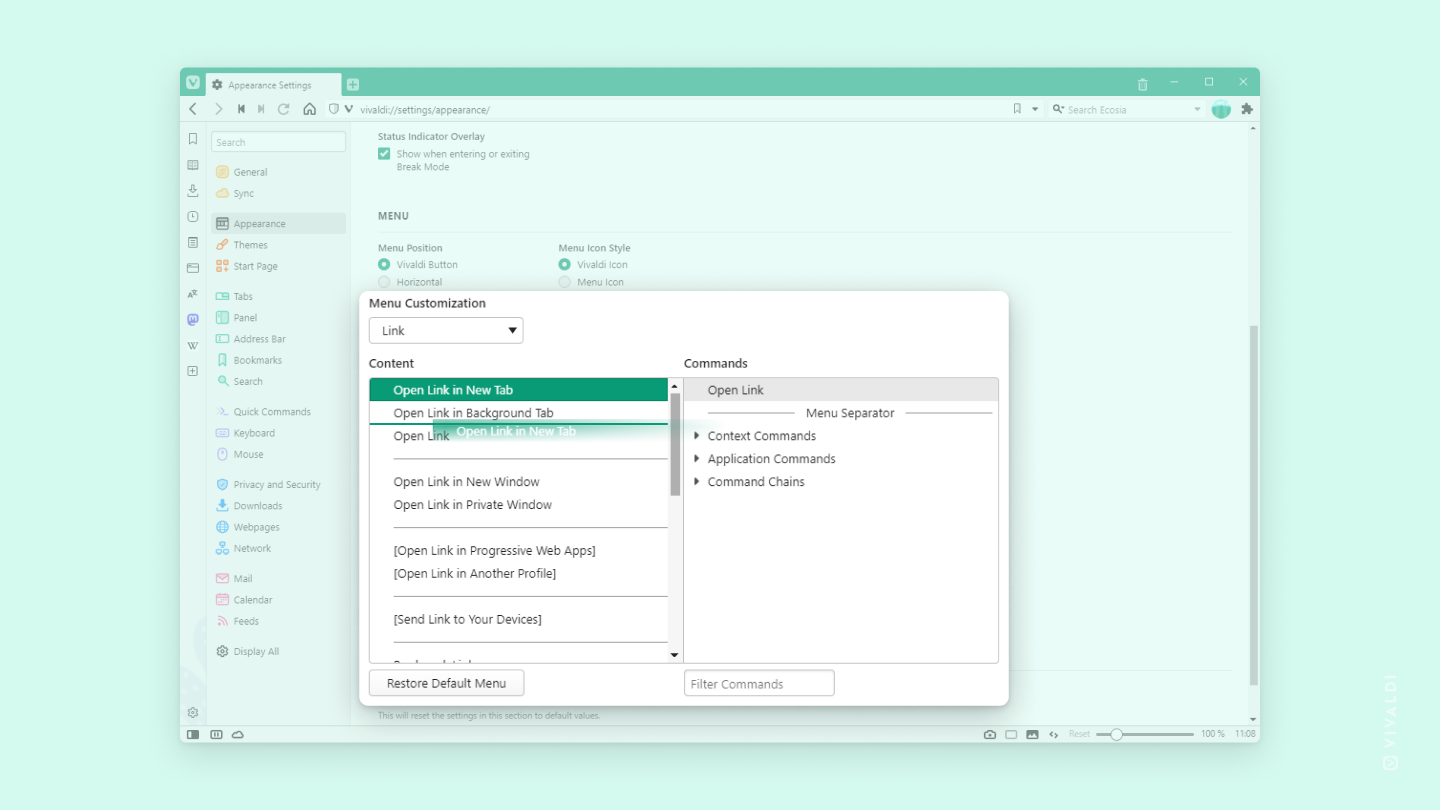
Reorder the menus to have your most used commands at your fingertips.
A browser should adapt to your needs not the other way around. And that’s what Vivaldi does by allowing you to customize its menus according to your preferences. For example, if you use Open Link in Background Tab more than you use Open Link in New Tab, why not switch their places and put the most used option at the top of the list?
To reorder menu commands:
- Go to Settings > Appearance > Menu > Menu Customization.
- From the dropdown menu, select which menu you want to edit.
- In the column on the left, drag and drop the menu items to rearrange their order.
The changes are applied immediately. If you want to scrap your changes and start again, just click on Restore Default Menu.

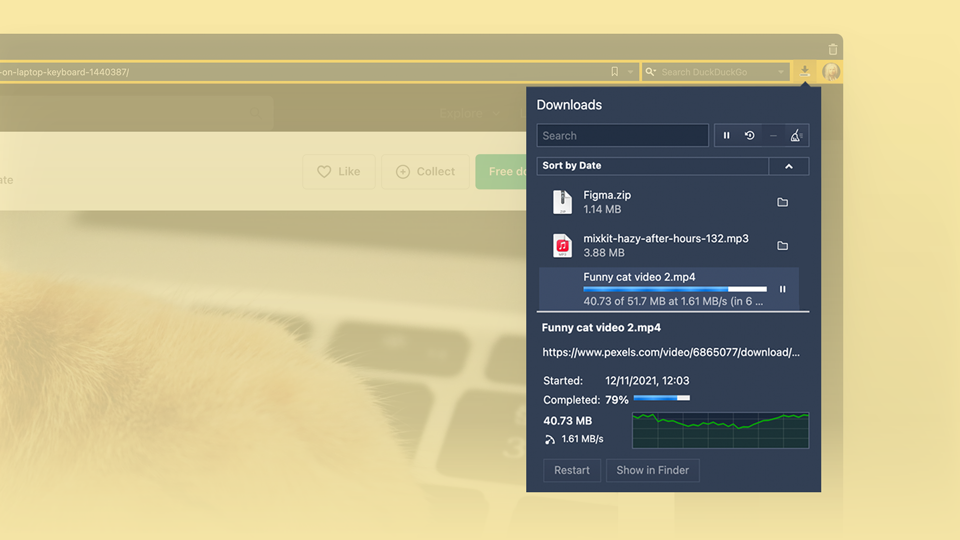
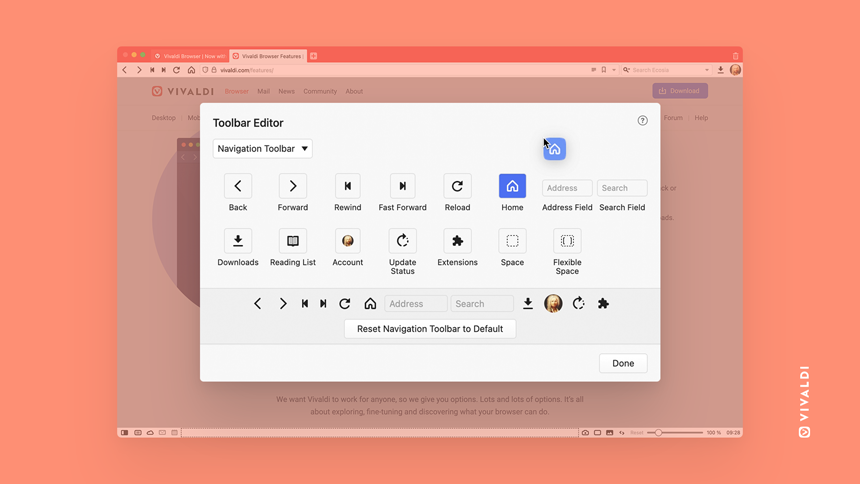
 Go to homepage button on the
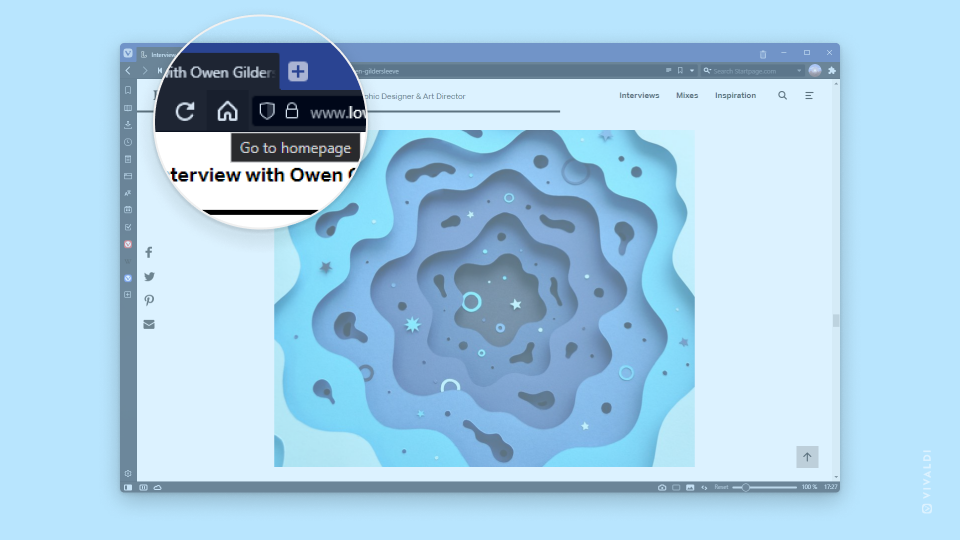
 Vivaldi menu > View > Customize Toolbar.
 Downloads.