Set a unique avatar image for each User Profile.
User Profiles are a great way to compartmentalize your browsing data (bookmarks, passwords, etc.) based on use case (personal, school, work, etc.) or when sharing the computer with someone.
To differentiate the profiles, add avatar images to each user profile. There are a few way you can do that.
Option 1
Log in to your Vivaldi account in the browser (Settings > Sync). Then your account’s profile image will be displayed as the user profile avatar image. To update your account’s profile image, go to the account’s profile on Vivaldi.net.
Option 2
Select a premade avatar image.
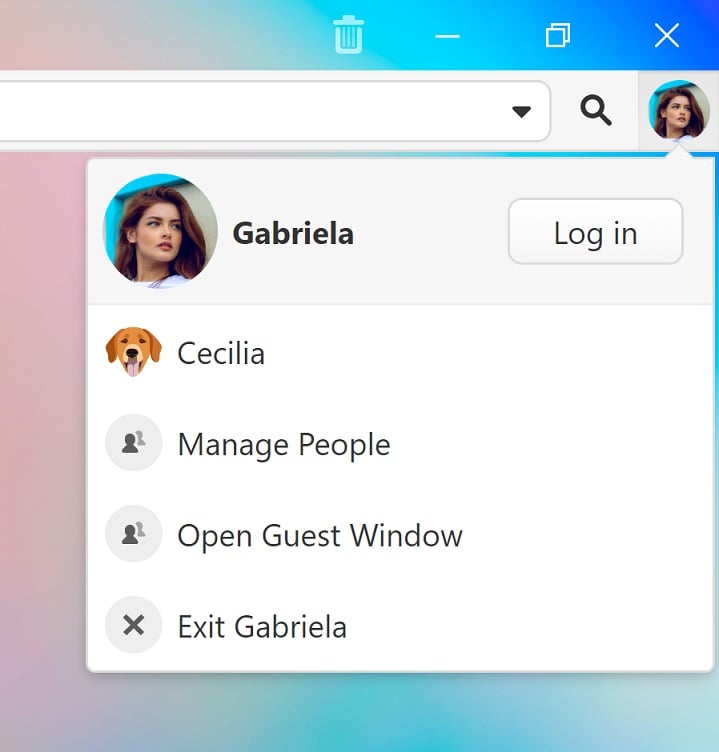
- Click on the User Profile button on the Address Bar.
- Click on the active user’s name.
- Select one from the available images.
- Click Save.
Option 3
Use your own image.
- Click on the User Profile button on the Address Bar.
- Click on the active user’s name.
- Click on the big + button (Select custom avatar image) below the profile name.
- Find the image from your File Manager/Finder.
- Click Save.