Replace icons on menu buttons with text labels in your Vivaldi.net blog’s editor.
Having too many icons can sometimes make things confusing. To make it clear what one or the other button on your Vivaldi blog editor’s menus does, you can opt to display text labels instead of icons.
To switch from icons to text:
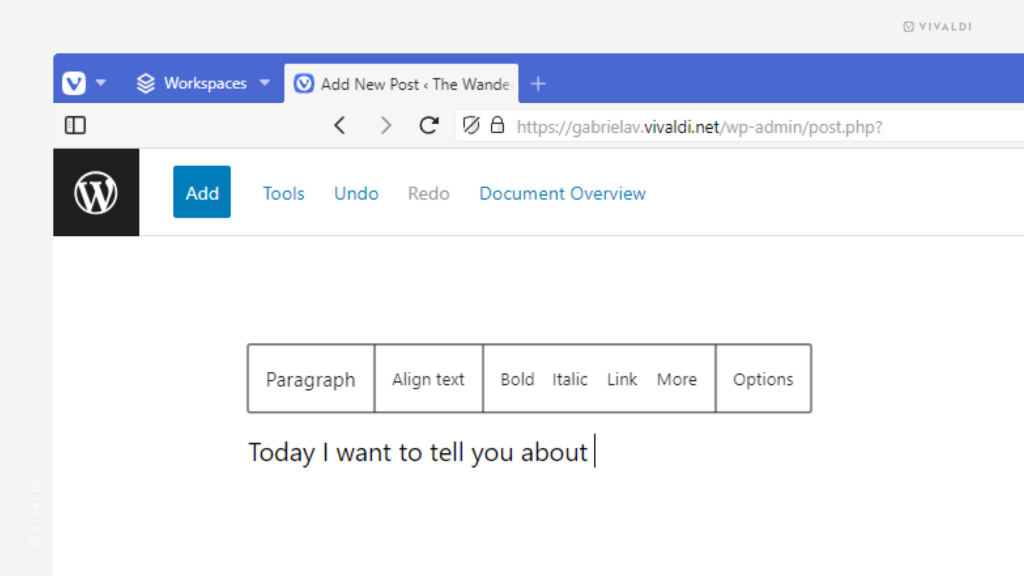
- Open the blog post editor on your Vivaldi.net blog.
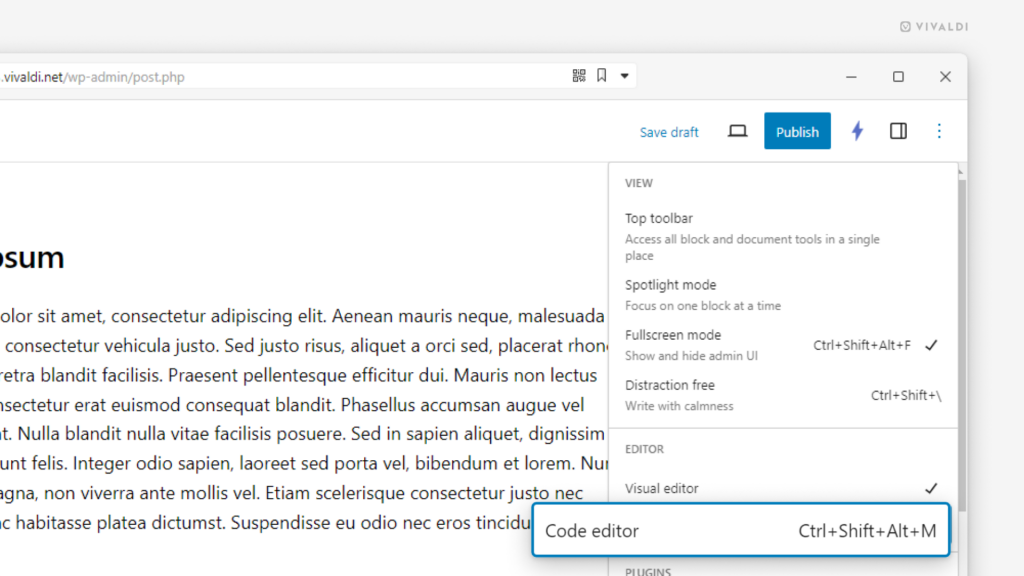
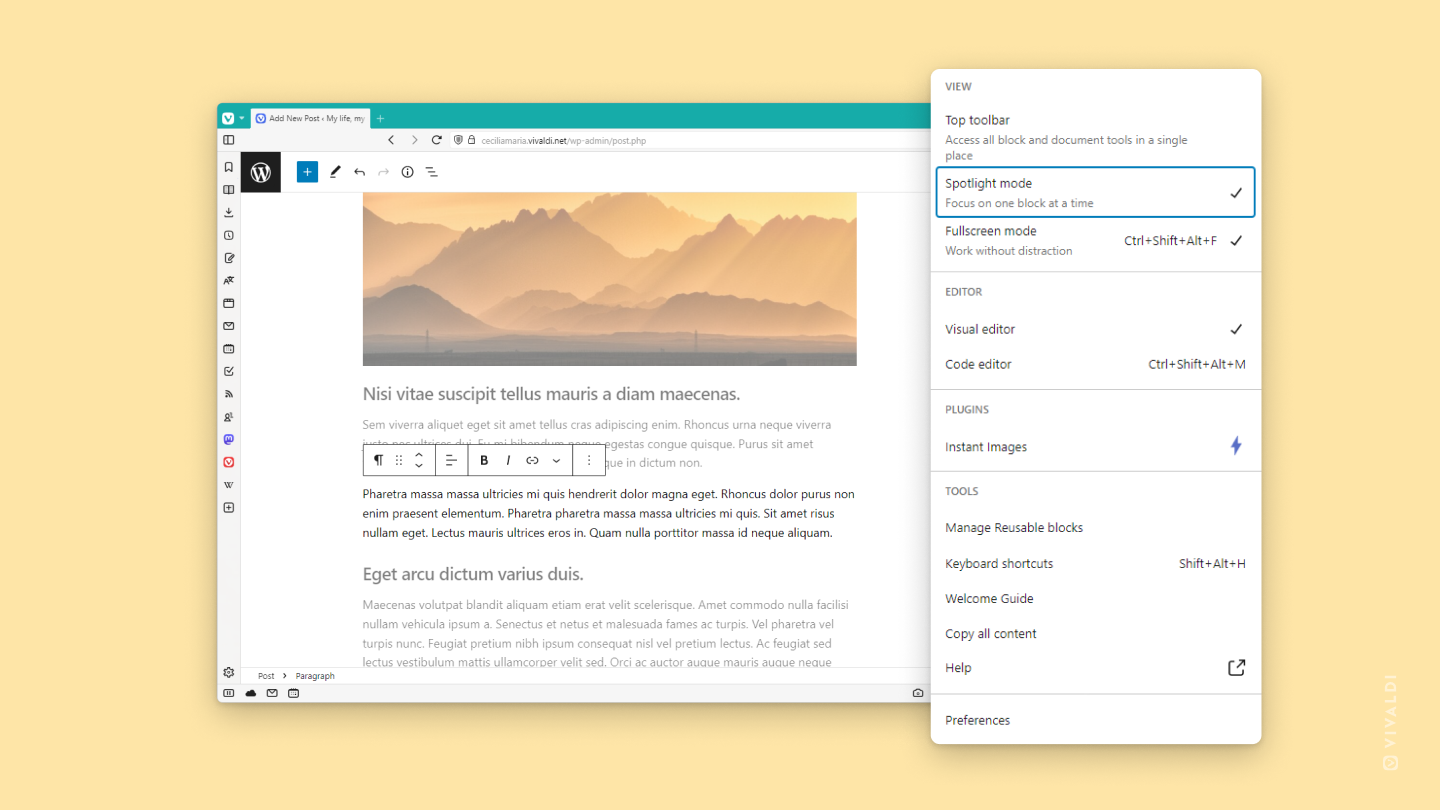
- Click on the
 Options menu in the top right corner.
 - Select Preferences.
- In General > Appearance, toggle on “Show button text labels”.