Tip #139

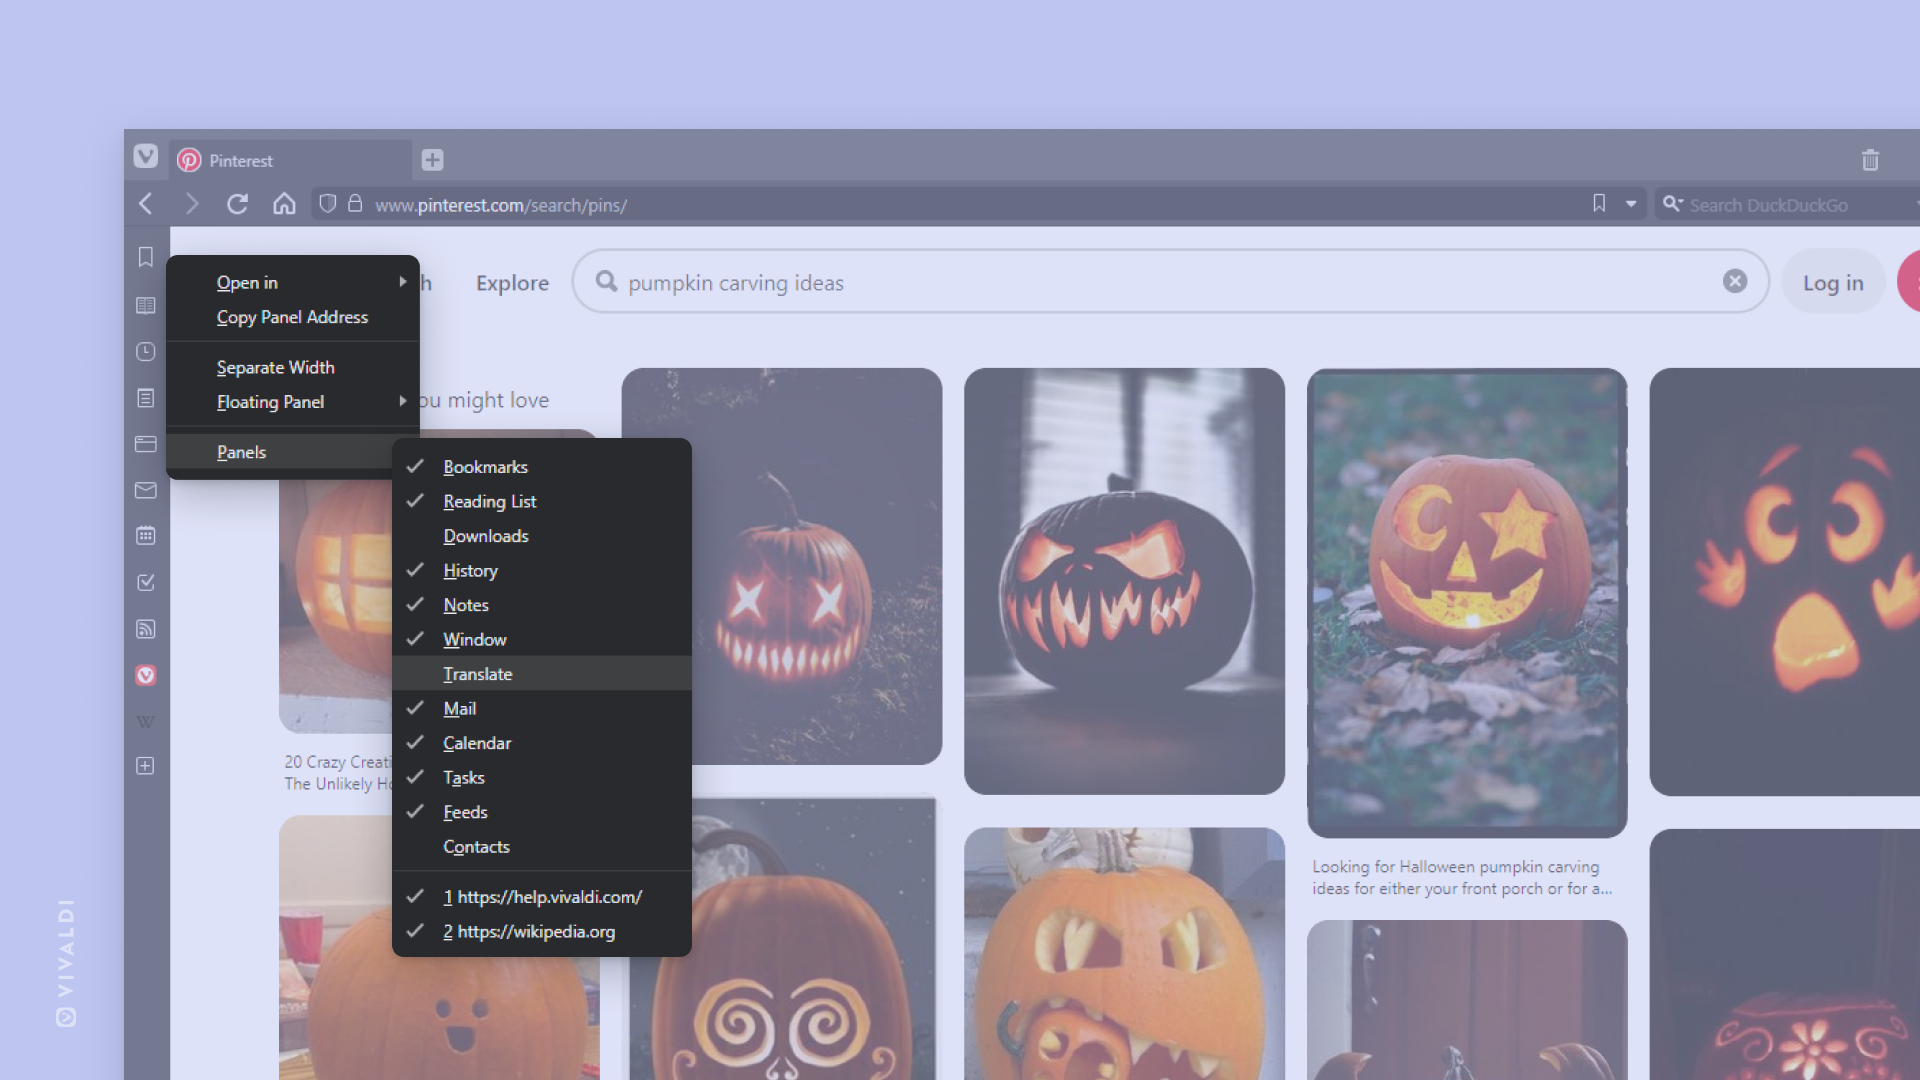
Clean up the user interface by leaving only the important Panels visible.

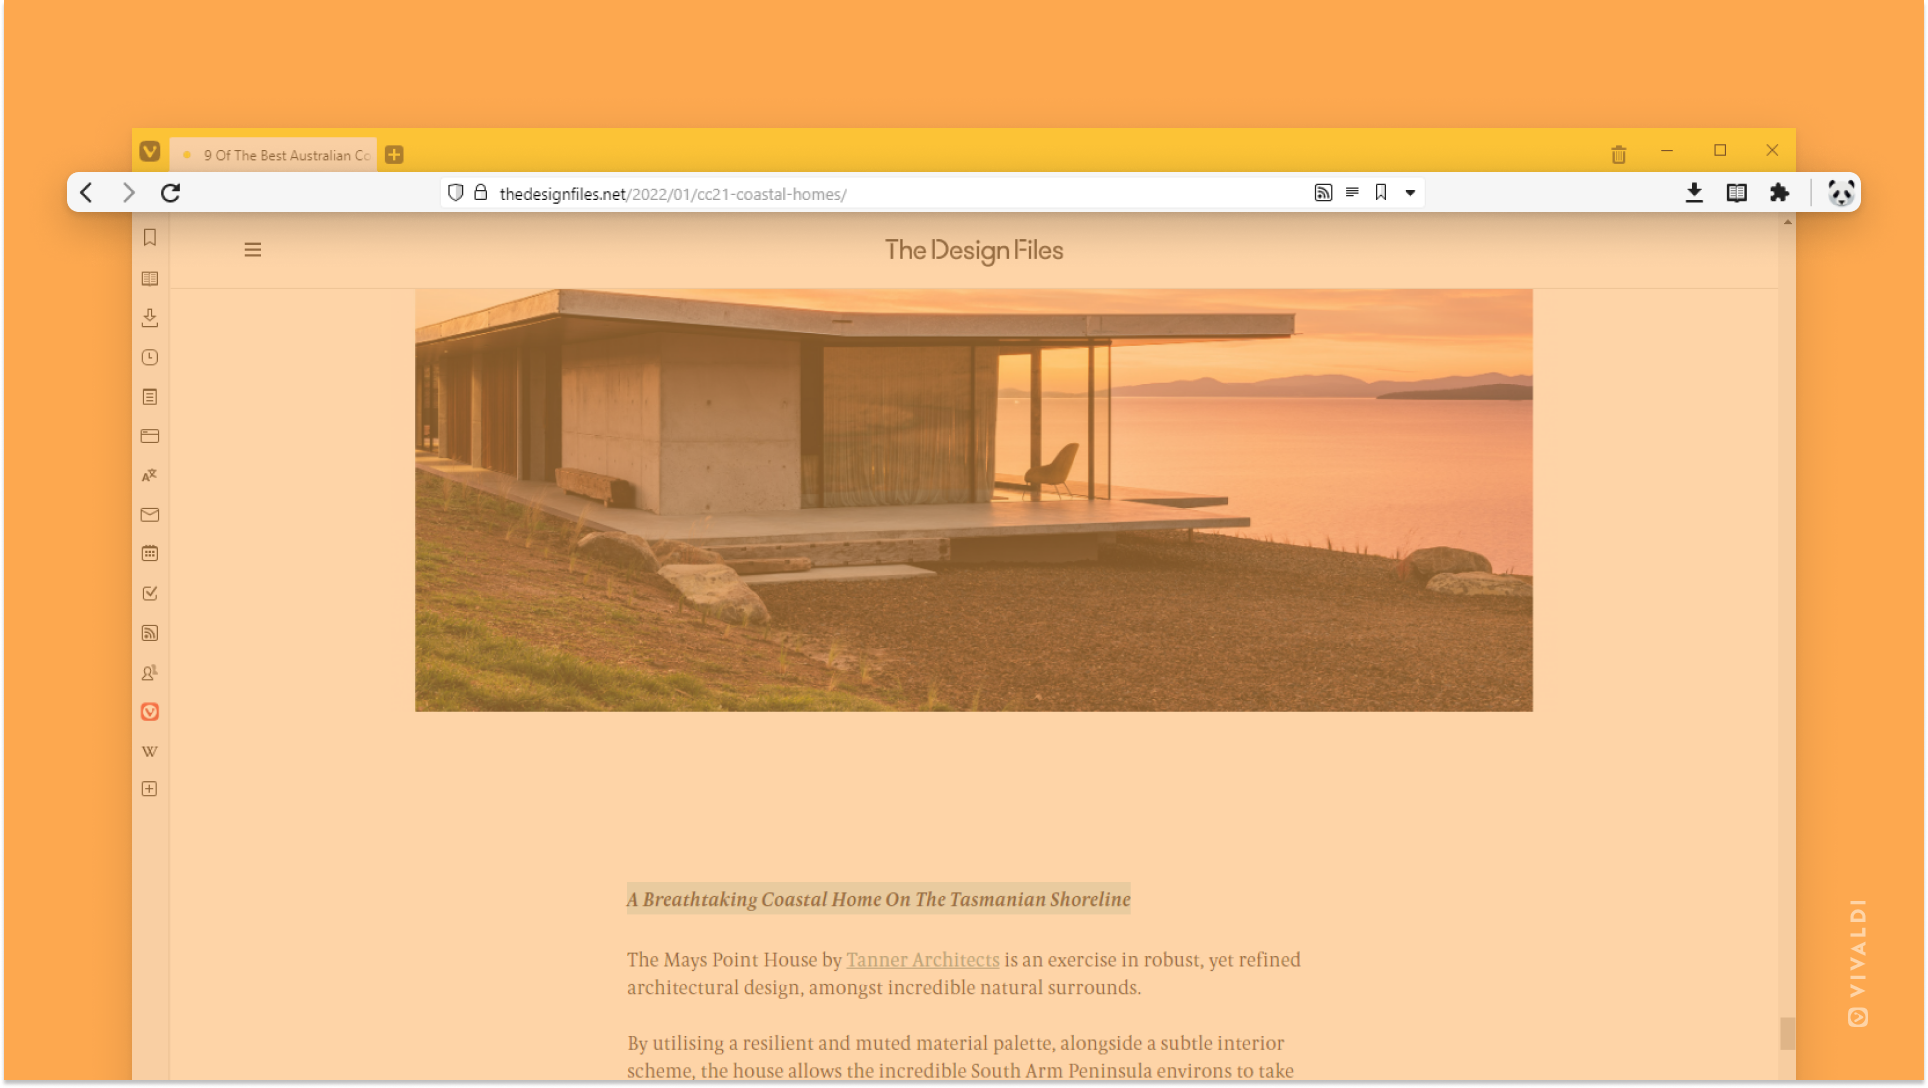
Many of Vivaldi’s key features, such as Bookmarks, Notes, Mail and your Web Panels, can be accessed from the browser’s sidebar. If you’re not using all these features, consider hiding the Panels you don’t need.

To toggle the visibility of a Panel:

  1. Right-click on any of the Panels.
  2. Hover over the Panels option in the context menu.
  3. Click on the panel you want to hide or show, if you’ve hidden it in the past.

Panels and Web Panels that are hidden don’t have a check mark in front of their name.

Top right corner of Vivaldi Browser window with Panels context menu open.

Tip #138

If you’re not a fan of the slider, opt for buttons in range controls.

If dragging a slider, for example, to zoom in on a web page doesn’t feel quite right for you, go to Settings > Appearance, enable Use Buttons in Range Control and see if that works better. Then you can do the changes by clicking the + and – buttons.

Range controls are used for the following settings:

  • Adjust web page or tab zoom levels in the bottom right corner of the browser window.
  • Change the size of the user interface.
  • Limit accent color saturation and color contrast in the Themes editor.
  • Change active tab’s minimum width on the Tab Bar.
  • Choose the delay time for tab stacking when using the drag and drop method.
  • Set minimum stroke length for mouse gestures.
  • Update default web page zoom.
  • Adjust font settings for Reader View.

Tip #137

Bookmarks can be added to Vivaldi from menus, with shortcuts and more. Find your favorite!

Everyone can find their preferred method of adding bookmarks in Vivaldi. See the list below and try them all to see which ones you like best.

  • Click on the  Bookmark Page button on the right side of the Address Field.
  • Use the Keyboard Shortcut Ctrl+D / ⌘ D.
  • Type “Create Bookmark” in Quick Commands.
  • Select Add Active Tab in the Bookmark Menu.
  • Right-click on the web page and select Bookmark Page from the context menu.
  • Right-click on the web page’s tab on the Tab Bar and select Bookmark Tab from the context menu.
  • Right-click on a bookmark folder or empty area in the Bookmark Panel or on the Bookmark Bar and select Bookmark Active Page.
  • Drag the link (starting from  Site info button on the Address Bar) to the destination folder in the Bookmark Panel or Bookmark Bar.
  • Create a Mouse Gesture for the action.
  • Add one manually in the Bookmark Panel or Bookmark Manager.
  • Click Add New Speed Dial on the Speed Dial on the Start Page to create a Speed Dial bookmark.
  • Right-click on an empty area on the Speed Dial and select Add Bookmark to Speed Dial, if you’ve hidden the button Add button.

Tip #136

Enable “Stay in browser” on Android to prevent links from opening in external apps.

Usually, in Vivaldi for Android when you’re opening a link that you have an app for, the link will try to open in the app. If you’d prefer to open links in the browser, you can enable a setting for it. To do that:

  1. Go to the Vivaldi menu > Settings > Web Pages.
  2. Toggle on Stay in browser.

Then, when you come across, for example, a YouTube link, the video will open in Vivaldi instead of triggering the YouTube app to open.

Tip #135

Customize your Vivaldi blog’s editor to support your writing habits.

It’s not just the Vivaldi browser that’s highly customizable. You can also tweak many settings in the WordPress based blogging platform.

To customize your Vivaldi blog’s editor:

  1. Go to blogs.vivaldi.net and log in to your account.
  2. Click on Write a new post below your profile picture in the top right corner.
  3. In the post editor, click on Options in the top right corner to open the menu with some useful options.
  4. To customize the editor’s look and available components, click on the last item on the menu – Preferences.

In Preferences you can change settings for:

  • Publishing,
  • Appearance,
  • Block Interactions,
  • Visible Blocks,
  • Document Settings,
  • and more.
Vivaldi blog post editor with Preferences window open on the Blocks section.

Tip #134

Mail list on the left and message on the right? Or mail list on top and message at the bottom? The choice is yours!

Vivaldi Mail offers 3 layouts for you to choose from. Opt for the one that supports your workflow best.

To switch layouts:

  1. Go to Settings > Mail > Mail Settings > Mail View Layout;
  2. Select between:
    1. Vertical,
    2. Vertical Wide, and
    3. Horizontal.

Alternatively, click on the Toggle View button in the top right corner of the Mail tab.

Vertical Mail View Layout
Vertical Wide Mail View Layout
Horizontal Mail View Layout

Tip #133

Adjust User Interface and Tab zoom for more comfortable browsing.

There’s no need to strain your eyes with Vivaldi. If the buttons on the toolbars are too small and text uncomfortable to read, increase the zoom levels to see them better. If you’d like to make the user interface and webpages smaller, you can do that too.

To adjust user interface zoom:

  1. Go to Settings > Appearance > Window Appearance > User Interface Zoom.
  2. Use the slider or + and – buttons to change the zoom level.

To also change the size of the content on web pages.

  1. Go to Settings > Webpages > Default Webpage Zoom.
  2. Use the slider or + and – buttons to change the zoom level.

Take a look at the Help page about Zoom options in Vivaldi to learn about other zooming methods.

Vivaldi window with user interface and tab zoom at 100%.
Vivaldi window with user interface and tab zoom at 200%.

Tip #132

Choose the most relevant output for screen captures.

Vivaldi’s Capture tool is a convenient way to take screenshots of either full web pages or of sections of the page. On Desktop you also have the option to store the capture in your preferred format.

To capture a screenshot:

  1. Click on Capture Page on the Status Bar or use your preferred shortcut.
  2. Select whether you want to capture a small area or the whole page.
  3. Then select the output format:
    • Save as JPG,
    • Save as PNG,
    • Save to clipboard,
    • Create a new note from the capture.
  4. If you chose to capture a selection, define the capture area.
  5. Click Capture.

The first two output options will save the file automatically in the location defined in Settings > Web Pages > Image Capture > Capture Store Location. Saving to clipboard allows you to paste the screenshot in a document, chat, etc. without needing to take additional steps. Creating a note will attach the screenshot to a new untitled note, which you can view and edit in the Notes Panel or Notes Manager.

Bottom right corner of the Vivaldi Browser window with Capture tool's menu open. Output dropdown menu has been opened to show the selection of output options.

Tip #131

Use Shift + arrow keys to navigate between links and elements on web pages.

To focus on the next and previous elements on a web page, you can use the Tab and Shift+Tab keys, respectively. Depending on your goal, that might result in having to press the same key or key combination many, many times.

You can navigate faster through the whole page with just the keyboard using Spatial Navigation. While holding down the Shift key press the arrow keys to move to elements left, right, above and below the currently highlighted element (has an orange border around it). When you’ve focused, for example, on a link on the page, press Enter to open it.

Tip #130

Hide lesser used Extensions to declutter the Address Bar.

Vivaldi has an abundance of features that help you rely less on third-party Extensions, but you may still wish to use some extensions. You can declutter the Address Bar by hiding extensions you don’t use very often or don’t need to interact with via their button on the Address Bar.

To hide an extension:

  1. Right-click on the extension button on the Address Bar.
  2. Select Hide Button from the context menu.

To show/hide hidden extensions, click on the Extensions button.

By default hidden extensions are displayed on the Address Bar. If you wish to see them in a drop-down menu like on the screenshot below, go to Settings > Address Bar > Extension Visibility and enable Expand Hidden Extensions to Drop-Down Menu.

Vivaldi browser window, with the top right corner magnified to show extensions displayed on the Address Bar and others hidden in a drop down menu.

Tip #129

Change the visible hours in Vivaldi Calendar to match your average day length.

If you’re an early bird you might want to your days in the Calendar to start earlier too or vice versa, later, if you’re a night owl.

To change the start and end hours and thus also the length of the day:

  1. Go to to Settings > Calendar > Calendar Display > Visible Day Hours.
  2. Choose the hours the day starts and ends with.

Then, in Day and Week views, the day starts and ends with your chosen hours. For example, at 4:00 in the morning as on the screenshot below. All hours outside your day will be collapsed. To show collapsed hours as well, untick the box for Collapse Excluded Hours in Visible Day Hours setting.

Vivaldi Calendar with changed Visible hours.

Tip #128

Enable Tab Thumbnails to get a visual preview of the Tab’s content.

With a visual preview of tabs on the Tab Bar, it’s easier to find the tab you’re looking for, as you can rely on recognizing the page content in addition to reading tab titles.

To enable Tab Thumbnails:

  1. Go to Settings > Tabs > Tab Options.
  2. Enable Show Tab Thumbnails.

In case you have too many tabs open or only sometimes want to see the thumbnails, create a Keyboard Shortcut or a Mouse Gesture to quickly toggle the thumbnails on and off. Alternatively, you can rely on Popup Thumbnails that appear when you hover over a tab.

Vivaldi Window with a vertical Tab Bar and visible Tab Thumbnails.
Tab Thumbnails enabled on a vertical Tab Bar.

Tip #127

Add empty space to the Address Bar to resize the Address Field.

Address Field takes up all available space that’s left over from buttons and other components on the Address Bar. On a larger screen the Address Field can get quite long. You can resize and center the Address Field by adding empty space on both sides, thus making the Address Field easier to access and the overall look a bit cleaner.

To add space to the Address Bar:

  1. Go to Vivaldi menu > View > Customize Toolbar.
  2. Make sure Navigation Toolbar is selected in the editor.
  3. Find the Flexible Space component and drag it to both sides of the Address Field.
  4. When you’re done, click outside the editor window to exit.
Vivaldi window, highlighting the customized Address Bar that has space on both sides of the address field.

Tip #126

Enable “Always Show Controls” to keep toolbars visible on Vivaldi for Android.

When you scroll down on a page in Vivaldi’s Android app, the Tab Bar, Address Bar and bottom toolbar will be hidden automatically to free up screen real estate on the mobile devices’ smaller screen. When you scroll up, the toolbars will be displayed again.

If you’d rather keep the toolbars visible at all times:

  1. Go to  Vivaldi menu > Settings > Appearance.
  2. Toggle on Always Show Controls.