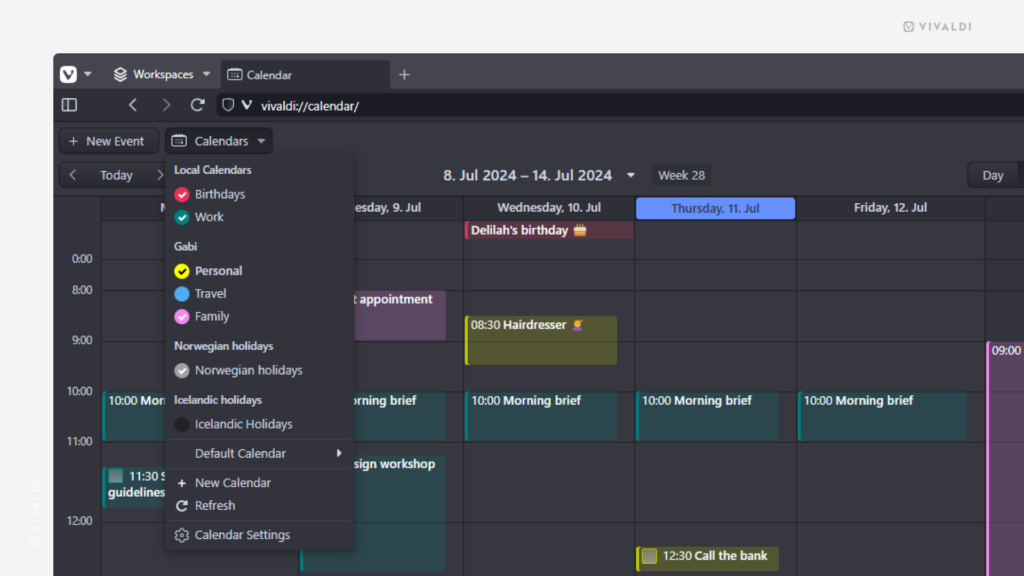
Hide unneeded calendars in Vivaldi Calendar temporarily from view.
When you’re trying to get an overview of what’s planned in a certain aspect of your life, hiding irrelevant events and tasks from view in the Vivaldi Calendar helps to focus on what’s important at the moment.
To toggle the visibility of calendars in the main calendar view:
- Click on “Calendars” in the top left corner of the page.
- Click on the calendar’s name to hide/show its events.
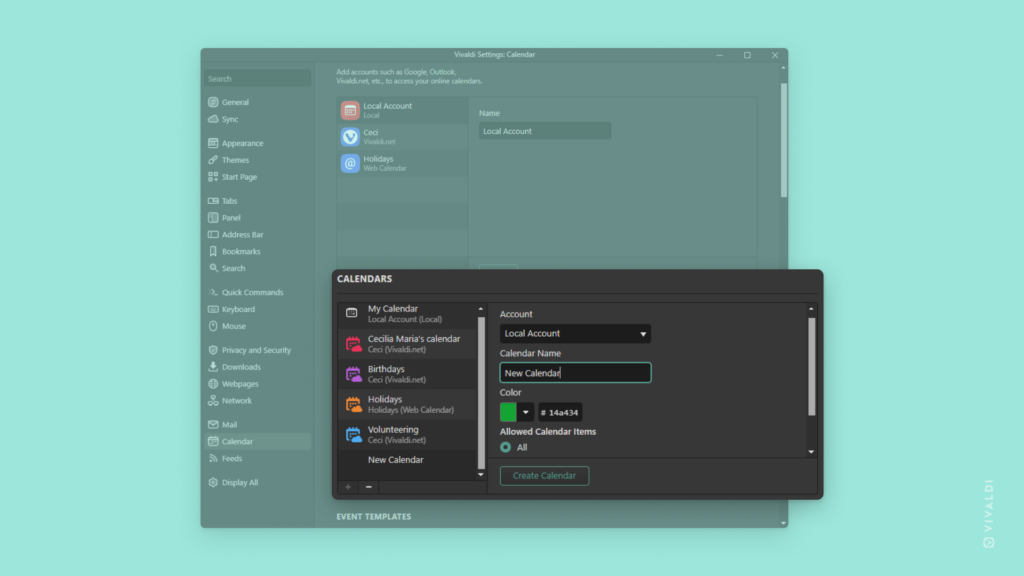
To toggle the visibility of calendars in Calendar settings:
- Go to Settings > Calendar > Calendars.
- Select a calendar.
- (Un)tick the box for “Hide from Calendar View”
- Click “Save”.