Tip #49

Press K, G or M on your keyboard to mark messages in Vivaldi Mail and Feeds as read.

In Vivaldi Mail and Feeds, messages don’t get marked read automatically. You’ll actively have to tell the client that you’re done with the message. This way you don’t need to remember to mark a message unread again, in case you want to follow up on it later.

Messages can be marked as read using a button in the user interface, through menus or using shortcuts. Probably the fastest way to mark messages as read is to use a single key shortcut.

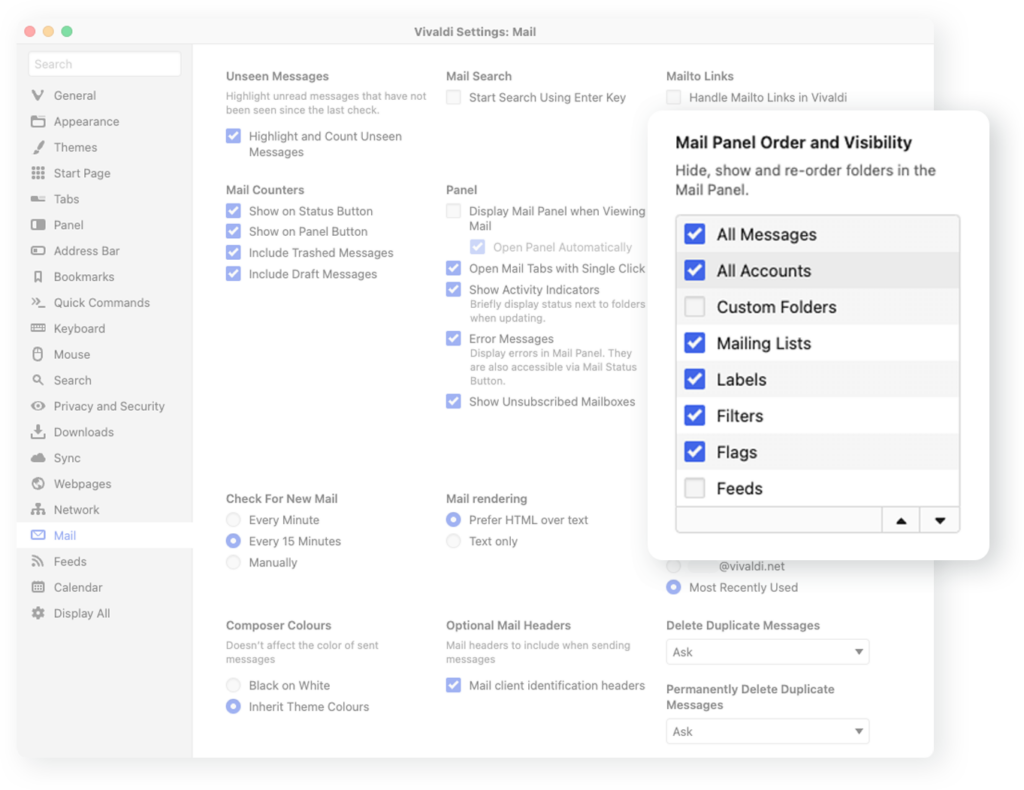
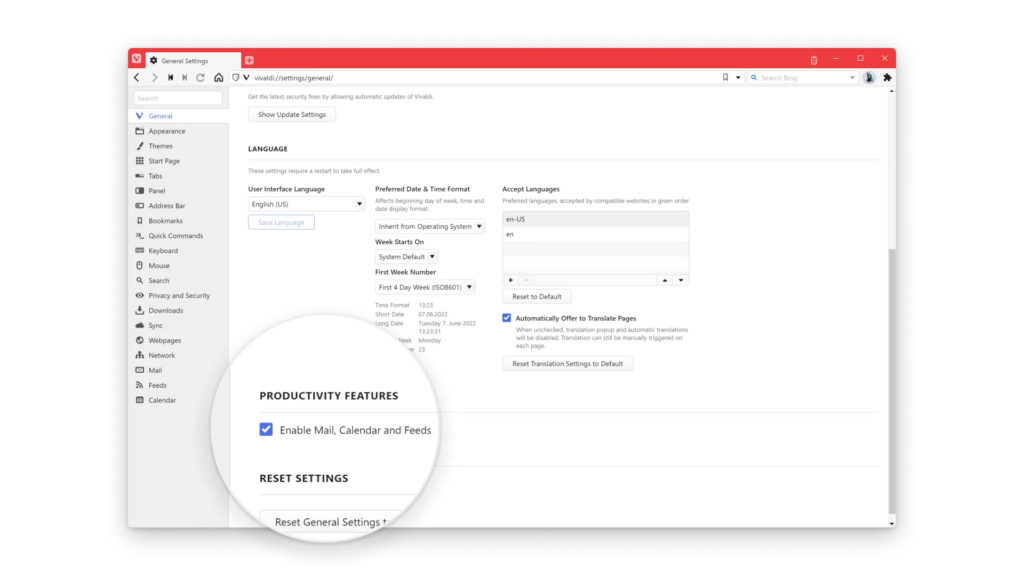
Before you start using the shortcuts, make sure you’ve enabled single key shortcuts for Mail, Calendar and Feeds in Settings > Keyboard > Keyboard Shortcuts.

To mark messages as read use one of the following keys:

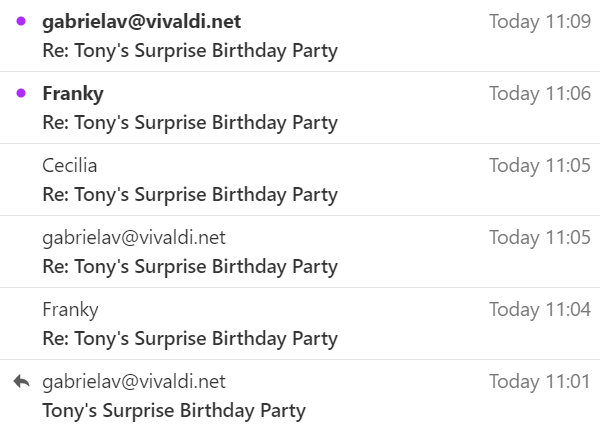
  • K – mark message as read.
  • G – mark message as read and open the next unread message.
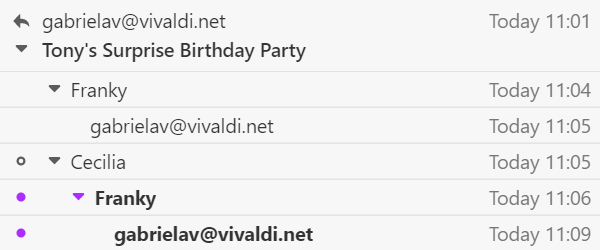
  • M – mark all messages in the message thread as read.

If you wish, you can edit the shortcuts in Settings > Keyboard > Keyboard Shortcuts > Mail.

Tip #48

Add Vivaldi’s search widget to your mobile device’s home screen to start a search with just one tap.

With a search widget on your Android phone’s or tablet’s home screen you can get to what you’re looking for in no time.

To add Vivaldi’s search widget to the home screen:

  1. Long press on an empty space on the devise’s home screen.
  2. Select Widgets.
  3. Find Vivaldi search from the list.
  4. Long press on the widget and drag it to where you want to have it on the home screen.
Vivaldi's search widget on Android's home screen

Once the widget has been added, just tap on it whenever you want to start a new search. It’ll open Vivaldi and focus on the Address Field, so you could start entering the search term or web link right away.

You can also open the QR code scanner from the widget.

Tip #47

Resize tiled tabs to give more room to tabs that need it.

I think we can all agree that Tiling Tabs is an excellent feature in Vivaldi, that allows you to view multiple web pages side by side. What’s even better is that you can resize the tiled tabs, because not all web pages need the same amount of space to see the important content.

To resize tiled tabs:

  1. Place the mouse cursor between the tiled tabs on the resize handle.
  2. When you see a ↔ double ended arrow instead of your normal mouse cursor, drag in either direction to resize the tiles.

To reset the resized tabs:

  1. Click on the Page Tiling button on the Status Bar.
  2. Click on the current tiling method.

Tip #46

Choose how much information you want to see about events in the Calendar by choosing either the full, compact or minimal view.

Events in Calendar can include a lot of information. Whether you see everything or just the basics is for you to decide.

To switch between these views, click on the View buttons in the top right corner of the Calendar tab, next to the Filter and Search field.

Alternatively, change the view in Settings > Calendar > Calendar Settings > Events View.

Full – Shows the event time, title, description, location and link of the event.

Compact – Shows the same as above, but if the description or link info are too long only limited amount of that info will be displayed.

Minimal – Only event time and title are shown.

Tip #45

Create a Mailing List from an email address for quick access to all emails from the sender.

When you often need to view emails from a specific sender, instead of searching for their emails or using the option “Show messages for Sender” every time, create a Mailing List with messages from the sender. Then you can easily open a list with all their messages from the Mail Panel.

To create a new mailing list:

  1. Open one of their messages.
  2. Right-click on the message header.
  3. Select Treat Sender as a Mailing List.

Alternatively:

  1. Right-click on one of their messages in the message list.
  2. Select Sender > Treat Sender as a Message List.

A folder with all their messages will be created in the Mail Panel in the Mailing Lists section.

Tip #44

Disable “Use Tab Zoom”, if you want to set a different zoom level for specific websites.

By default, when you change the zoom level, it applies to the tab you have open, so all websites you visit in that tab will have the same zoom level, but if you open the website in a different tab it will have the default or that tab’s zoom level. If you prefer to set the zoom level for websites instead of tabs:

  1. Go to Settings > Webpages and make sure Use Tab Zoom has been disabled.
  2. Go to the website, where you want to change the zoom level.
  3. Use one of the zooming options to change the size of the site.

Then, no matter when you visit the website, it’ll have the zoom level you set for it in the past.

Tip #43

Keep the event editor inline with other events or have it pop out in a dialog. The choice is yours.

For adding and editing events, Vivaldi Calendar offers two types of editing modes.

Inline editor – edit events inside the calendar view with event information divided into tabs with all surrounding events visible.

Popup dialog – edit events with all information about the new event visible simultaneously, but surrounding events potentially hidden by the popup dialog.

To make your choice between the two, go to Settings > Calendar > Calendar Settings > Edit mode.

Tip #42

Enable threaded view of messages in Vivaldi Mail with a click of a button.

Threaded view of the mailbox is a great way to keep related messages together in a hierarchical order, thus saving you time from needing to look for the other messages in the email conversation or trying to figure out for which message the reply is for.

To enable threaded view:

  1. Open the Mail tab.
  2. In the top right corner, click on Show Message Thread / Hide Message Threads.

Depending on your choice, you’ll see one of the following views.

Unthreaded view

Threaded view

List of messages - threaded

Tip #41

Press Ctrl+L / ⌘L to focus on the Address Field.

Before you can type a search term or a page URL to the Address Field, you need to focus on it.

To do that, you can:

Tip #40

Subscribe to YouTube channels and playlists with Vivaldi Feeds.

With Vivaldi, there’s no need to check YouTube or even a need for a Google account to keep up with the latest videos from your favorite content creators. Just add the YouTube channels and playlists to Vivaldi Feeds to be notified about new content and to watch the videos directly in the browser. Without any ads or tracking! 🥳

To subscribe to a channel or a playlist:

  1. Go to the channel’s or playlist’s page.
  2. Look for the Page offers feeds button on the right side of the Address Bar.
  3. Click on the button, hover over the feed title and click on Subscribe.

These instructions don’t just apply to YouTube channels. You can add any website that offers feeds to Vivaldi this way.

Learn more about Feeds on our Help page and from this video.

Tip #39

Use single key shortcuts to switch between Calendar views.

Vivaldi Calendar offers 6 different views for your events – day, week, multiweek, month, year and agenda. You can switch between them by clicking on the view buttons in the top right corner of the Calendar (below Search) or by using keyboard shortcuts.

To switch views using your keyboard, first enable Single Key Shortcuts in Settings > Keyboard > Keyboard Shortcuts. Then, press one of the following keys on your keyboard:

  • Day – D
  • Week – W
  • Multiweek – N
  • Month – M
  • Year – Y
  • Agenda – A

As with any shortcuts in Vivaldi, you can change them in Settings > Keyboard.

Tip #38

Reorder sections in the Mail Panel to your liking.

The center point of Vivaldi Mail, the Mail Panel displays 8 sections: All messages, Custom folders, Mailing Lists, Filters, Flags, Labels, Feeds, and All Accounts.

If the default order doesn’t suit you, you can reorder the sections. If you know you’ll never use a specific section, you can hide it altogether.

To customize the Mail Panel:

  1. Go to Settings > Mail > Mail Settings > Mail Panel Order and Visibility.
  2. Select the section you want to move.
  3. Click on the arrows at the bottom of the list to move the folder up or down.
    Alternatively, click and drag the section to its new location.

To hide a section untick the box in front of the section name.

Tip #37

Enable Mail, Calendar and Feeds from Settings > General > Productivity Features.

Vivaldi Mail, Calendar and Feeds have shed the Beta tag from their name and are now proudly version 1.0. 🥳

To start using Mail, Calendar and Feeds:

  1. Go to Settings > General > Productivity Features.
  2. Tick the box for Enable Mail, Calendar and Feeds.

If you’ve freshly installed Vivaldi or created a new User Profile, select Fully Loaded in the welcome flow.

Then you can start adding your email accounts to Mail, your calendars and events in Calendar, and keep track of the latest content from your favorite creators with Feeds.

For more info about these features check the following links:

Tip #36

Set a unique avatar image for each User Profile.

User Profiles are a great way to compartmentalize your browsing data (bookmarks, passwords, etc.) based on use case (personal, school, work, etc.) or when sharing the computer with someone.

To differentiate the profiles, add avatar images to each user profile. There are a few way you can do that.

Option 1

Log in to your Vivaldi account in the browser (Settings > Sync). Then your account’s profile image will be displayed as the user profile avatar image. To update your account’s profile image, go to the account’s profile on Vivaldi.net.

Option 2

Select a premade avatar image.

  1. Click on the User Profile button on the Address Bar.
  2. Click on the active user’s name.
  3. Select one from the available images.
  4. Click Save.

Option 3

Use your own image.

  1. Click on the User Profile button on the Address Bar.
  2. Click on the active user’s name.
  3. Click on the big + button (Select custom avatar image) below the profile name.
  4. Find the image from your File Manager/Finder.
  5. Click Save.