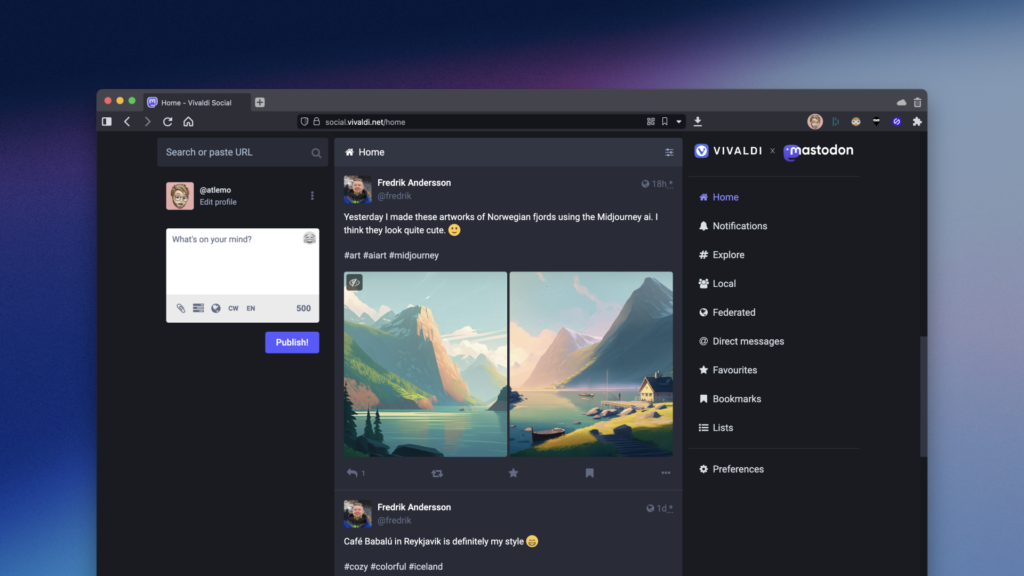
Control who can see your Vivaldi Social posts with visibility settings.
By default, anything you post on Vivaldi Social is publicly visible for everyone to see, but you can change posting privacy both for a specific post and for all future posts.
To change post visibility per post:
- When composing a post, click on
 Change post privacy on the menu below the text field.
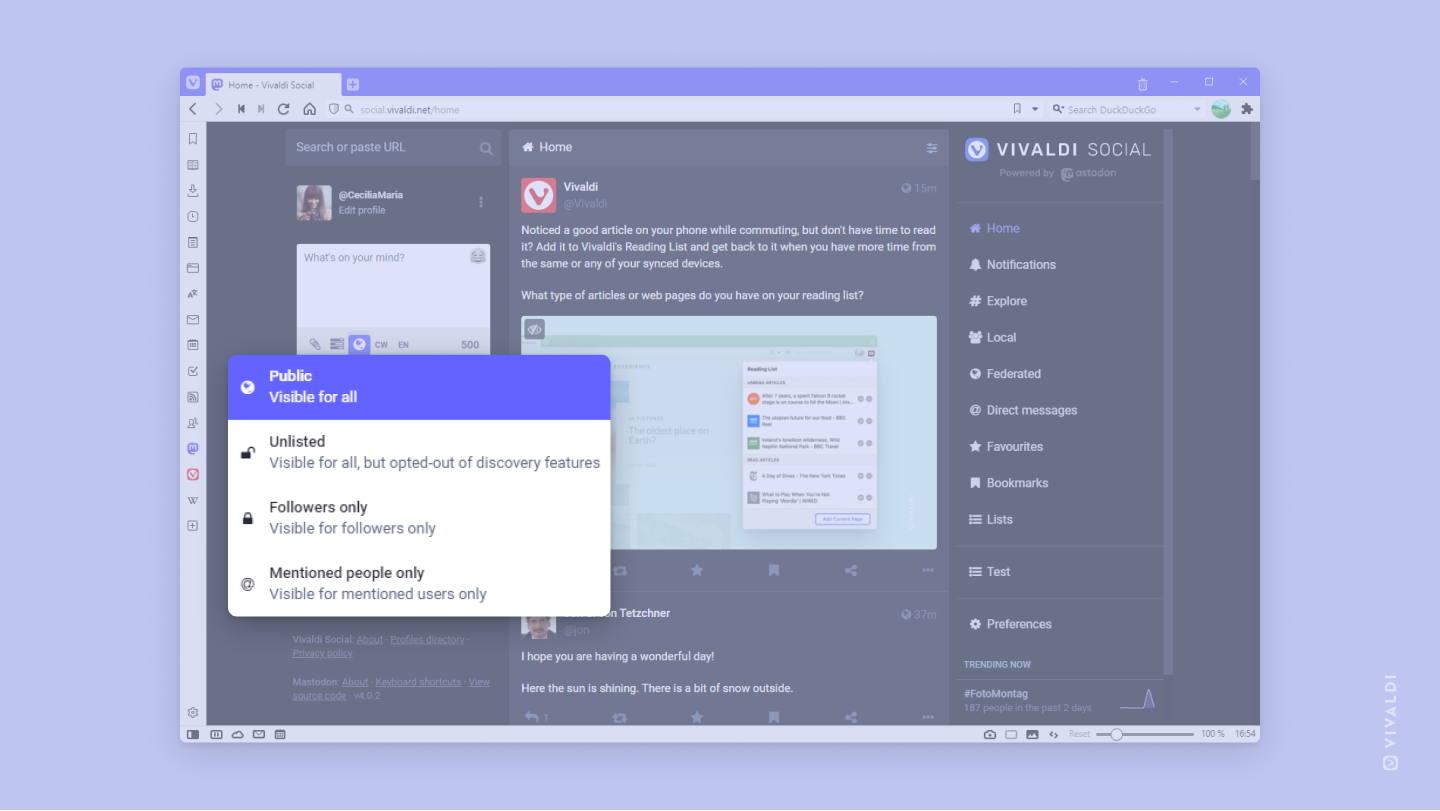
 - Select the option you prefer:
 Public – visible for all
 Unlisted – visible for all, but not shown in public timelines
 Followers only – visible only to people, who follow you
 Mentioned people only – visible only to users you mention in the post
To change the visibility setting for all posts:
- In Vivaldi Social, go to Preferences > Other > Posting Defaults.
- For Posting Privacy, select the option you prefer:
- Public
- Unlisted
- Followers only