Tip #359

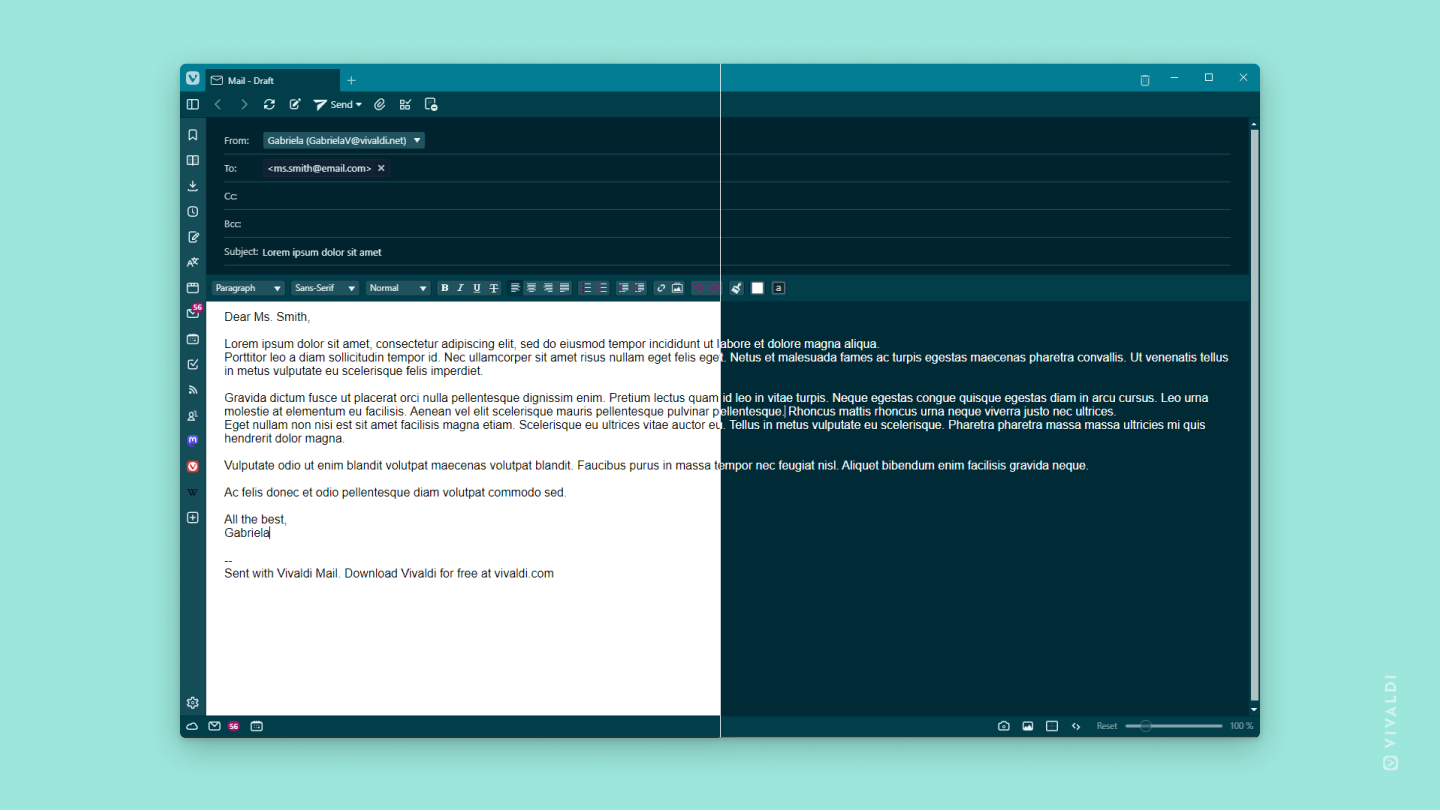
Press Ctrl + Enter to send a message in Vivaldi Mail.

When you already have your fingers on the keyboard when typing a message in Vivaldi Mail, it’s easier to use a Keyboard Shortcut to send the email than to look for the “Send” button on a toolbar.

When you’re ready to send the email, just press Ctrl + Enter (Cmd + Enter on macOS). It’ll also close the composer, allowing you to move on to the next message or continue browsing.

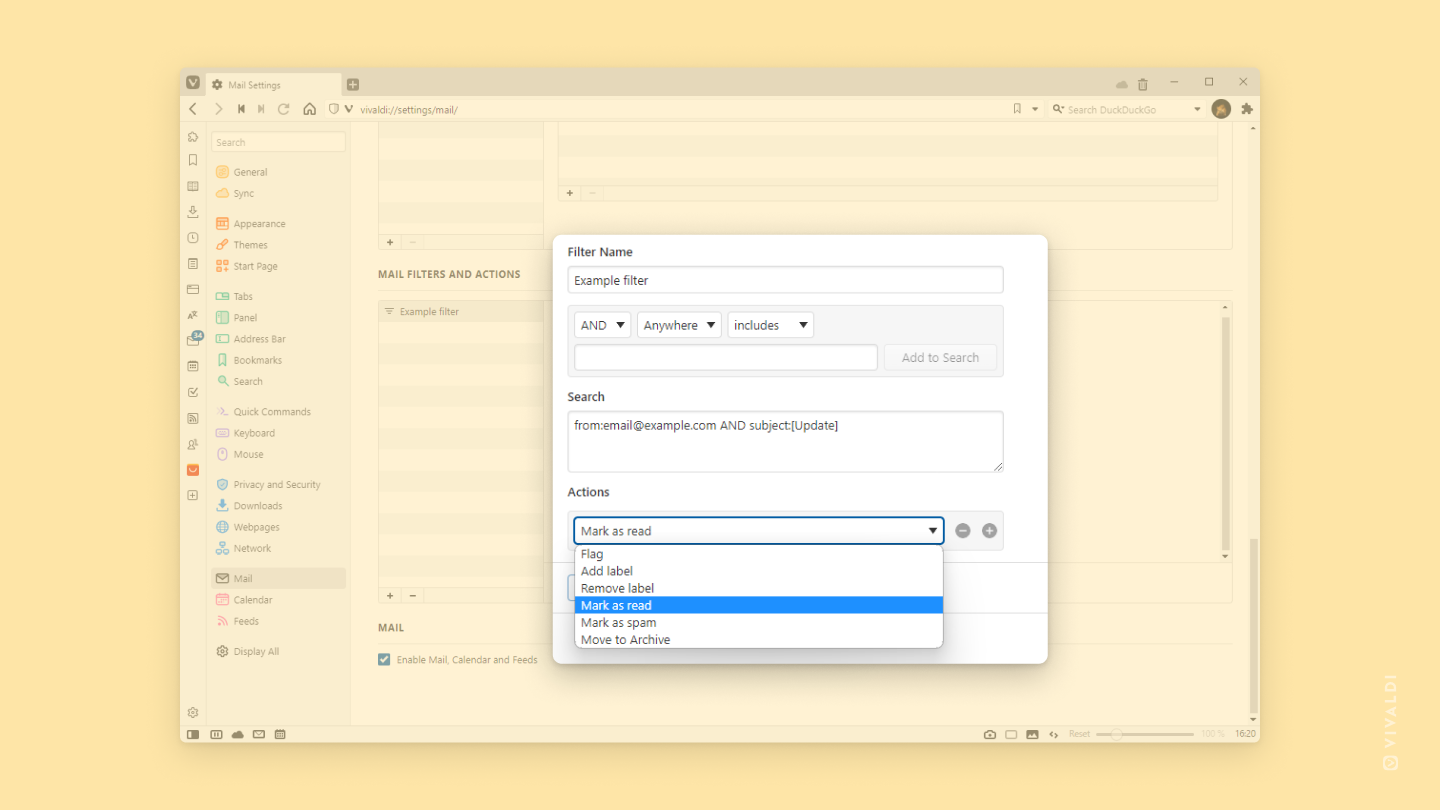
Discover more Mail shortcuts in Settings > Keyboard > Mail or on Vivaldi Help.

Tip #335

View your downloaded emails in Vivaldi browser’s profile folder.

When you open an email in Vivaldi Mail it’s downloaded to your computer. You can also enable a setting that downloads all your mail even when you haven’t opened the emails yet (see Tip #59). All downloaded emails are stored as .eml files in your browser profile.

To locate the folder with your mail:

  1. Go to Settings > Mail > Mail Accounts.
  2. Right-click on an account.
  3. Select “Reveal Data Folder”.

It’ll open the folder in the browser with your emails neatly organized by date, but you can copy the folder path (e.g. C:\Users\…) and open your mail folder in a File Manager/Finder instead.

Mail Settings window. Mail account's right-click context menu with the "Reveal Data Folder" option open and highlighted.

Tip #312

Check for new messages in Vivaldi Mail at an interval that suits you.

Want to know immediately when someone has sent you a message or prefer to check for new mail on your own time? Vivaldi Mail offers you three options to choose from.

To review your mail checking frequency:

  1. Go to Settings > Mail > Mail Settings > Check For New Mail.
  2. Select whether new messages should be fetched:
    • every minute
    • every 15 minutes, or
    • manually.

Tip #290

Mark messages as read immediately after opening them.

Vivaldi Mail has three read states – Unseen, Unread, and Read. Messages go from Unseen to Unread automatically after opening them, but marking each message as Read is an active choice. The Unread state is a good way to keep track of messages you’ve already seen but have not dealt with yet.

If this doesn’t fit your workflow, you can skip the Unread state by enabling “Automatically Mark as Read” in Settings > Mail > Mail Settings > Unread Messages.

Tip #285

Make the mail composer colors in Vivaldi Mail match your theme colors.

Whether you prefer the classic white background with black text or want the mail composer to match browser Themes, you have a choice in Vivaldi Mail.

To make the composer use your theme’s colors:

  1. Go to Settings > Mail > Mail Settings > Composer Colors.
  2. Enable Inherit Theme Colors.

The setting doesn’t affect the color of sent messages.

Vivaldi Mail composer divided into two. Left side showing black text on white. Right side showing colors inherited from the dark theme.

Tip #265

Move Mail messages with drag and drop.

With endless emails flooding your mailbox, moving messages to dedicated folders, assigning flags and labels to them, and marking tackled messages as read helps to keep things neat and easy to find later. Working with messages using the right-click context menus or shortcuts are excellent ways to manage your messages, but since Vivaldi 6.0 a quick drag and drop can get things done as well.

To move a message, change its read state or assign a property to it:

  1. Click and hold down the left mouse button on the message you want to move.
  2. Drag the message to the desired view in the Mail Panel.
  3. Release the left mouse button to finish the action.
Mail message being dragged from messages list to a mail folder in the Mail Panel.

Tip #219

Create Filters in Vivaldi Mail to automatically organize incoming messages.

Having to go through each message and manually assign relevant flags and labels to them, or mark annoying messages as spam can be cumbersome. To speed up the process, set up Filters in Vivaldi Mail that do it for you.

To create Filters in Vivaldi Mail:

  1. Go to Settings > Mail > Mail Filters and Actions.
  2. Click on Add Mail Filter.
  3. Give the filter a name
  4. Define the criteria for filtering.
  5. Click Add to Search.
  6. Click Add Action and decide what should happen to the messages that match the filter criteria.
  7. Click Add Mail Filter.

If you use Vivaldi Webmail, you can create additional filters on the server by going to Filter settings in the web interface. See Tip #75 for more info.

Mail Settings window with Mail Filters and Actions section highlighted.

Tip #206

Press E to view all emails to and from selected email address.

If you work with email a lot, efficiency is important. Keyboard shortcuts, especially Single Key Shortcuts, in Vivaldi Mail help you to go through your messages with ease.

We’ve already shared some useful shortcuts in Tip #49 and Tip #163. Today, let’s talk about the shortcut “E”. When you’re viewing an email and would like to take a look at other emails from and to the same sender, just press “E” on your keyboard to display all correspondence between you and the contact.

If the shortcut doesn’t seem to work, go to Settings > Keyboard > Keyboard Shortcuts and make sure Mail and Calendar Single Key Shortcuts has been enabled.

Other ways to view messages for the sender:

  • Open a message, right-click on the message header and select Show Messages for Sender.
  • Right-click on a message in the list of messages, select Sender > Show Messages for Sender from the context menu.
  • Type “Show Messages for Sender” in Quick Commands.
  • Create a Mouse Gesture for the action.

Tip #192

Pay attention to incoming emails and don’t get scammed.

We’ve listed a few tips below to help you be vigilant and not fall for email scams.

  • Look at the sender address. Be suspicious of email addresses containing misspellings, ones that are just made up of gibberish or do not look related to the sender they claim to be.
    Also, be cautious when there’s a different Reply-To address, especially if it matches the descriptions above.
Warning message in Vivaldi Mail: ""Reply-To" does not match the "From" address. Make sure you trust the "Reply-To" address before replying."
In Vivaldi Mail, you’ll see a warning when the From and Reply-To email addresses don’t match.
  • Pay attention to message content. If what the message promises is too good to be true, it’s probably not true (e.g. claiming you inherited or won a large amount of money).
    Also, when an email, seemingly from a reputable company, is written with poor grammar or your acquaintance writes in a style unusual for them, look for other clues.
    Be suspicious of emails that create urgency and ask you to act fast.
  • Don’t trust emails that ask for your personal information (ID number, bank account details, etc.). If you think that a reputable institution is asking you to update your personal information, don’t follow the links in the email, but go to their website directly to check your account.
  • You might be asked to visit a link. Don’t blindly open them. Hover over the links and check the browser’s status bar to see where it wants to take you.
Bottom left corner of Vivaldi Browser window, showing a link with mouse cursor hovering over it and it's URL on the Status Bar.
Hover over the link and check the Status Bar at the bottom of the browser window, to see which website you’ll be taken to.
  • If you don’t fully trust the sender, don’t open files attached to the email.
  • Use other means of communication to verify that the person or company really sent the message. For example, if a colleague asks you to do something (share a password, purchase something, etc.) via email, call them or ask them in person, whether they really made the request.

Tip #189

Mark incoming Mail messages automatically as read.

Not all messages you receive are equally important. For example, you might be subscribed to updates or newsletters that are good to have, but don’t need immediate attention. Having less unread messages is less intimidating and important messages will be more noticeable.

To create a filter in Vivaldi Mail to mark messages as read:

  1. Go to Settings > Mail > Mail Filters.
  2. Click  Add Mail Filter at the bottom of filters list.
  3. Give the filter a name.
  4. Define the criteria for filtering. For example, all emails with a certain subject or all emails sent from a specific email address.
  5. Click Add to Search.
  6. If you wish, add additional criteria.
  7. Click Add Action.
  8. Select Mark as read.
  9. Click Add Mail Filter.
Vivaldi Mail settings - new filter creation in process.

Tip #186

Add a new folder to your mail account from the Mail Panel.

Messages can be organized using Filters, Flags and Labels, but the classic option is folders. You can add new folders in the email account’s web interface or in a client where the account has been set up.

To add a new IMAP folder in Vivaldi Mail:

  1. Open the Mail Panel.
  2. In All Accounts section, right-click on the account you want to add the folder for.
  3. Select Create Folder from the context menu.
  4. Give the new folder a name.
  5. Click Create Folder.
Vivaldi Mail with the mail account's context right-click context menu open in Mail Panel to create a new IMAP folder highlighted.

Tip #168

Choose where you see Vivaldi Mail’s unseen and unread message counters and which messages should be included.

Mail counters help you see from the browser’s Panel and Status Bar, how many unseen message you have, without needing to open the Mail Panel. In addition, you have the choice to toggle on and off unread counters for messages in Trash, Spam, Archive and Draft folders in the Mail Panel.

To review Mail counters:

  1. Go to Settings > Mail > Mail Settings.
  2. In Mail Counters section adjust the options according to your preferences.
Vivaldi Settings window open on the Mail category with Mail Counters section highlighted.

Tip #163

Press N, R and F on your keyboard to start composing email messages in Vivaldi Mail.

Shortcuts help to speed up your workflow considerably. By using single key shortcuts in Vivaldi Mail, you can work with your emails with efficiency that will make others go green with envy. Move between emails, mark them read, send messages and more. In this tip, we’ll introduce you to three shortcuts that help you start composing messages.

  • N – Start composing a new message
  • R – Start composing a reply to the selected message (Shift + R to reply to all)
  • F – Start composing a message to forward the selected email

If you’d prefer to use different shortcuts, go to Settings > Keyboard > Keyboard Shortcuts > Mail and assign new shortcuts for the commands.

Tip #148

Double-click on a Mail or Feeds message to open it in a new tab.

Need to work more with an email than just read through it? Double-click on the message to open it in a new tab. That allows you to keep the message open while checking other emails and use browser features, such as pinning, grouping, tiling (shown on the screenshot below), and more on the tab.