Tip #160

View post details when writing on your Vivaldi blog.

When writing longer elaborate posts on Vivaldi Blogs, it’s interesting and sometimes necessary to see information about the post you’re working on.

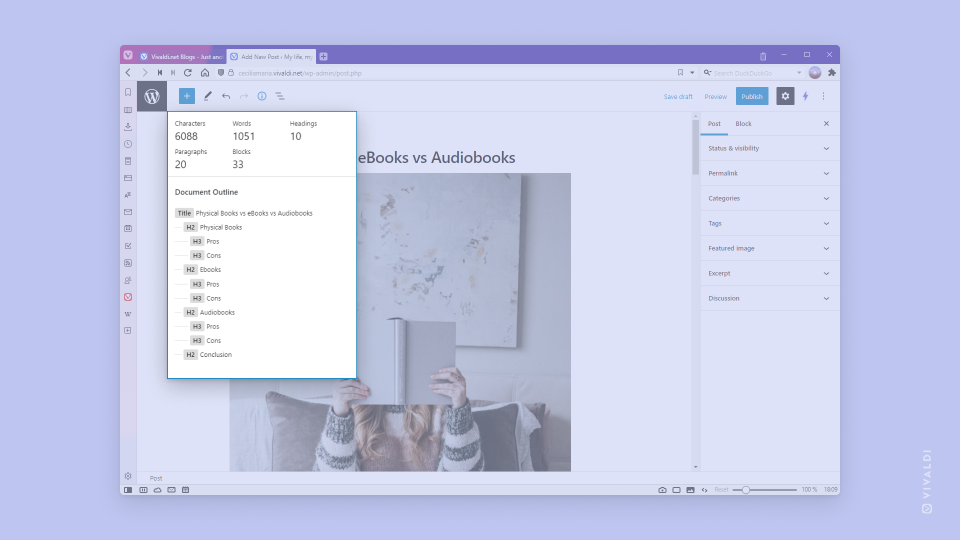
To view blog post details, in the post editor, click on the Details button on the menu in the top left corner.

You’ll be able to see how many words and characters you’ve written, how many headings, paragraphs and blocks the post has, as well as see the document outline.

Vivaldi Blog post editor open in Vivaldi Browser with the details menu highlighted.

Tip #159

Add custom blocker sources to Vivaldi’s Tracker and Ad Blocker.

The Tracker and Ad Blocker comes with a large selection of sources that can be enabled to block unwanted content on web pages. You can enable them in the browser’s Privacy and Security settings. In addition to the default sources, you can add your own custom source lists. To do that:

  1. Go to Settings > Privacy and Security > Tracker and Ad Blocker > Manage Sources.
  2. Click on Add List below Tracker Blocking Sources or Ad Blocking Sources lists.
  3. Locate the sources .txt file in your File Manager/Finder.
  4. Click Import.

The newly added list will be automatically enabled.

To find additional sources, you can start by checking this Forum thread, where Vivaldi Community members have shared the blocking sources they use.

Tip #158

Add web calendars to Vivaldi Calendar to view publicly shared events and schedules.

Web calendars, for example local public holidays or your favorite sports team’s match calendar, are a good way to follow events that you don’t want to add manually yourself, but would still like to know about. Web calendar events are read-only, meaning you can view them, but only the calendar owner can edit the events.

To subscribe to a web calendar from a website:

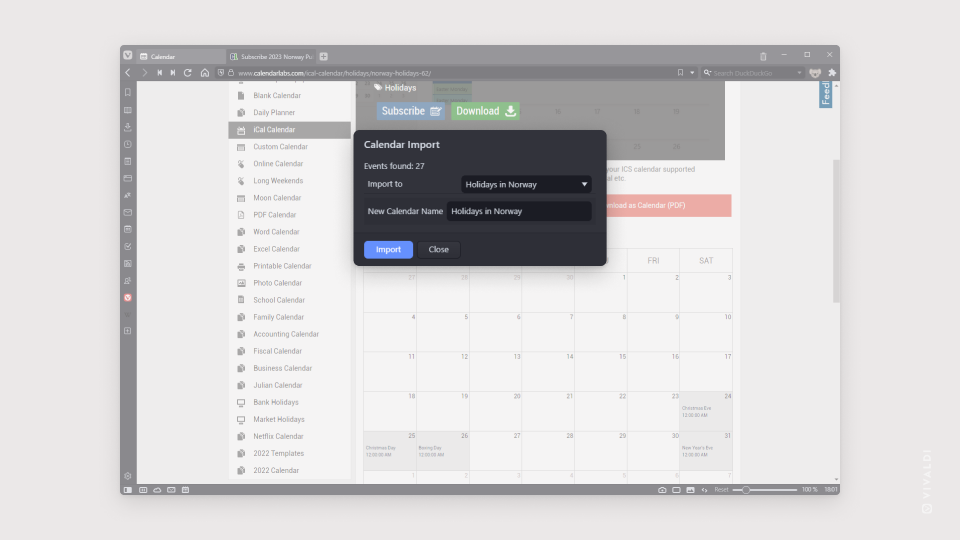
  1. Look for a Subscribe or similarly named button or link and click on it. Vivaldi Calendar will detect the action and offer to import the events.
  2. Select the calendar you want to import the calendar events to or create a new one.
  3. Click Import.

To manually add a web calendar:

  1. Go to Settings > Calendar > Calendar Accounts.
  2. Add a new account and select Web Calendar.
  3. Click Continue.
  4. Give the Calendar account a name.
  5. Enter the calendar’s link (make sure the URL ends with .ics).
  6. If the web calendar has limited access, enter your username and password. In case it’s a public calendar leave the username and password fields empty.
  7. Click Add Account.
  8. Select the calendars you want to sync with Vivaldi Calendar, which one’s to hide and which one is the account’s default calendar.
  9. Click Done.

Tip #157

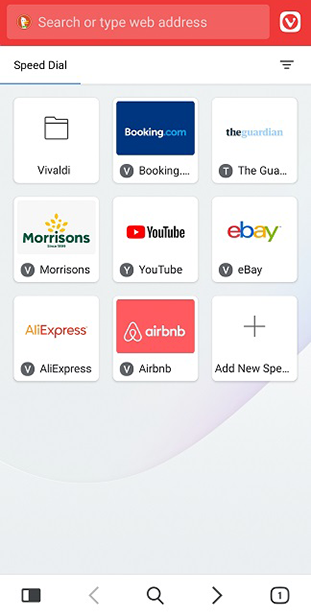
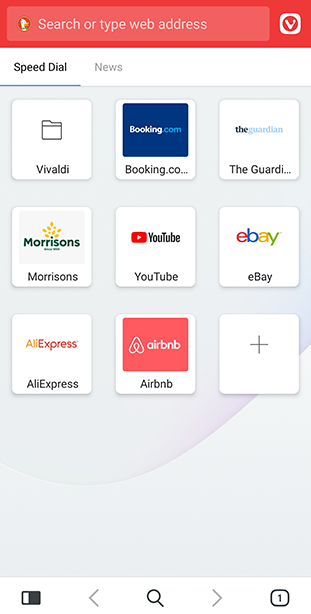
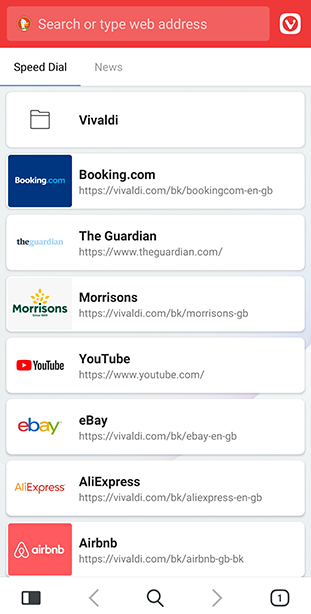
Choose from 4 Speed Dial layout options for Vivaldi on Android.

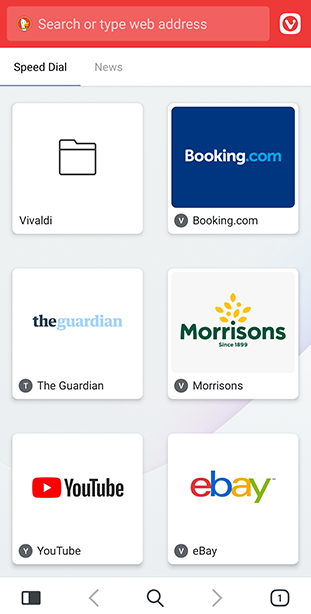
Speed Dials are Bookmarks that are displayed on your browser’s Start Page. You can choose how they’re displayed.

To change the look on Android:

  1. Go to Vivaldi menu > Settings > Appearance > Start Page.
  2. Select your preferred layout:
    • Large Speed Dials,
    • Medium Speed Dials
    • Small Speed Dials,
    • Speed Dial list.

Tip #156

Declutter a crowded Tab Bar by stacking all tabs by hosts.

While actively browsing, it’s easy to accumulate a large number of tabs. To keep things in order and tabs easy to find, it’s good to group them together. In Vivaldi you can group all tabs from the same domain (e.g. vivaldi.com) with just two clicks.

To stack tabs by hosts:

  1. Right-click on a tab.
  2. Select Stack Tabs by Hosts.

Tip #155

Filter posts by language on Vivaldi Social.

Vivaldi Community on Vivaldi Social is an international group of people, who post in many different languages. This means that the public timelines (e.g. Local and Federated) can include posts that you don’t understand. You could use Vivaldi Translate to select and translate the texts, but you can also filter them out altogether.

To filter posts by language:

  1. On Vivaldi Social, go to Preferences > Other > Public Timelines.
  2. In the Filter languages section, check the boxes for all languages you want to see posts in.
  3. Scroll either to the top or bottom of the page and click Save changes.

Then, as long as the post author has set a correct language for their post, the public timelines will only include posts in the languages you’ve chosen. So, when you yourself post on Vivaldi Social, make sure you also select the correct language for your posts. The default post language can be changed in Preferences > Other > Posting Defaults > Posting Language.

Tip #154

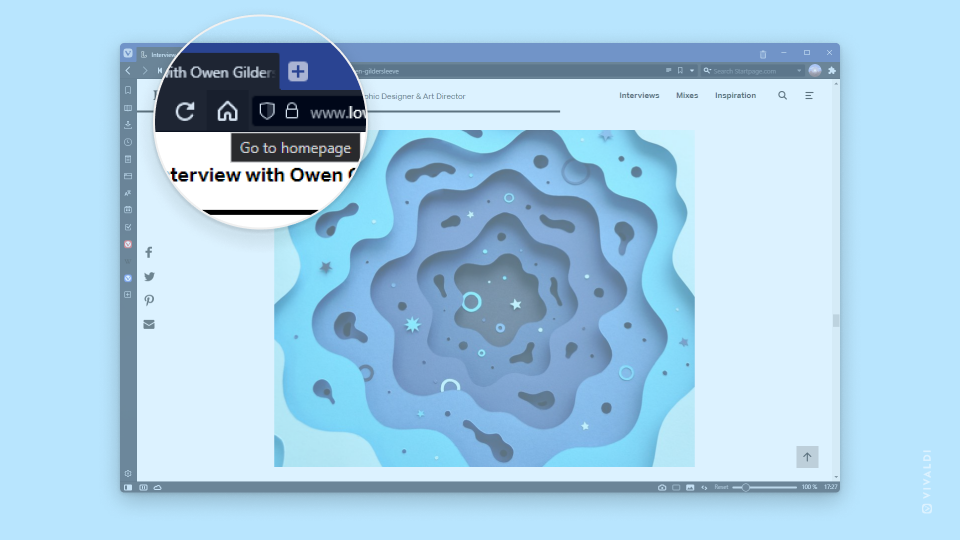
Set your favorite web page as the homepage for Vivaldi on desktop.

By default, when you click on the Go to homepage button on the Address Bar, you’ll be taken to the browser’s Start Page. If there’s a web page that you visit all the time, you could set that as the homepage instead. To do that:
  1. Go to Settings > General > Startup > Homepage.
  2. Select Specific Page.
  3. Enter the URL of the page you want as your homepage.
Vivaldi Browser window with the homepage button on the Address Bar zoomed in on.

Tip #153

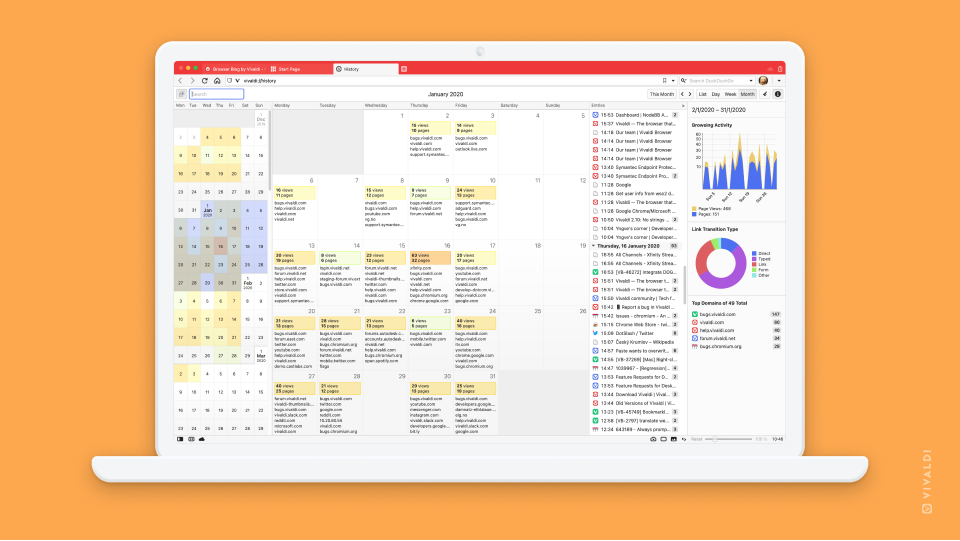
Open History to get a visual overview of the web pages you’ve visited.

In Vivaldi your History of visited web pages is not just an endless list. Instead History in Vivaldi is a detailed overview backed by statistics and presented in a nice, visual way.

To view your full history, use one of the following options to open the page:

Switch between the different views (List, Day, Week and Month) from the top right corner to see not just the pages you’ve visited but also statistics, which show you your browsing activity, when you were most active, what kind of websites you visited and how you ended up there. 

Vivaldi History with month view open.

Tip #152

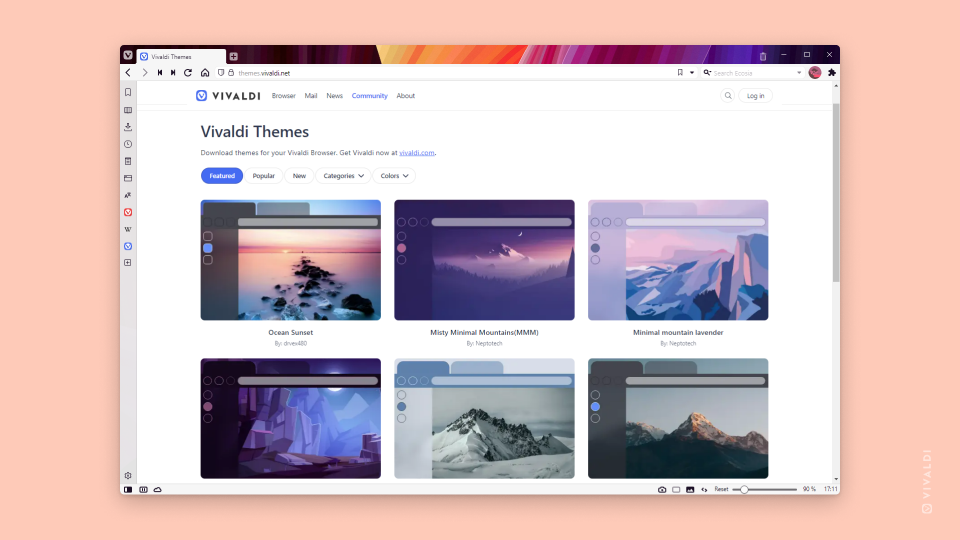
Share your custom browser theme with the community on themes.vivaldi.net.

Creativity has no limits and with the Themes editor in Vivaldi, you can let it run wild. Change the colors, add a custom background, tweak the settings and you have yourself a custom theme. Would be a shame to keep it to yourself. Themes.vivaldi.net is the place where Vivaldi users can share their creations with the community and already over 3000 themes have been published on the website.

Here’s how you can share your theme:

  1. Go to Settings > Themes > Library and select the theme you want to share.
  2. Click on Export Theme below the themes.
  3. Save the ZIP file to your computer.
  4. Go to Vivaldi Themes on https://themes.vivaldi.net.
  5. Log in to your Vivaldi account.
  6. Click Upload in the top right corner of the page.
  7. Fill in the details about the theme (in English) and upload the ZIP file.
  8. When you’re ready, click Create theme.

Vivaldi Team will review your theme and publish it. You’ll be notified once the theme has been published (also, when for some reason, the theme was rejected).

The homepage of themes.vivaldi.net in a Vivaldi browser window using a theme from a community member (vladstudio).
Themes.vivaldi.net homepage. Theme by vladstudio.

Tip #151

Stack multiple tabs at once in the Tab Switcher on Vivaldi on Android.

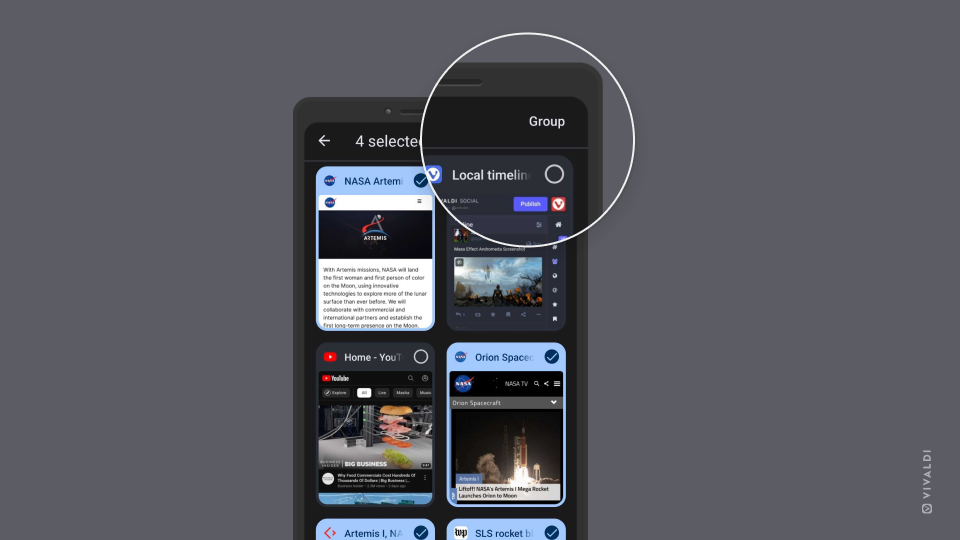
You can drag tabs one by one over each other or over existing Tab Stacks to group tabs, but if you want to group many tabs at once, there’s a better option.

To group tabs:

  1. Open the Tab Switcher.
  2. Tap on the 3 dot menu at the top of the screen.
  3. Select Stack tabs from the menu.
  4. Tap on all the tabs you want to group together.
  5. Tap on Group in the top right corner.

Tip #150

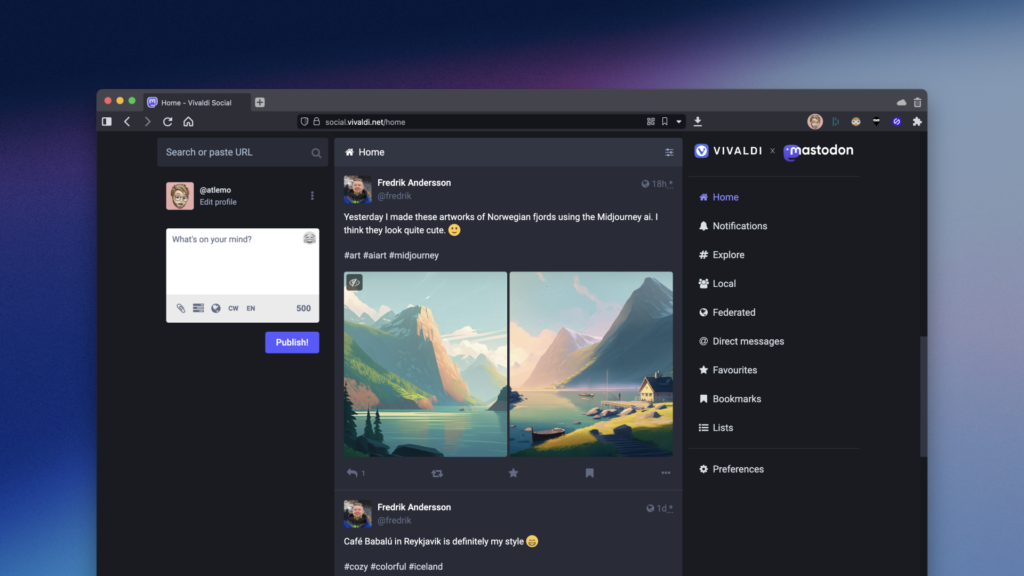
Join Vivaldi Social to connect with people from all over the fediverse.

You might be thinking, what’s a fediverse? Fediverse is an open network of communities committed to a better way of communicating online and allowing for constant improvements. Vivaldi Social is a fediverse instance powered by Mastodon. It’s similar to other well known social networks, but there’s no singular owner, no surveillance capitalism and no tracking or profiling of users. You can read more about it on the Vivaldi Blog.

To join Vivaldi social:

  1. Go to https://vivaldi.social/.
  2. Log in with your Vivaldi account.
  3. Start browsing, posting and interacting with everyone.

Your username on Vivaldi Social will be generated from your Vivaldi account’s username like this – @[email protected]. To learn more about how to use Vivaldi Social, check out the new articles on Vivaldi Help.

Tip #149

Download the backup encryption key to be able to restore access to synced data even when you have forgotten the encryption password.

Backup encryption key is an alternative method to the encryption password for decrypting your Sync data. Like with the encryption password, your backup encryption key is never sent to us or any other third party, which ensures that we cannot decrypt your data. For it to be useful, you need to save the key in a safe location, while you can access your Sync settings with the encryption password.

Save the backup encryption key

  1. Log in to your Vivaldi account in Settings > Sync.
  2. Enter the encryption password.
  3. Below your account info, look for Save Backup Encryption Key. On Android, look for Backup Encryption Key near the bottom of the Settings page.
  4. Click on it and save the key file to your device.

The key is valid until you reset the remote Sync data. We recommend storing the key file in a location that can survive something irreparable to your device, such as an external memory drive or a trusted cloud service.

Use the backup encryption key

  1. Log in to your Vivaldi account in Settings > Sync.
  2. When asked for the encryption password, click Load Encryption Key.
  3. Click Load and find the key file.
  4. Click Open.
  5. Start syncing.

Tip #148

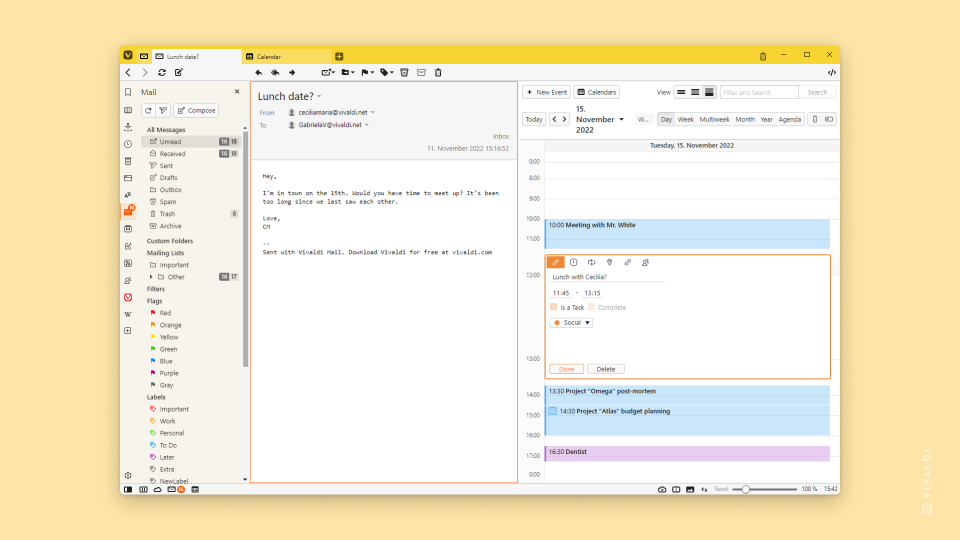
Double-click on a Mail or Feeds message to open it in a new tab.

Need to work more with an email than just read through it? Double-click on the message to open it in a new tab. That allows you to keep the message open while checking other emails and use browser features, such as pinning, grouping, tiling (shown on the screenshot below), and more on the tab.

Tip #147

Configure Tab Stack display on Vivaldi for Android to your liking.

Tab Stacks in Vivaldi are an excellent way to group related tabs together. And like on desktop, you have a couple of display options for Tab Stacks also on Vivaldi for Android.

For example, you can choose whether you want to make use of the Two-Level Tab Bar, where you have a Tab Bar just like on desktop and tabs in a stack will be displayed on the second level. See the phone on the right side on the screenshot below. In addition, you can choose whether the Tab Bar (together with the Address Bar) is located at the top or bottom of the screen. Toggle the setting in Settings > Appearance > Address Bar at Bottom, to see which you prefer.

Alternatively, if you want to keep the valuable screen real estate for web content, you can disable the Tab Bar from Settings > Tabs > Show Tab Bar. Then, while you have a stacked tab open, you’ll see all tabs in the same Tab Stack on a menu at the bottom of the screen. See the phone on the left side on the screenshot below.