Tip #463

Give a rating and share your feedback on the themes you’ve downloaded from Vivaldi Themes.

There are thousands of custom themes that the Vivaldi Community has shared on themes.vivaldi.net. When you’ve downloaded a theme and you like it, head back to the theme’s page to leave a good star rating and an appreciative comment to the author. In addition to making the author happy, it also helps the best themes reach the top of the popular page.

To review a shared Vivaldi Theme:

  1. Go to themes.vivaldi.net.
  2. Log in to your Vivaldi account.
  3. Download a theme you like.
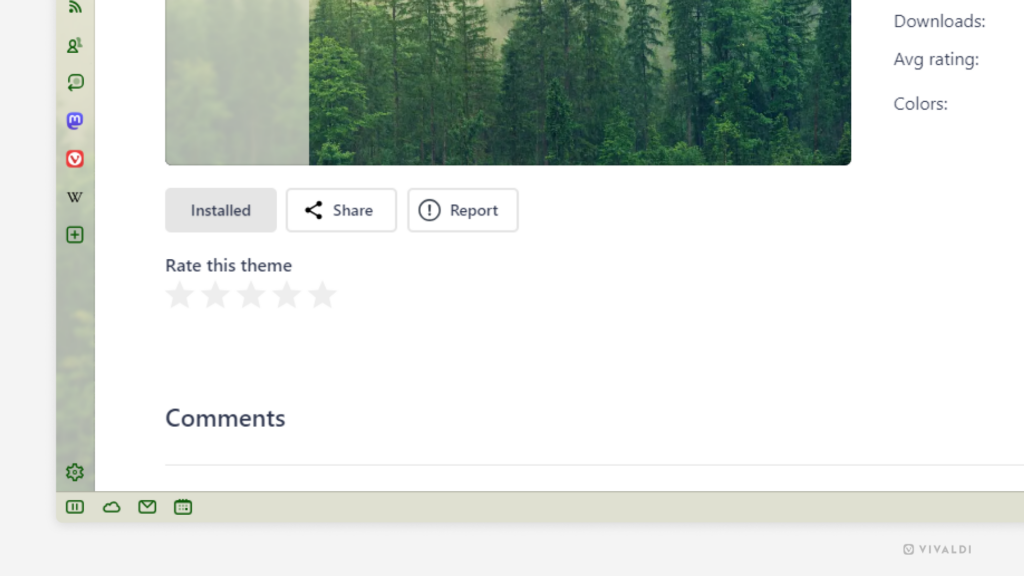
  4. Right below the theme preview, click on the stars to add your rating.
  5. Write a comment with compliments and/or feedback to the author.
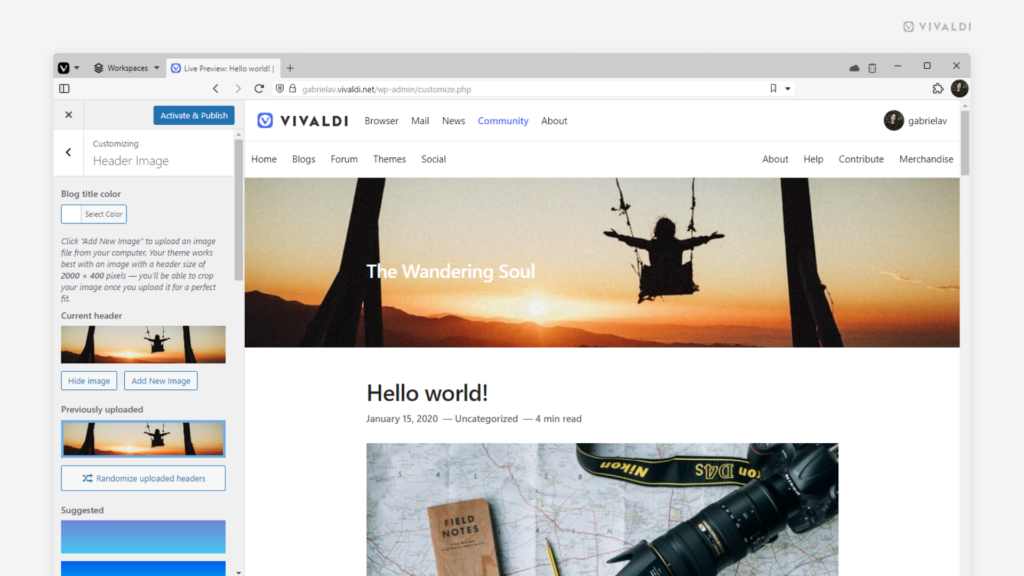
A theme page on Vivaldi Themes with "Rate this theme"
Theme by Kocaelispor.

Tip #455

Filter out posts on Vivaldi Social that contain mentions of things you don’t want to see.

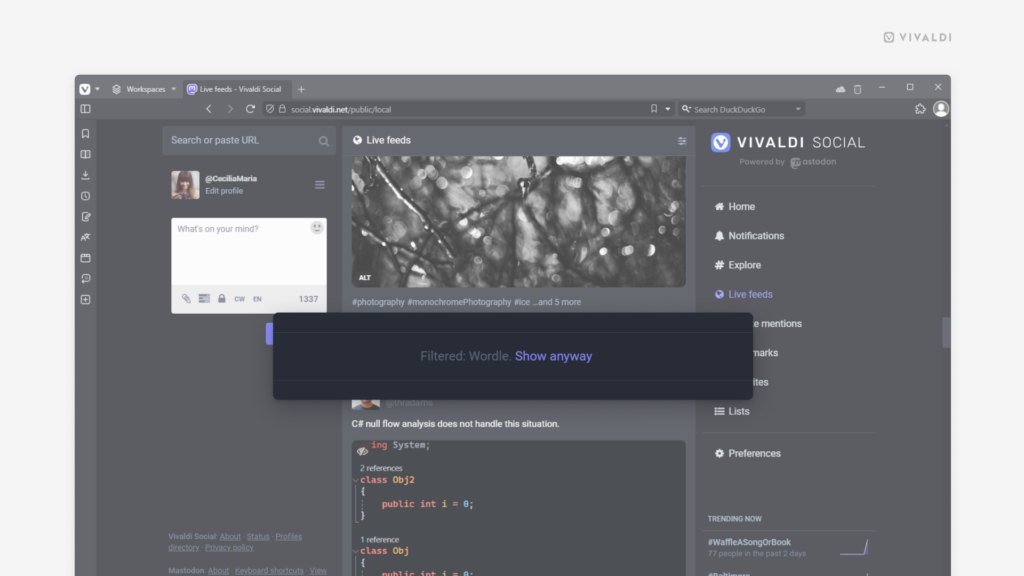
On Vivaldi Social, you can automatically hide posts that you find offensive, deal with sensitive matters, just oversaturate your timelines or you don’t wish to see for any other reason. You have the option to hide them behind a warning, still leaving you the option to click and view the post, or you can hide the posts outright.

To create a filter:

  1. Go to Preferences > Filters.
  2. Click on “Add new filter”.
  3. Give the filter a name (if you choose to hide the posts with a warning, the filter’s name will be mentioned on the post).
  4. If you want to apply the filter temporarily, select an expiration time.
  5. Choose where the filter will be applied – Home and lists, Notifications, Public timelines, Conversations, Profiles.
  6. Decide whether to hide the post behind a warning or remove it altogether.
  7. Enter the keyword(s) you want to filter out. You can enter words, phrases, hashtags or emojis.
  8. Click “Save new filter”.
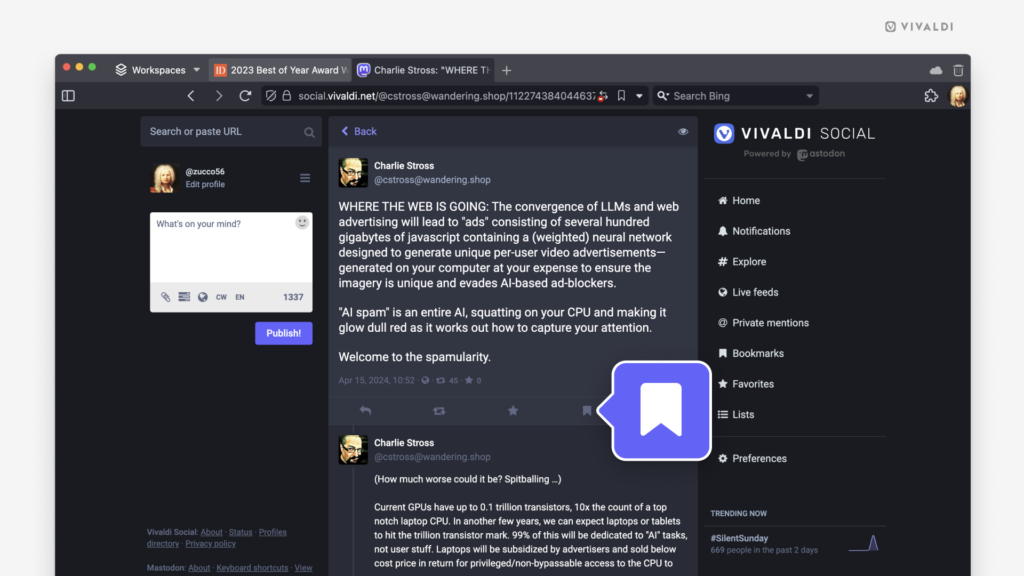
Vivaldi Social open in a Vivaldi browser window. Filtered post warning is hihlighted.

Tip #451

Choose whether you want to quote the email you’re replying to in Vivaldi Webmail or not.

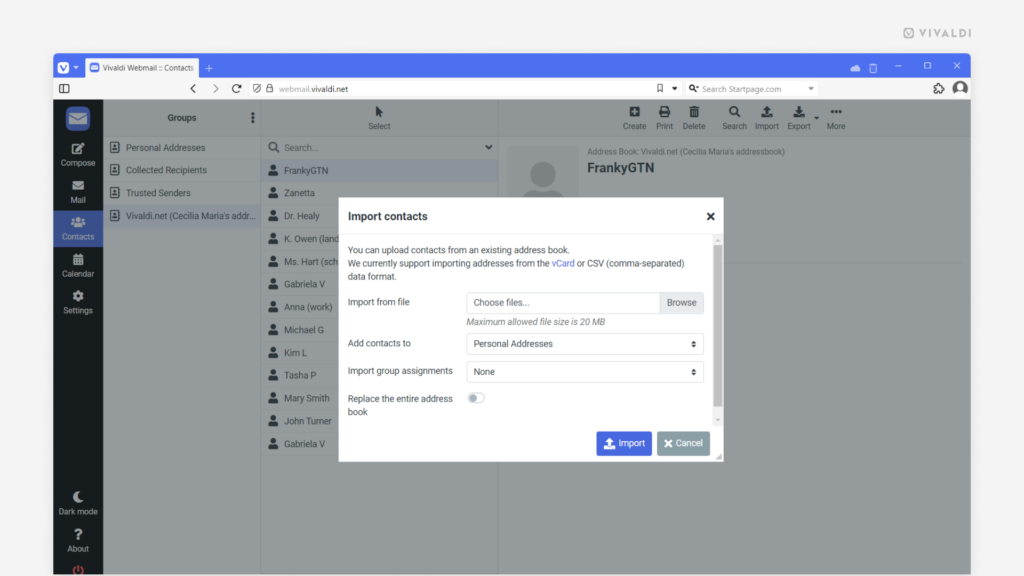
When replying to an email, Vivaldi Webmail offers a few options for you. You can decide whether to include the message you’re replying to or not. If you decide to keep the message, you can choose whether to write your own message above or below it.

To pick your preference:

  1. Go to Settings > Preferences > Composing Messages > Main Options.
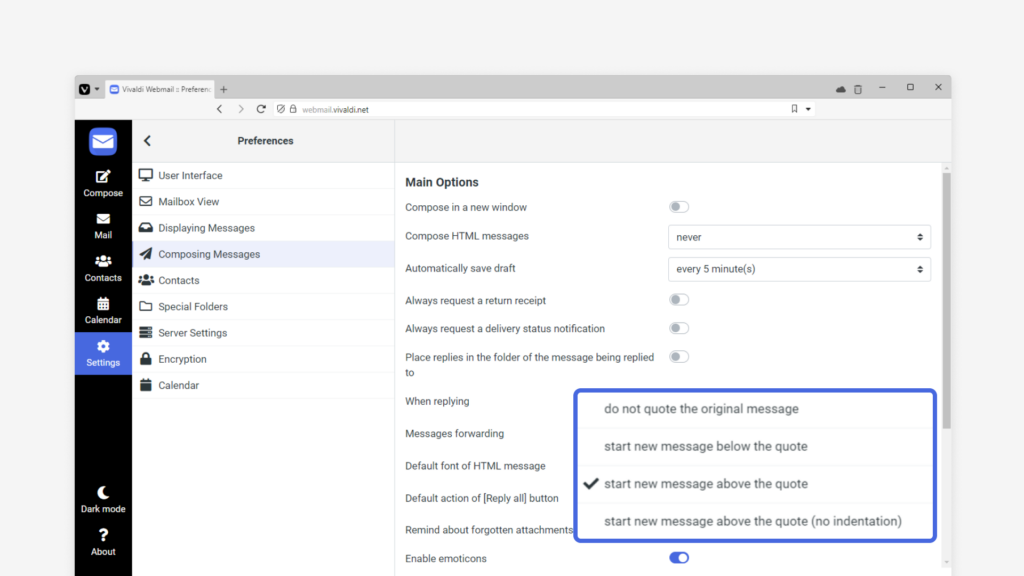
  2. Click on the dropdown menu next to “When replying” and choose the option that appeals to you:
    • Do not quote the original message,
    • Start new message below the quote,
    • Start new message above the quote,
    • Start new message above the quote (no indentation).
Vivaldi Webmail with message composing settings open.

Tip #446

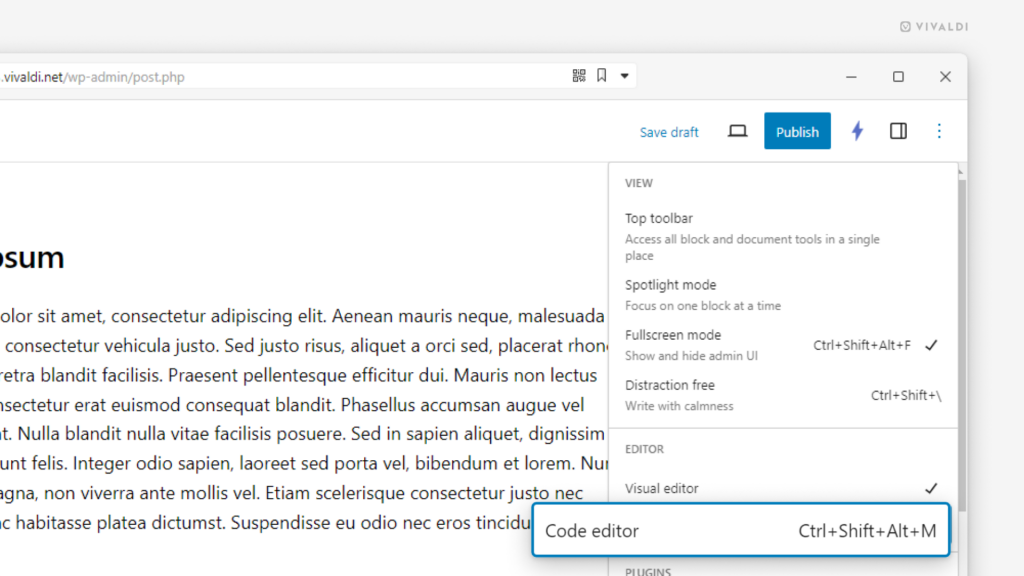
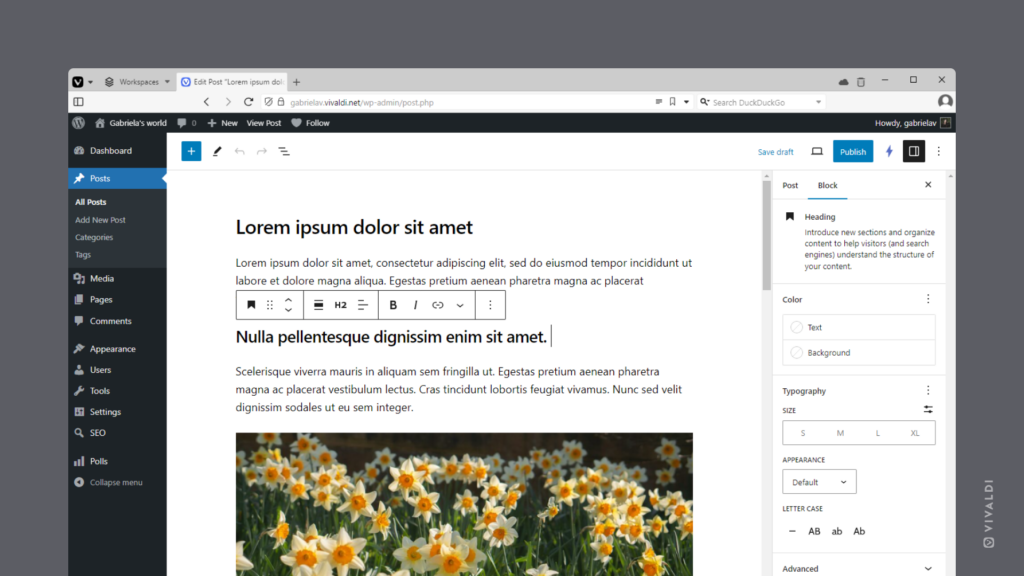
Use the Code Editor to write blog posts on your Vivaldi.net blog.

In Tip #430 we talked about the Block and Classic editors for your Vivaldi.net blog. But there’s a third option you can use with either of the editors as the default. That’s the Code Editor, which allows you to write your post using HTML.

To enable the Code Editor:

  • Open the Options menu from the top right corner and select “Code Editor”.
  • Use the Keyboard Shortcut Ctrl + Shift + Alt + M / Command + Option + Shift + M.

To exit the Code Editor, select “Visual Editor” from the Options menu or use the same shortcut.

Options menu open on a Vivaldi.net blog with the Code Editor option highlighted.

Tip #440

Resize the editor on Vivaldi Social to view what you plan to post all at once.

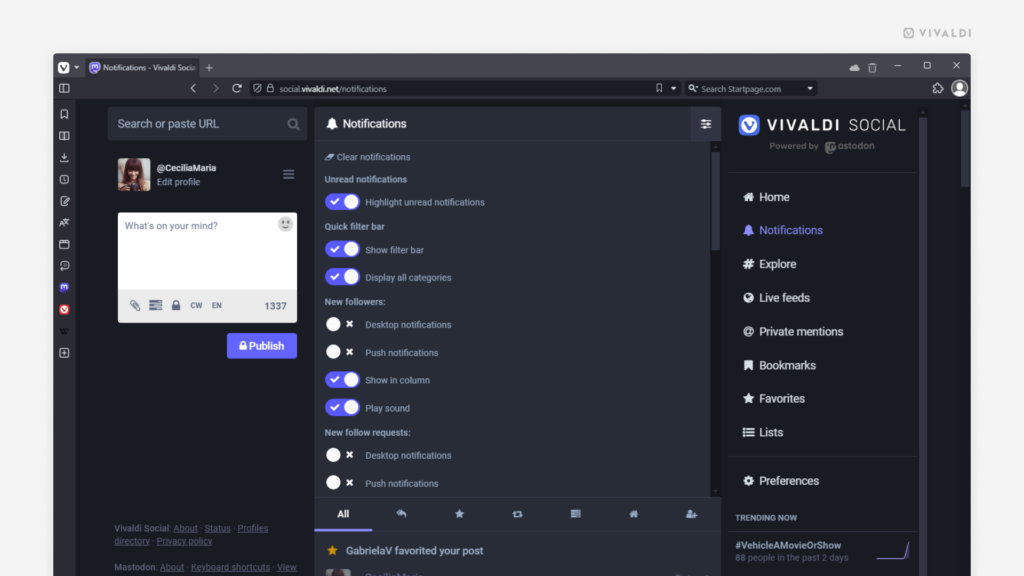
Some time ago we increased the character limit for posts on Vivaldi Social from the standard 500 to 1337 characters. Reviewing your longer writing can be tricky in a small editor box, though. That’s why on Vivaldi Social, you can increase the height of the editor, to make more of the text visible.

To change the height of the editor:

  1. Place the mouse cursor at the bottom right corner of the text field (just above the character limit).
  2. Click and drag the mouse up or down.

Tip #438

Filter feature requests on the Vivaldi Forum using tags.

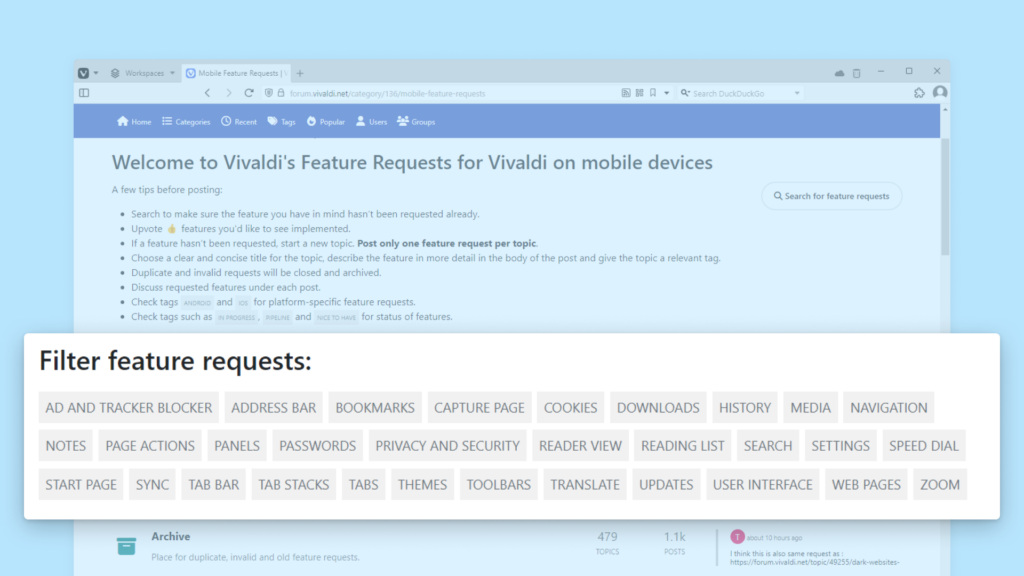
Feedback from our users plays a big part in prioritizing which features we’re going to work on next. For this, we have a special Feature Request categories on the Vivaldi Forum, where everyone can post and upvote the features they’d like to see in Vivaldi. To make browsing the requests easier, you can use the forum’s search feature (see Tip #246) or check out the tags to filter out interesting topics.

To view feature requests by tags:

  1. Open the relevant feature requests category:
  2. In the “Filter feature requests” section, click on the topic you’re interested in.

When you find a feature request you like, don’t forget to upvote 👍 the first post.

Mobile Feature Requests page on the Vivaldi Forum, with tags highlighted.

Tip #434

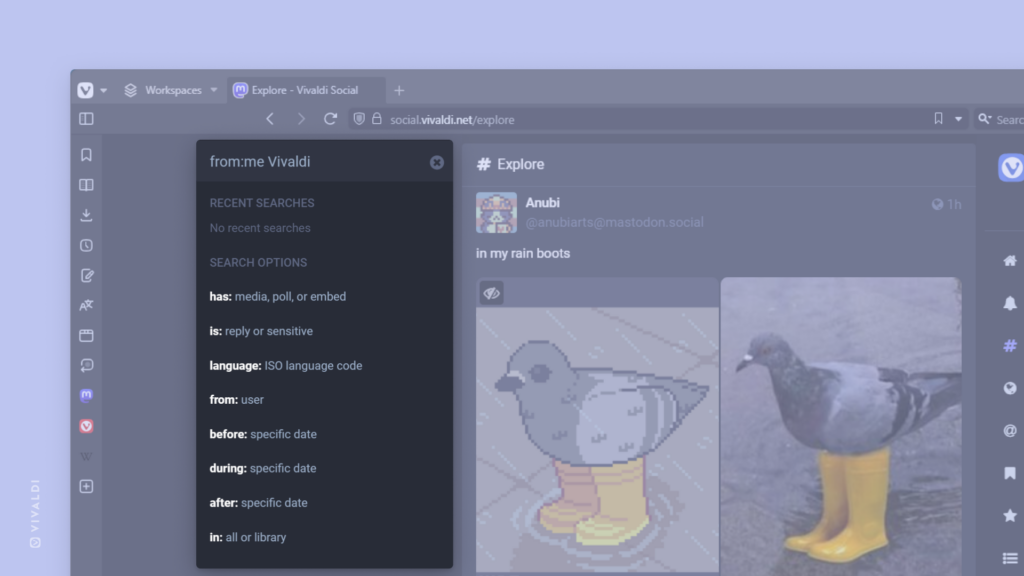
Search for your own posts on Vivaldi Social by preceding the search term with “from:me”.

As an active poster on Vivaldi Social, you might find it hard to locate your old posts as scrolling through all the posts you’ve made and boosted will take a long time. If you remember a word or a phrase you used in the post, you can use Vivaldi Social’s search feature to find that specific post.

To search your own posts:

  1. In the search field type “from:me”.
  2. Follow it with a space and the word or phrase you want to search for.
  3. Press “Enter” to see the results.

You can explore the full list of search operators in Tip #368.

Vivaldi Social with the search field and it's dropdown menu highlighted.

Tip #430

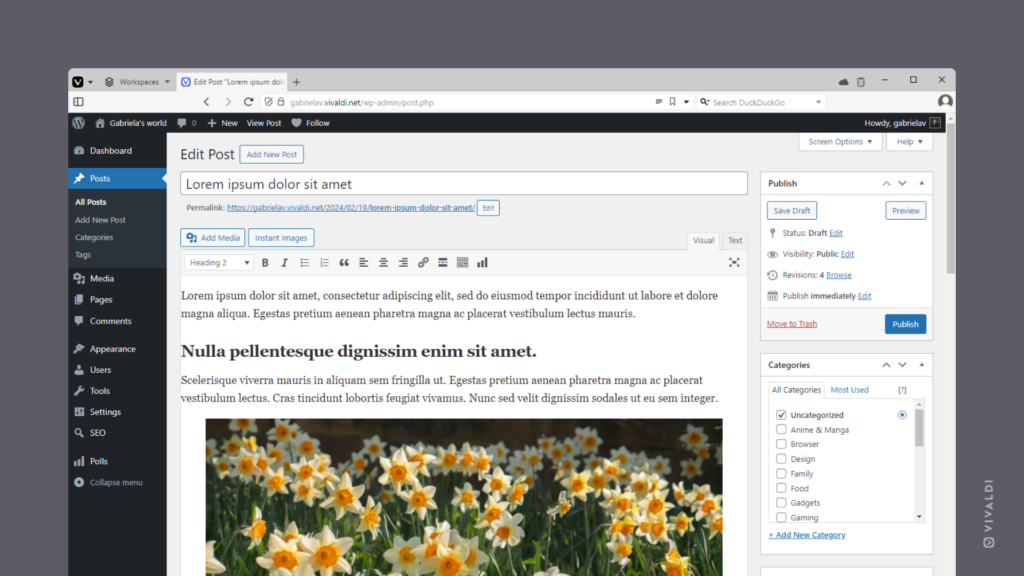
Set your preferred editor, Block or Classic, as the default editor for your Vivaldi blog.

Some time ago WordPress, the blogging platform used on vivaldi.net, introduced a new editor for blogs, called the Gutenberg editor. The new editor makes use of various blocks with numerous customization settings to build a post or a page. But since many still prefer the old version, aka the Classic editor, bloggers on vivaldi.net have the option to pick the one they prefer.

To set a default editor for your Vivaldi blog:

  1. Go to Dashboard > Settings > Writing > Default editor for all users.
  2. Select either “Classic editor” or “Block editor”.
  3. Click on “Save Changes”.

Tip #426

Eliminate language barriers on Vivaldi Social with one click.

Vivaldi Social brings together speakers of many languages. While it’s fascinating to know what people are up to in various parts of the world, it can be challenging if you don’t speak their language.

To translate content:

  1. Find a post on Vivaldi Social you want to translate.
  2. Click on the Translate button below the post.
  3. Click on Show original, to revert to the original text.

The option to translate a post is shown below all posts that are in a different language from your user interface, granted that the post’s author has set the correct language for their post.

Tip #421

Change Vivaldi Webmail’s user interface language to the one you understand best.

Vivaldi Webmail is an email service for active Vivaldi Community members. As the community includes speakers from many different languages, the language preferences for the browser and services also vary.

To change the user interface language on Vivaldi Webmail:

  1. Go to Settings > Preferences > User Interface > Main Options > Language.
  2. Select your preferred language.
  3. Click “Save”.

Tip #417

Customize Vivaldi Social’s user interface to your liking with a new theme.

At Vivaldi, we provide you with plenty of options to customize your environment according to your preferences. Both in the browser and on our web services. On Vivaldi Social, we offer you 10 different theme variations to choose from.

To change the theme:

  1. Go to Preferences > Appearance > Site theme.
  2. Choose the one you like.
  3. Click “Save changes”
  4. Go back to Vivaldi Social to view the theme.

Tip #410

Filter out text posts and view only shared media on someone’s Vivaldi Social / Mastodon profile.

Whether searching for a specific one or just interested in browsing all the images and videos someone has posted, there’s an easy way to view them in Vivaldi Social – in one place without text posts interfering.

All you need to do is go to the user’s profile and switch to the Media tab.

Tip #407

Add images to your Vivaldi.net blog posts with drag and drop.

Illustrations can add a lot to your blog content. When adding a new image to your post, you can always look for it through the File Manager/Finder dialog, but if you have the folder with images already open on the side, you can also just drag the image to your blog post.

To add images using drag and drop:

  1. In the post editor, add an Image or Gallery block.
  2. Place the browser and image folder windows side by side.
  3. Drag the file to the image block.