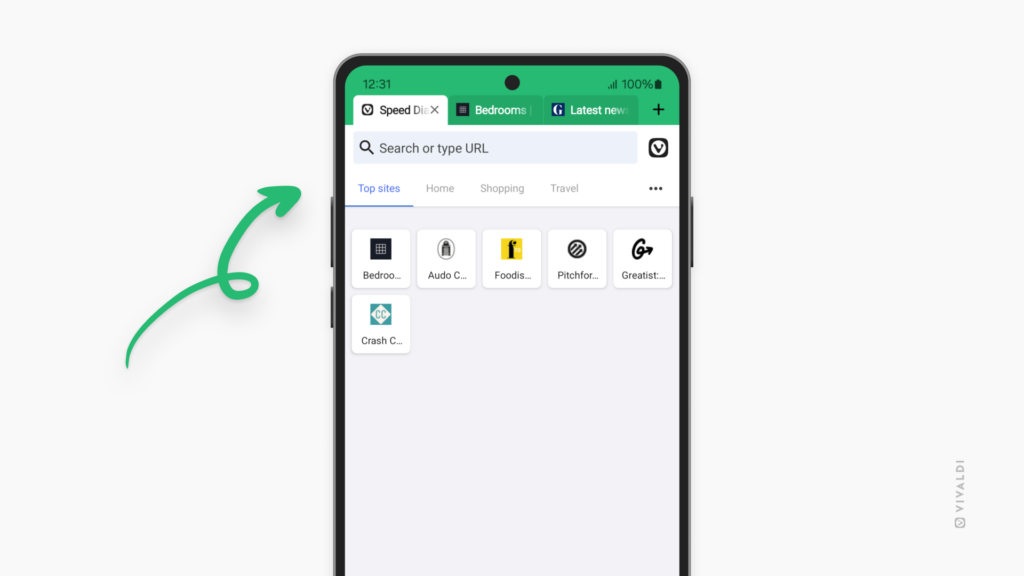
Put your Speed Dial Groups on the Start Page into the correct order.
Have you added many bookmark folders as Speed Dials on the Start Page, but the order is all wrong, and/or you’d prefer to have the Dashboard as the first page rather than the last? Don’t fret! There’s a super easy way to get them in the correct order.
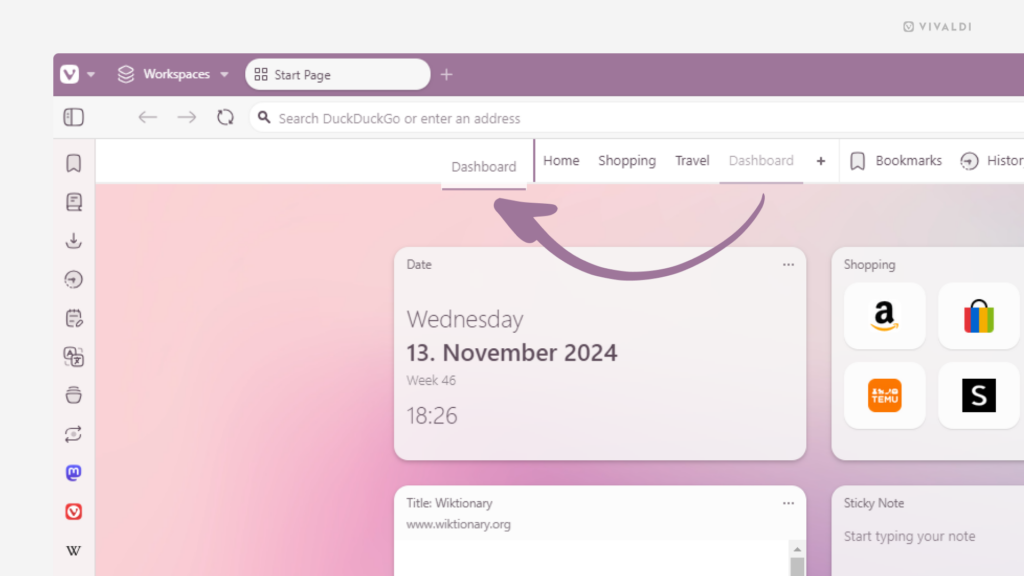
To reorder your Speed Dial Groups and the Dashboard:
- Click on the group you want to move and start dragging it right or left.
- Using the vertical line as a guideline, drop the group at its new location on the Start Page Navigation bar.