Tip #125

Choose how to display bookmarks and bookmark folders on the Bookmark Bar.

One of the fastest ways to access your favorite bookmarks is to display them on the Bookmark Bar. How much is shown about a bookmark is up to you to decide. For example, if you have a lot of bookmarks on the Bookmark Bar, you can save space by not displaying the bookmark name and rely only on the website’s logo to find the one you need.

To change how bookmarks are displayed on the Bookmark Bar:

  1. Go to Settings > Bookmarks > Bookmark Bar and make sure Show Bookmark Bar is enabled.
  2. Then, from Bookmark Bar Display setting, select one of the following options:
    • Text and Icon – Both the website’s logo and name is shown.
    • Text Only – Only the website’s name is displayed.
    • Icon Only – Only the logo is shown.
    • Bookmark Icon Only – Bookmark folders are displayed with both name and logo, but bookmarks only show the logo.
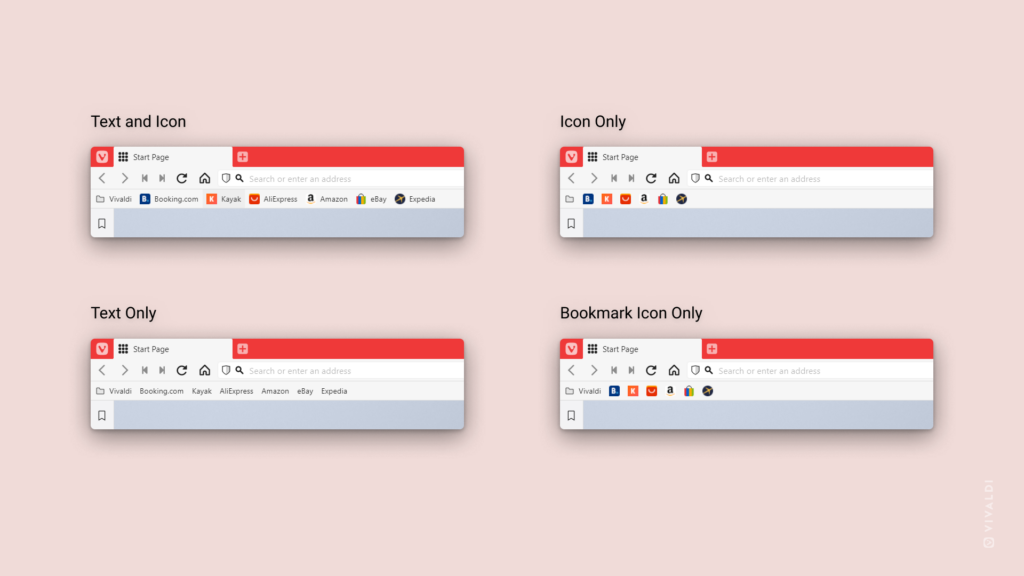
Top left corner of Vivaldi browser shown 4 times. Each showing a different way to display bookmarks and bookmark folders on the Bookmark Bar.

Tip #124

Make menus more fun and colorful with emojis.

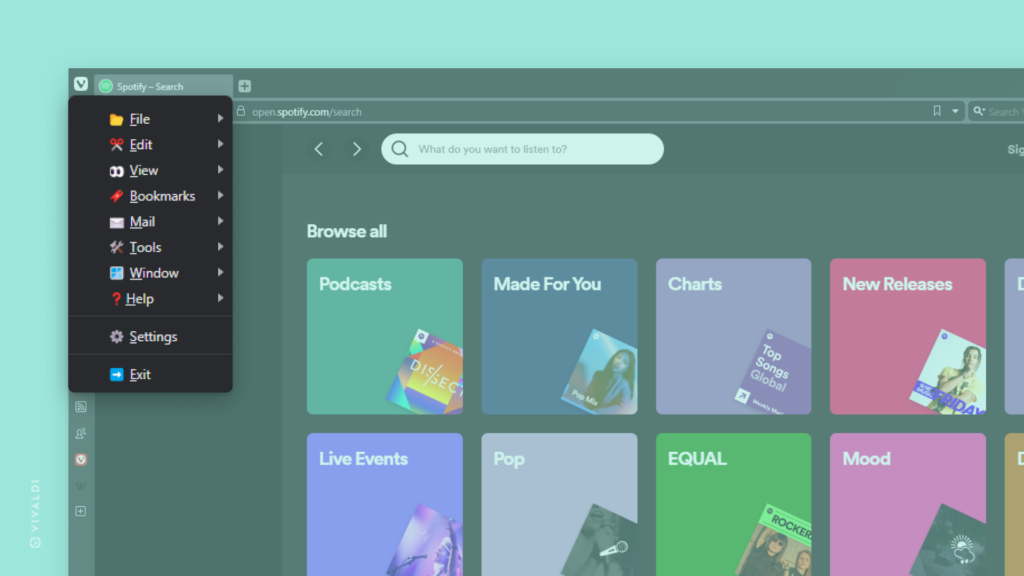
In addition to adding, removing and reordering menu items in Vivaldi, you can also rename them. Giving you the perfect opportunity to, not only name actions in a way that makes sense to you, but also add a little fun to them with emojis. 😎

To rename a menu item:

  1. Go to Settings > Appearance > Menu > Menu customization.
  2. From the drop-down menu select the menu you want to update.
  3. Right-click on the item or folder you want to edit and select Rename.
  4. While renaming the menu item, use your OS’s emoji keyboard (Win + . / ⌃ ⌘ Space) to find and add an emoji.
  5. Press Enter or focus elsewhere on the page to save the changes.

Tip #123

Run multiple actions in one go using Command Chains.

If you regularly use the same commands one after the other, you could create a Command Chain from them, which will execute your chosen commands in a sequence after a single action from you.

To create a Command Chain:

  1. Go to Settings > Quick Commands > Command Chains.
  2. Click on Add Command Chain.
  3. Give the new chain a name.
  4. Change Command 1 to an action you want to execute first.
  5. Click on Add Command on the right side to add the next command in the sequence.
  6. When you’re done adding the commands, click Test Chain to confirm that it works as expected.

Now you can trigger a chain from Quick Commands, assign it a custom Keyboard Shortcut or a Mouse Gesture, or add a button to one of the Toolbars

Take a look at example Command Chains from Vivaldi Community members on https://forum.vivaldi.net/topic/63828/command-chain-recipes.

Tip #122

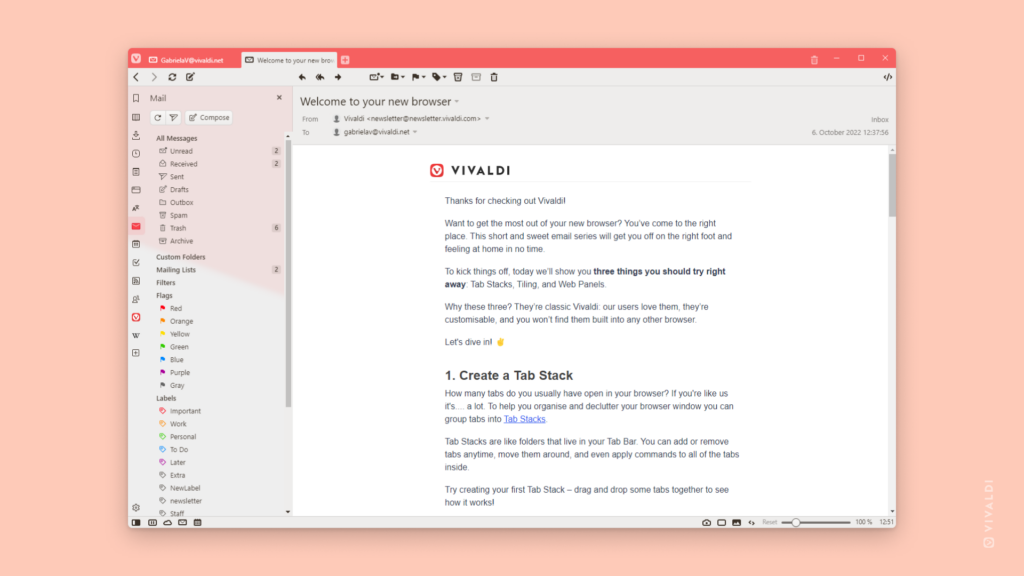
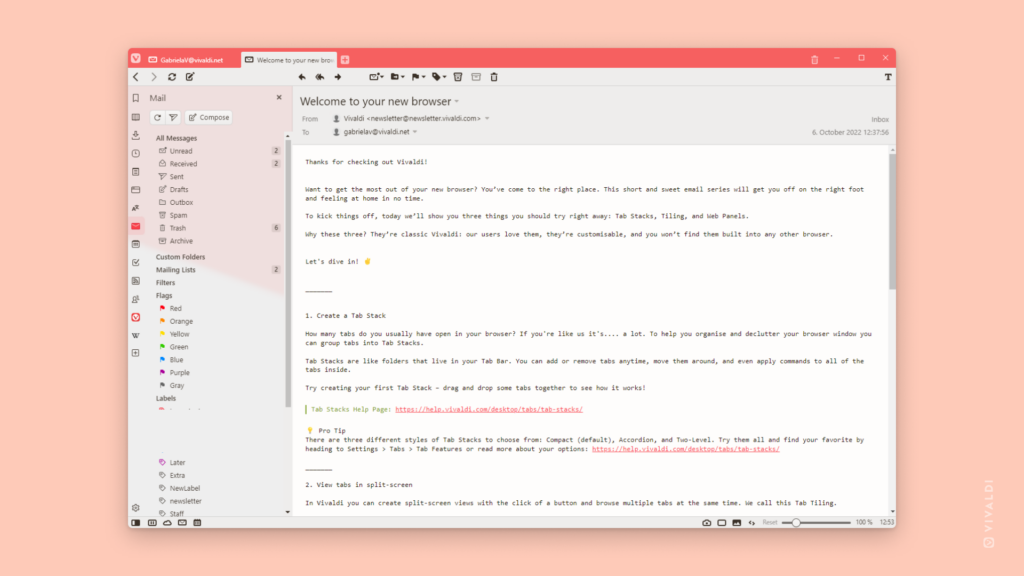
Switch between displaying Mail messages in HTML and Plain Text view.

Mail messages can come in either Plain text or HTML formatting. As the name indicates, messages sent in Plain Text display the email with just text without any additional formatting. Senders of HTML messages, on the other hand, can add all sorts of formatting (fonts, colors, images, etc.) to their message.

For HTML messages, Vivaldi Mail has an option to display them in Plain Text as well, removing all formatting and leaving only the core text.

To toggle the message view, either:

  • Click on the  /  Show Messages as Text/HTML button in the top right corner of the window.
  • Go to Settings > Mail > Mail Settings > Mail Rendering and choose your preferred view.
Vivaldi Mail with a message open in a tab and content displayed in HTML.
Message in HTML
Vivaldi Mail with a message open in a tab and content displayed in plain text.
Message in Plain Text

Tip #121

Hold down the ALT key while clicking on a folder to expand or collapse all folders in the folder tree.

In Bookmarks, Notes and Mail you can have content divided into multiple levels of folders, creating a so called folder tree.

To expand or collapse all folders in the folder tree in one go:

  1. Hold down the ALT key on your keyboard.
  2. Click on the / arrow in front of the folder name to expand or collapse the main folder and all its subfolders.

Tip #120

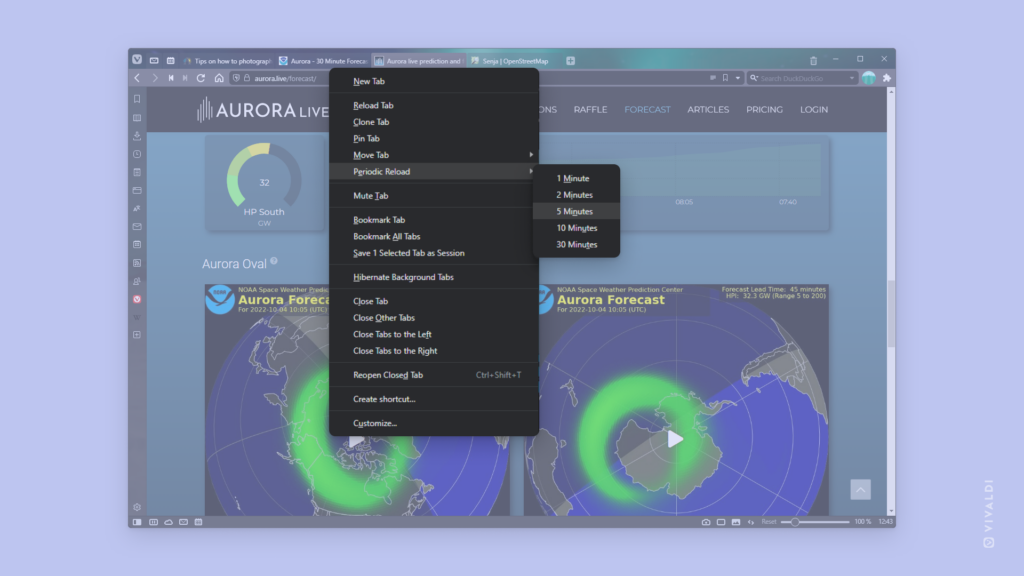
Reload pages automatically at your chosen interval to always see the latest content.

Periodic Reloading of Tabs can be used on sites where the page is often updated, but the new content isn’t automatically displayed. That way you can always be up tp date without needing to take extra steps.

To reload a tab every few minutes:

  1. Right-click on the Tab.
  2. Select Periodic Reload.
  3. Pick the reload interval between 1 and 30 minutes.

You can see the countdown until the next reload on the Tab, below the page’s favicon and title.

PS! Periodic reloading works on Web Panels too! 🙌

Tip #118

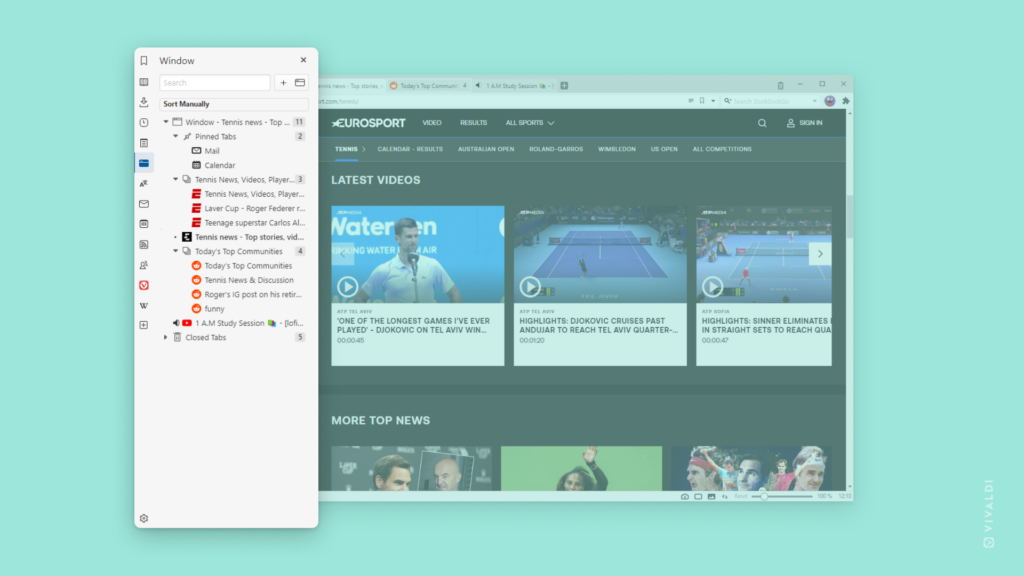
Use the Window Panel to get a tree-style overview of your Tabs.

Let’s say you want to get a tree-style view of your open tabs. All you need to do is open the Window Panel. Click on the Window Panel icon on the Panels bar and you will have a tree-style view of all your open tabs on one side of your browser window.

From the Window Panel, you can, for example, drag tabs to change their order. You can create a Tab Stack by dragging and dropping one tab over another. Also, you can even tile Tab Stacks to view them side-by-side by right-clicking the Tab Stack and select Tile from the context menu.

When you have so many tabs open that you can no longer see their titles on the Tab Bar, you can use the Window Panel to review and close the ones you no longer need. Just hover over the tab and click on the Close button on the right side.

If you want to hide the Tab Bar, the Window Panel is a good way to manage your tabs.

Tip #117

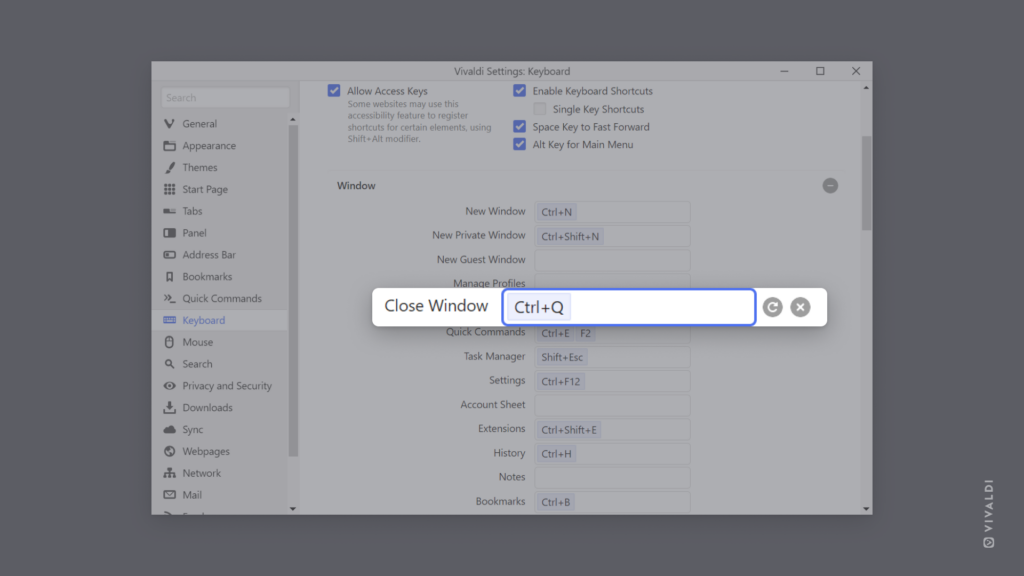
Assign your preferred key combinations to Keyboard Shortcuts.

Whether you’re used to a different shortcut, the default one is uncomfortable to use or the command you need doesn’t have a default shortcut, it’s easy to customize Vivaldi’s Keyboard Shortcuts to fit your preferences.

To add or change a keyboard shortcut:

  1. Go to Settings > Keyboard.
  2. Browse through the list of shortcuts to find the one you want to update.
  3. Click on the input field next to the shortcut’s name.
    If there’s already a shortcut that you want to remove, press ← Backspace to delete it.
  4. Press the key combination on the keyboard to set it as the new shortcut.

Tip #114

Play an old-school arcade game, Vivaldia, in the browser, even without an internet connection.

Vivaldia is a real 80s style arcade game built into the Vivaldi Browser. There for you whenever you want to take a break and enjoy a quick gaming session.

The game is available both on Vivaldi on desktop and Android and can be played even when you’re not connected to the internet.

To play the game, enter vivaldi://game in the browser’s Address Field. Press Space (on desktop) or tap the screen (on Android) to start the game.

For more detailed instructions about the gameplay, check the Help pages about Vivaldia on desktop and Vivaldia on Android.

Tip #113

Hide the Status Bar to give more space for page content.

Status Bar on the bottom edge of the browser window includes useful information and is the place to access many of Vivaldi’s key features. But sometimes being able to see those extra pixels on a page is more valuable. Or maybe you just like a clean minimalistic look. Hiding the Status Bar would be one way to achieve these goals.

To hide the Status Bar or display it again, use one of the following options:

  • Go to Settings > Appearance > Status Bar to decide whether to:
    • Always show the Status Bar;
    • Only show status info overlay;
    • Hide it completely.
  • Go to Vivaldi menu button Vivaldi Menu > View >  Show Status Bar.
  • Type “Status Bar” in Quick Commands.
  • Use the Keyboard Shortcut Ctrl+Shift+S / ⌘ / to toggle the visibility.
  • Create a Mouse Gesture for the action.

To still use the features on the Status Bar, consider moving the buttons you need to the Address Bar. Check out Tip #102 or the Help page about Editing Toolbars for instructions. Alternatively, look for other ways to access them, for example via the main Vivaldi menu or through shortcuts.

Tip #112

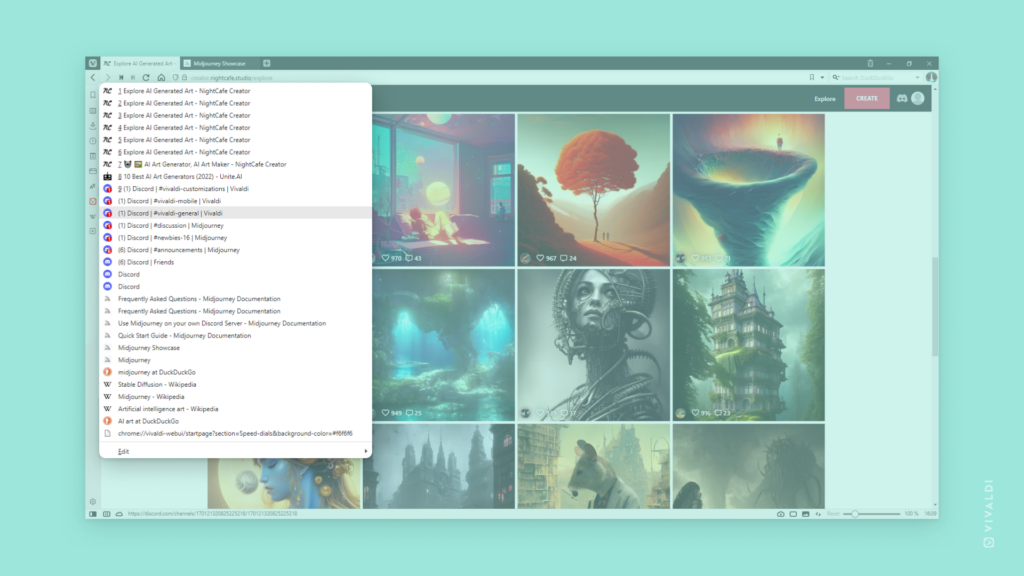
Right-click on History Back and Forward buttons to view and open recently visited pages.

To see which pages you’ve recently visited in the active tab, right-click or long-click on History Back and Forward buttons on the Address Bar. Click on the entry in the list to navigate to the page again.

If you want to stay on the current page, but also want to open a page from History, hold down the Shift key while clicking on an entry to open the link in a new tab. Hold down the Ctrl / Cmd key and click or click with you middle mouse button, if you want to open the link in a new background tab.

Vivaldi window with recently visited pages li

Tip #111

Enable automatic translation of selected text to see translations of web page content immediately in the Translate Panel.

With Vivaldi Translate you can translate full pages, but also just selected sections of the page. Translate Panel with the automatic translation option enabled makes translating short paragraphs a breeze.

To translate selected text automatically:

  1. Open the Translate Panel.
  2. Tick the box for Auto-translate selected text.
  3. Keep the panel open to see the translations.
  4. On a web page select some text for translation.

Tip #109

Clone a tab to create an exact copy of it.

Cloning a tab will make an exact copy of the tab, including its history. It’s a great way to keep the current tab as is and use the duplicated tab to keep browsing or to go back in history.

To clone a tab on desktop, use one of the following methods:

You can also clone multiple tabs at once, if you select the tabs before using one of the above commands. Cloned tabs will open in the background.

To clone a tab on Android:

  1. While the tab is open, open the Vivaldi menu.
  2. Select Duplicate tab.

After cloning you’ll be taken to the duplicated tab.

Tip #108

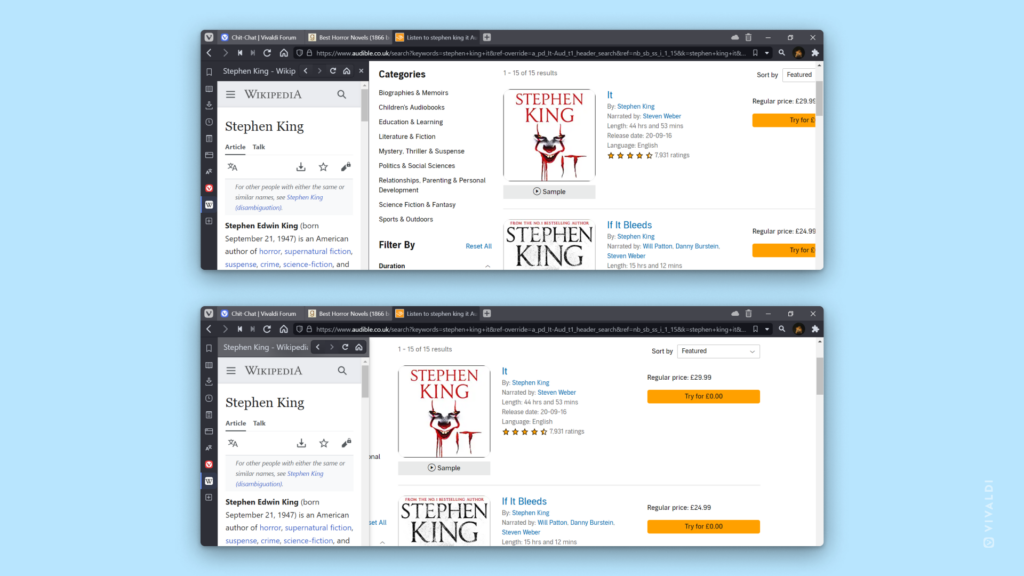
Make Panels float over page content instead pushing the content aside.

By default, opening and closing Panels will resize the web page to make space for the panel. But panels can also be made to float over the page content. Floating panels are useful when you briefly want to check something and don’t need to keep it open while working on the page. For example, Reading List Panel could be floating, since you’d only want to quickly add or open a web page from it, but then it should get out of the way again. While the Mail Panel with all the folders is useful to keep open on the side, without it covering anything.

To make all panels float:

  1. Go to Settings > Panel > Panel Options.
  2. Enable Floating Panel.

Alternatively, Shift + click on the Panel toggle button on the left side of the Status Bar.

To change the floating state only for specific panels:

  1. Right-click on the panel.
  2. Select Floating Panel > This Panel.
Top window with a non-floating panel and bottom window with a floating panel.