Tip #617

Take screenshots of full web pages with the Capture Page tool.

Have you ever tried to take a screenshot, but the target area doesn’t fit on your screen? In Vivaldi, you can screenshot whole web pages, including the areas that are out of view.

To capture a full page:

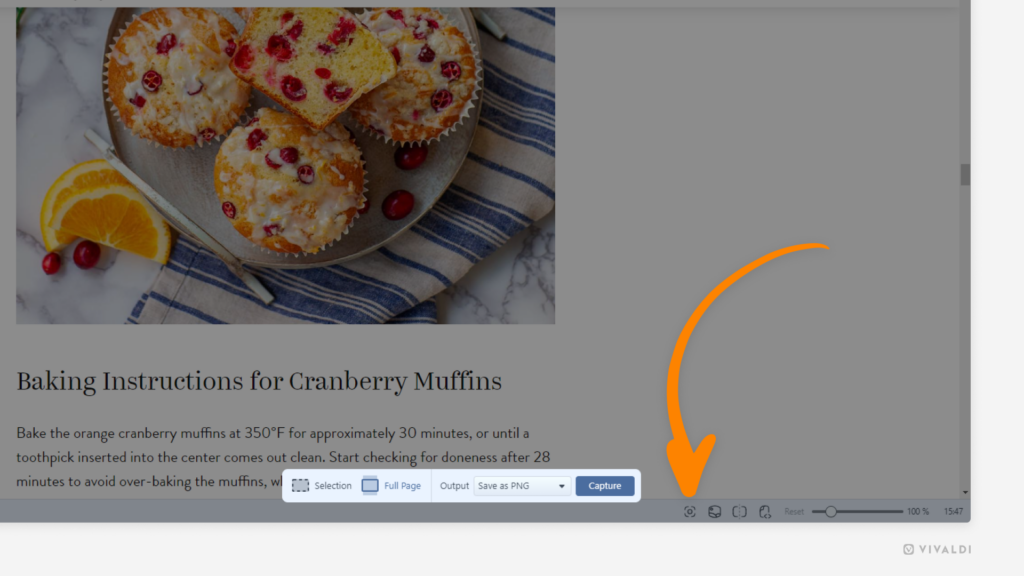
  1. Click on the Capture Page button on the Status Bar.
  2. Select “Full Page” as the area you want to capture.
  3. Select the preferred output option.
  4. Click “Capture”.
A recipe from Tatyana’s Everyday Food open in Vivaldi browser. Screen capture tool has been activated and an arrow is pointing at the Capture Page button on the Status Bar.

Tip #501

Create a new note with a screenshot from a web page.

Found something interesting on a webpage that you want to save, but an image would convey the message better than text? With Vivaldi, you can take a screenshot of the web page and automatically create a new note with it.

To save a screen capture as a note:

  1. Click on the Capture page” button on the Status Bar.
  2. Decide whether you want to capture a selection or the full page.
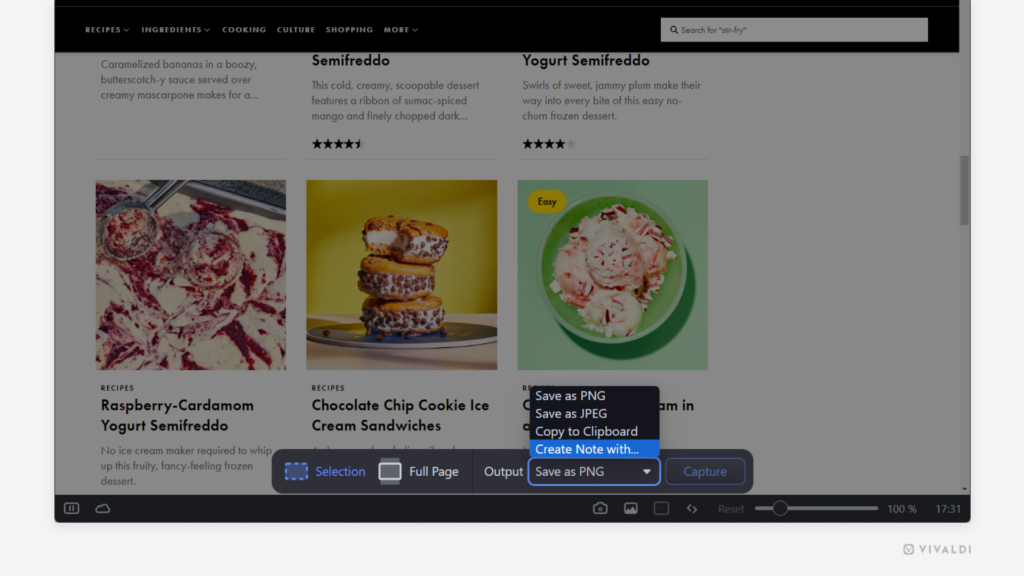
  3. Select “Create Note with…” as the output.
  4. If you chose to save just a section of the web page, select the area.
  5. Click “Capture”.

The captured screenshot will be attached to a new untitled note, which you can view and edit in the Notes Panel or Notes Manager.

Vivaldi browser with the Capture page tool in focus and the output  menu open.

Tip #299

Take a screenshot of the web page with the Capture tool on Vivaldi on Android.

Sometimes grabbing a screenshot is the best way to save or share web content. Especially, if you want to share more than just images.

You could use your mobile device’s capture feature, but that will also show the status bar and the browser interface, requiring you to spend more time on cropping the output. In addition, you’ll only be able to capture the visible area of the page. Vivaldi’s Capture tool offers a better solution.

To capture a screenshot in Vivaldi on Android:

  1. Open the main Vivaldi menu and select “Capture page”.
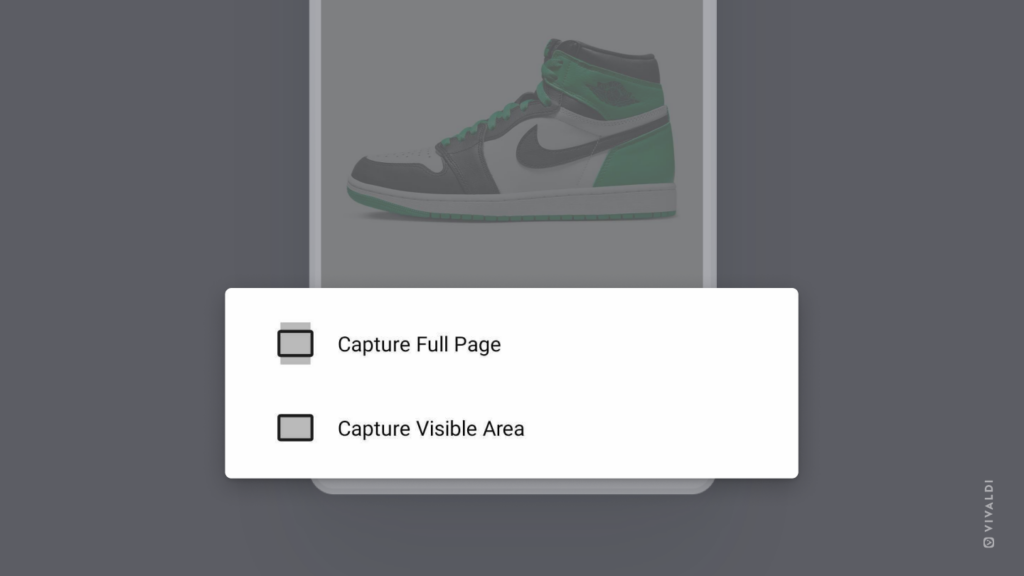
  2. Select whether you want to capture the whole page or just the visible area.

The screenshot will be saved to your image gallery, from where you can open it for viewing, further edits, and sharing.

A page with an image of a sneaker open on mobile. Screenshot options for capturing a full page or just the visible area are highlighted.

Tip #132

Choose the most relevant output for screen captures.

Vivaldi’s Capture tool is a convenient way to take screenshots of either full web pages or of sections of the page. On Desktop you also have the option to store the capture in your preferred format.

To capture a screenshot:

  1. Click on Capture Page on the Status Bar or use your preferred shortcut.
  2. Select whether you want to capture a small area or the whole page.
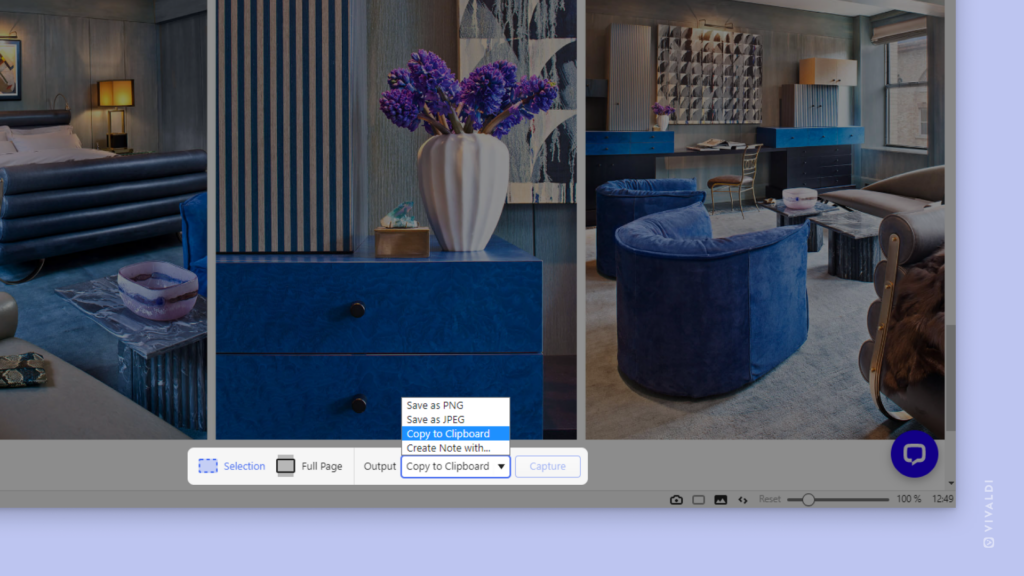
  3. Then select the output format:
    • Save as JPG,
    • Save as PNG,
    • Save to clipboard,
    • Create a new note from the capture.
  4. If you chose to capture a selection, define the capture area.
  5. Click Capture.

The first two output options will save the file automatically in the location defined in Settings > Web Pages > Image Capture > Capture Store Location. Saving to clipboard allows you to paste the screenshot in a document, chat, etc. without needing to take additional steps. Creating a note will attach the screenshot to a new untitled note, which you can view and edit in the Notes Panel or Notes Manager.

Bottom right corner of the Vivaldi Browser window with Capture tool's menu open. Output dropdown menu has been opened to show the selection of output options.

Tip #25

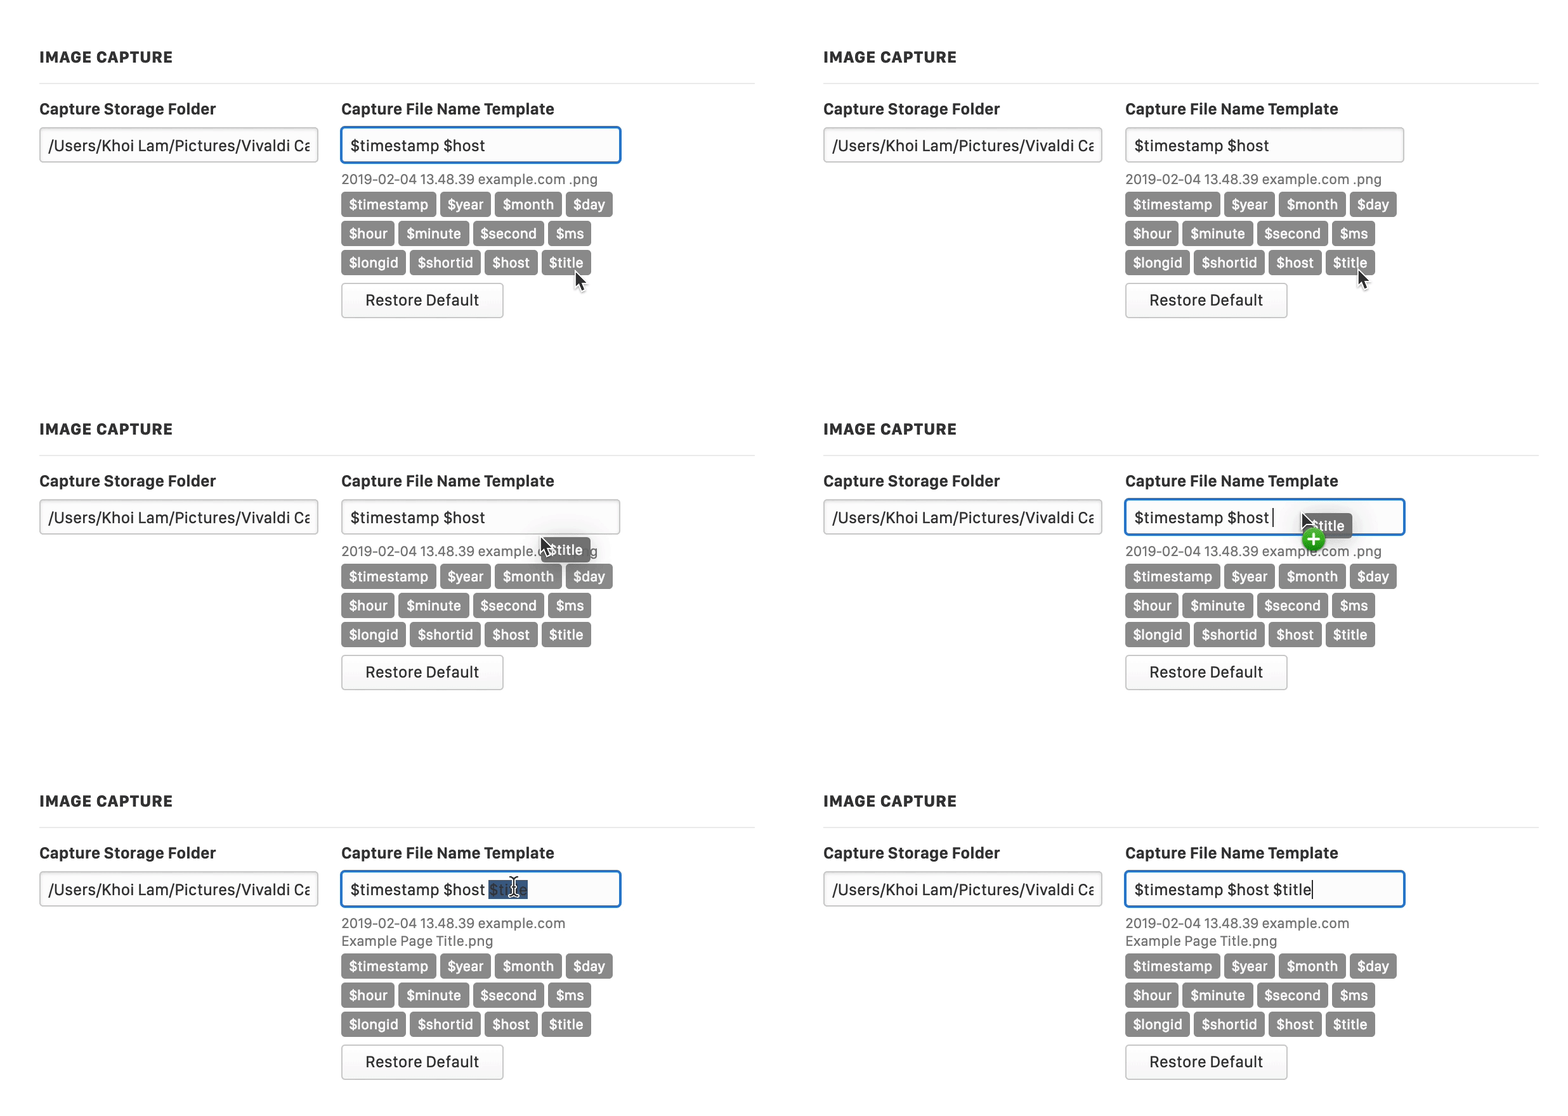
Create a page capture title template that works for you.

When you take a screenshot of a web page using Vivaldi’s Capture tool and save it as a file on your computer, a title will be generated automatically. You can decide what information the title includes. To change the template:

  1. Go to Settings > Webpages > Image Capture.
  2. Add the information you want in the title using drag and drop and delete the bits that you don’t need. You can even type something in the template field yourself. 😊
Animation showing the changing of capture name template