Tip #579

View and manage all files you’ve uploaded to your blog on vivaldi.net from the same place.

Images, videos and other types of files can convey important information or just decorate your blog posts. On your blog on vivaldi.net you can manage all media files in the Media Library.

To access the Media Library:

  1. Go to your blog’s Dashboard (for example, by clicking on the blog’s name on the black menubar at the top of the blog).
  2. Click on “Media” in the menu on the left side.

In the Media Library, you can upload new files, as well as view, edit and delete existing files.
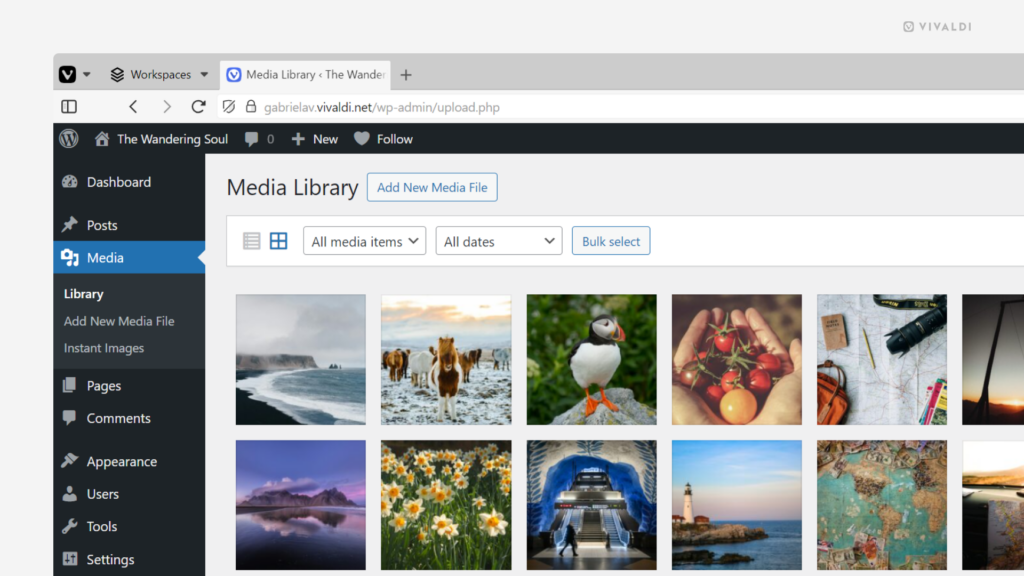
Vivaldi.net blog's Media Library open in Vivaldi Browser.

Tip #542

Pin an important blog post to the top of your Vivaldi.net blog.

Whether an introduction to your blog or a post that you’re especially proud of, pinning it to the top of your blog will ensure that no one will miss it.

To pin a blog post:

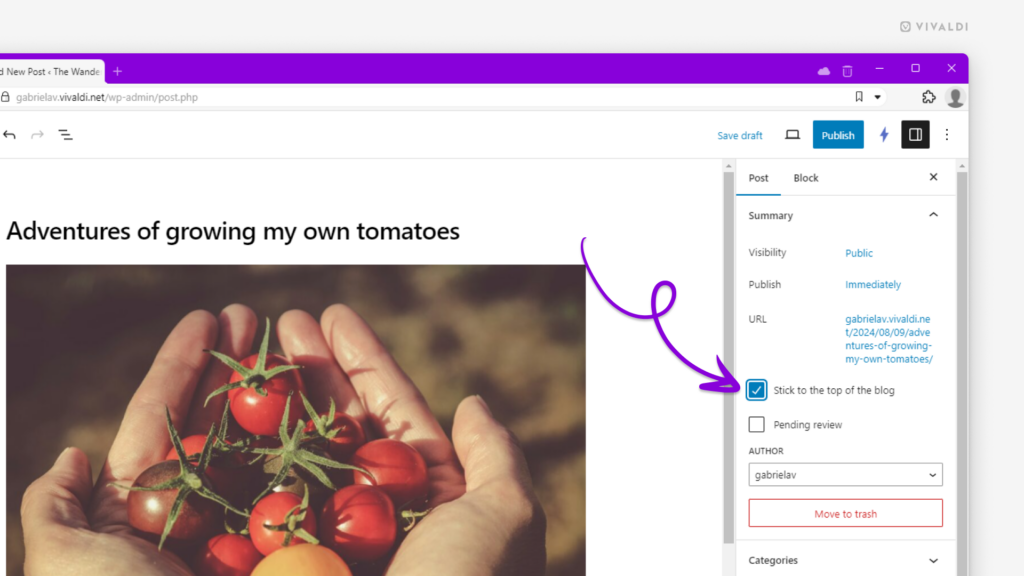
  1. Open the post you want to pin in the editor.
  2. Go to the post’s settings panel on the right side.
  3. Tick the box for “Stick to the top of the blog”.
Vivaldi.net blog post open in the WordPress editor. An arrow is pointing to the "Stick to the top of the blog" checkbox in settings panel.

Tip #503

Replace icons on menu buttons with text labels in your Vivaldi.net blog’s editor.

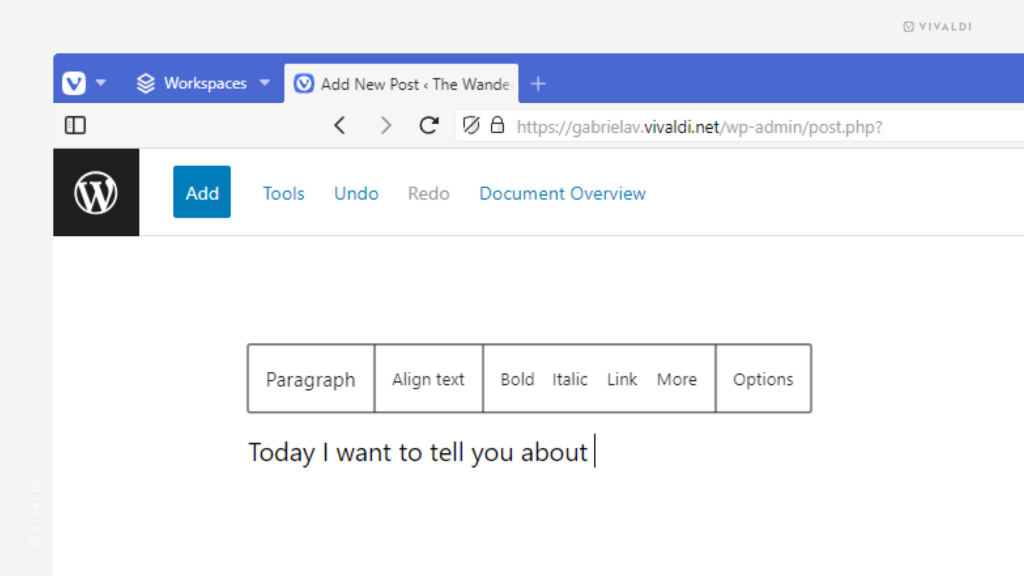
Having too many icons can sometimes make things confusing. To make it clear what one or the other button on your Vivaldi blog editor’s menus does, you can opt to display text labels instead of icons.

To switch from icons to text:

  1. Open the blog post editor on your Vivaldi.net blog.
  2. Click on the Options menu in the top right corner.
  3. Select Preferences.
  4. In General > Appearance, toggle on “Show button text labels”.
Vivaldi.net blog editor with text on buttons instead of icons.

Tip #478

Show off your personality and what your blog is about with a custom header image.

Give your blog on Vivaldi.net a look that reflects you and the topics you’re blogging about – from theme colors to fonts, a logo, and a header image. In this tip, let’s find out how to add the latter.

To add a header image to your blog:

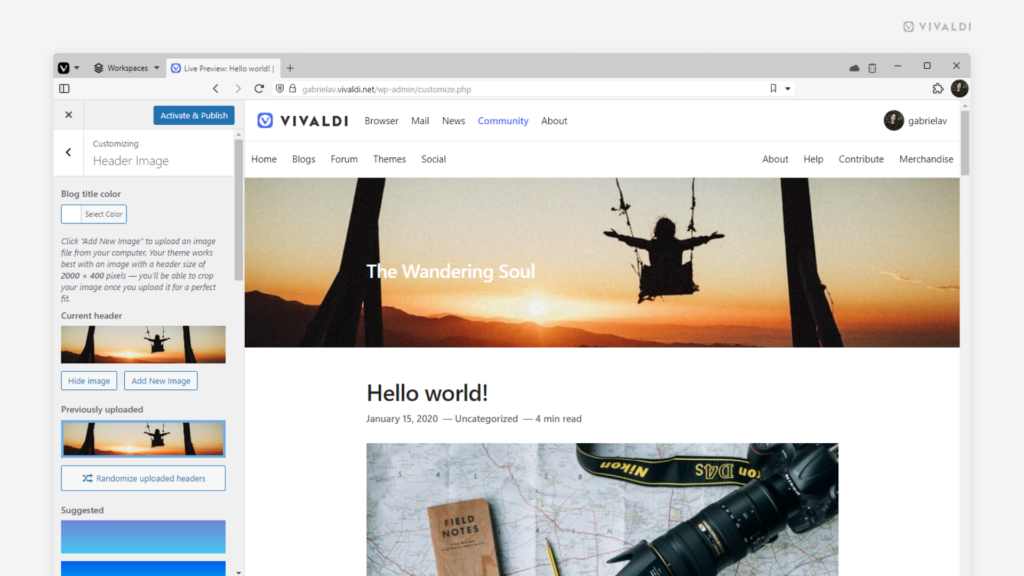
  1. Click “Customize” on the top menu bar of your blog or go to Dashboard > Appearance > Customize.
  2. Go to the Header Image section.
  3. Click “Add New Image” to upload a new image, select one from your Media Library, or search for an image using Instant Images. Alternatively, select a premade color gradient as the header image.
  4. If needed, change the blog title color.
  5. Click “Publish” to save the changes.
Blog customization page open on the header image section.

Tip #446

Use the Code Editor to write blog posts on your Vivaldi.net blog.

In Tip #430 we talked about the Block and Classic editors for your Vivaldi.net blog. But there’s a third option you can use with either of the editors as the default. That’s the Code Editor, which allows you to write your post using HTML.

To enable the Code Editor:

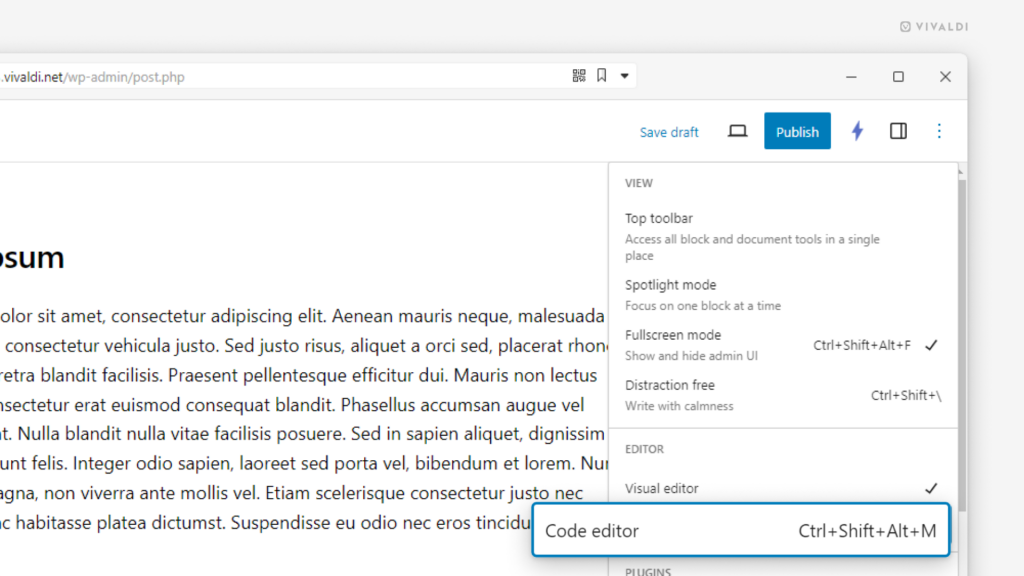
  • Open the Options menu from the top right corner and select “Code Editor”.
  • Use the Keyboard Shortcut Ctrl + Shift + Alt + M / Command + Option + Shift + M.

To exit the Code Editor, select “Visual Editor” from the Options menu or use the same shortcut.

Options menu open on a Vivaldi.net blog with the Code Editor option highlighted.

Tip #430

Set your preferred editor, Block or Classic, as the default editor for your Vivaldi blog.

Some time ago WordPress, the blogging platform used on vivaldi.net, introduced a new editor for blogs, called the Gutenberg editor. The new editor makes use of various blocks with numerous customization settings to build a post or a page. But since many still prefer the old version, aka the Classic editor, bloggers on vivaldi.net have the option to pick the one they prefer.

To set a default editor for your Vivaldi blog:

  1. Go to Dashboard > Settings > Writing > Default editor for all users.
  2. Select either “Classic editor” or “Block editor”.
  3. Click on “Save Changes”.

Tip #407

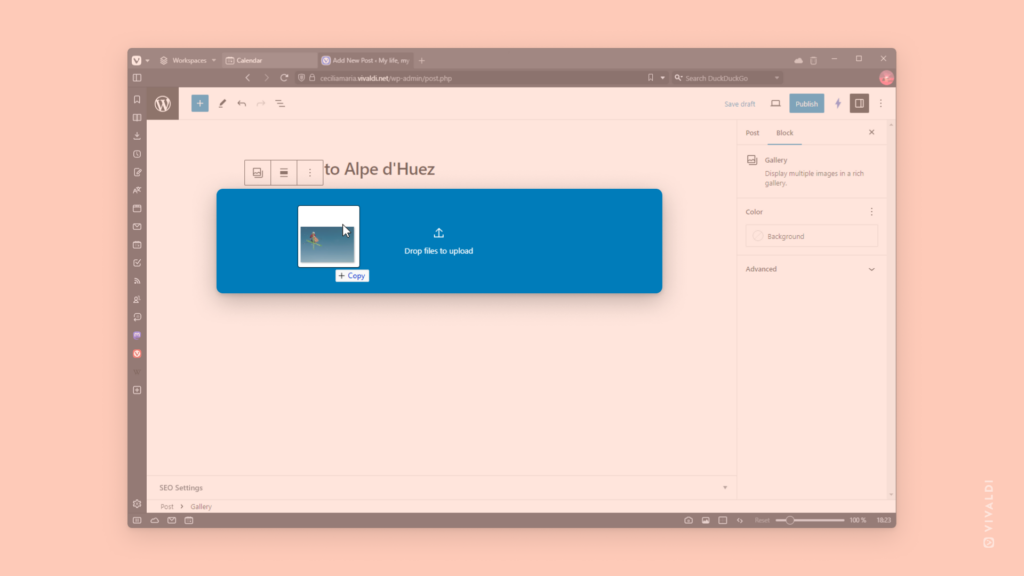
Add images to your Vivaldi.net blog posts with drag and drop.

Illustrations can add a lot to your blog content. When adding a new image to your post, you can always look for it through the File Manager/Finder dialog, but if you have the folder with images already open on the side, you can also just drag the image to your blog post.

To add images using drag and drop:

  1. In the post editor, add an Image or Gallery block.
  2. Place the browser and image folder windows side by side.
  3. Drag the file to the image block.

Tip #394

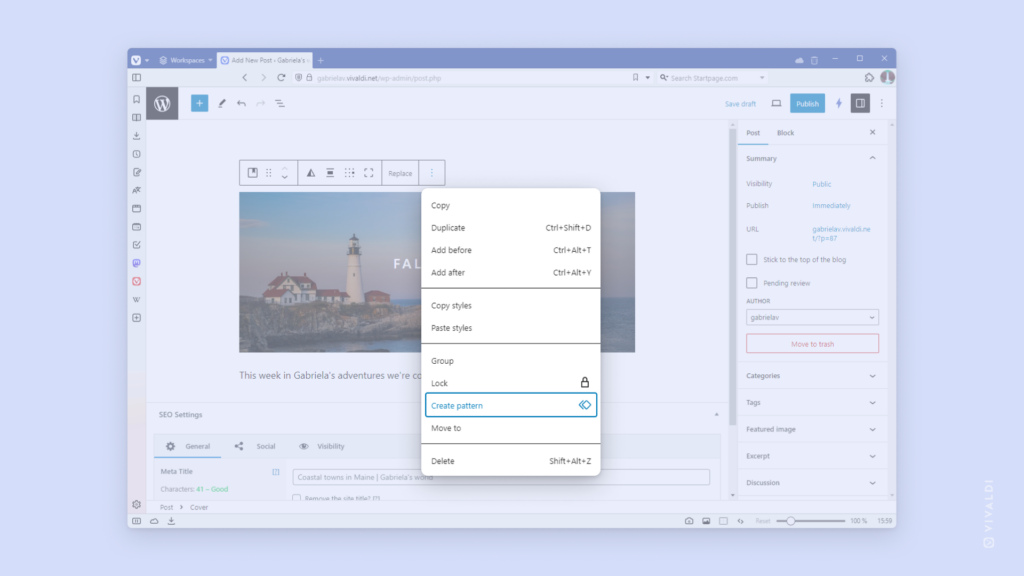
Create your own custom Block Patterns that you can easily insert into your blog posts on Vivaldi.net.

Patterns are a collection of blocks you can reuse in your Vivaldi blog’s posts and pages. If you regularly add the same things to your blog posts that require lots of setting changes, Patterns can help you save time and maintain consistency across your posts. For example, you might want to create a cover that is shown at the top of each post which includes headings with edited typography and an image with specific color overlay settings. Instead of creating one from scratch in each post, you can set it up once and save it as a Pattern. That way, in future posts you just need to find the pattern and insert it.

To create a Pattern:

  1. Create the blocks you want to save as a Pattern.
  2. Select them all.
  3. Click on “Options” in the block’s menu.
  4. Select “Create pattern”.
  5. Give the new pattern a name, add it to a category, and decide, whether any changes made to the pattern should be synced.
  6. Finish by clicking “Create”.

To use a saved Pattern:

  1. Click on “Toggle block inserter” and go to the Patterns tab.
  2. Find your patterns and click on the one you want to add to your post/page.

Tip #386

Report inappropriate content and help us keep Vivaldi Community clean and friendly.

Have you ever come across a post or comment on Vivaldi Social, Forum, or Blogs and thought it doesn’t belong on Vivaldi.net? Whether the content is spam, rude, or in other ways not in line with Vivaldi’s Code of Conduct or Terms of Use, we’d appreciate it if you could let us know about it.

To report posts on Vivaldi Social.

  1. Click on the 3 dot menu button in the bottom right corner of the post.
  2. Select “Report [username]”.
  3. Pick a reason.
  4. Select the offending posts.
  5. Add a comment.
  6. Submit the report.

To Flag posts or users on the Forum:

  1. Click on the 3 dot menu button in the bottom right corner of the post.
  2. Select “Flag this post” or “Flag this user”, if more than one of their posts is inappropriate.
  3. Pick a reason.
  4. If you chose “Other”, add a comment.
  5. Submit the report.

To report a blog:

  1. Below an offending post, click on “Report”.
  2. Pick a reason.
  3. Add a comment.
  4. Submit the report.

Tip #358

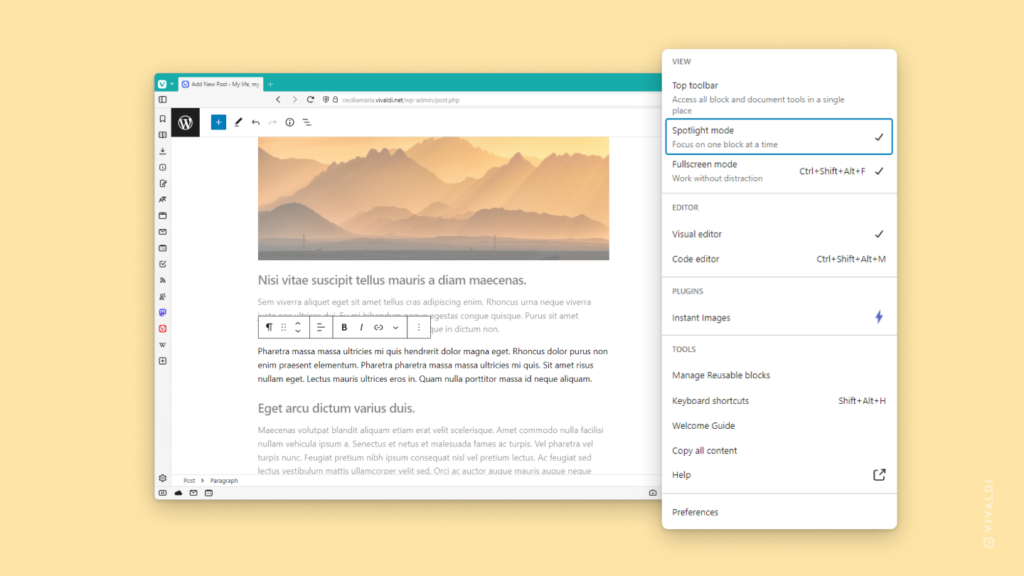
Make use of the blogging platform’s Spotlight mode to focus on the block you’re working on.

Do you sometimes find it hard to write a post on your Vivaldi blog? Look into Spotlight mode. It dims out all other blocks in the post/page editor, helping you keep your attention on the block you’re currently working on.

To enable Spotlight mode:

  1. In the top right corner of the editor, click on Options.
  2. Enable Spotlight mode.
Vivaldi blog editor with Spotlight mode enabled. Options menu is open on the side.

Tip #328

Type / and the name of the block to add it to your Vivaldi.net blog post.

Vivaldi Community Blogs are built on WordPress and use the Gutenberg editor with its block structure. When you’re writing a new blog post and want to add something other than simple text, such as headings, lists, images, videos, etc., you can click the Add Block button and choose one from the selection of blocks or you can insert one by just typing.

To insert a new block:

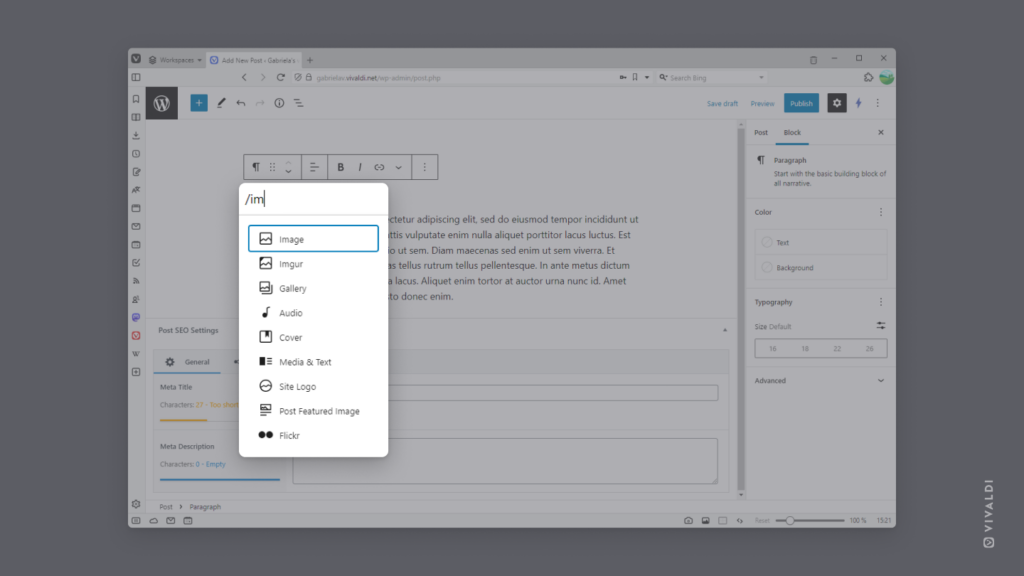
  1. At the start of a new paragraph, enter the forward slash symbol /.
  2. Then, with the up and down arrow keys, select a recently used block or start typing the name of the block you need.
  3. Press Enter to insert the block.
Vivaldi.net blog editor open in Vivaldi browser. "/im" has been typed and suggestions for image related blocks are displayed in a menu.

Tip #311

Format your Vivaldi blog’s content beautifully and easily with Patterns.

Block Patterns are premade layouts that you can add to your Vivaldi blog‘s posts and pages. They make showing off your content super easy, as you won’t need to spend time fiddling with different blocks and their settings.

To add a pattern to your blog:

  1. Open the post or page editor.
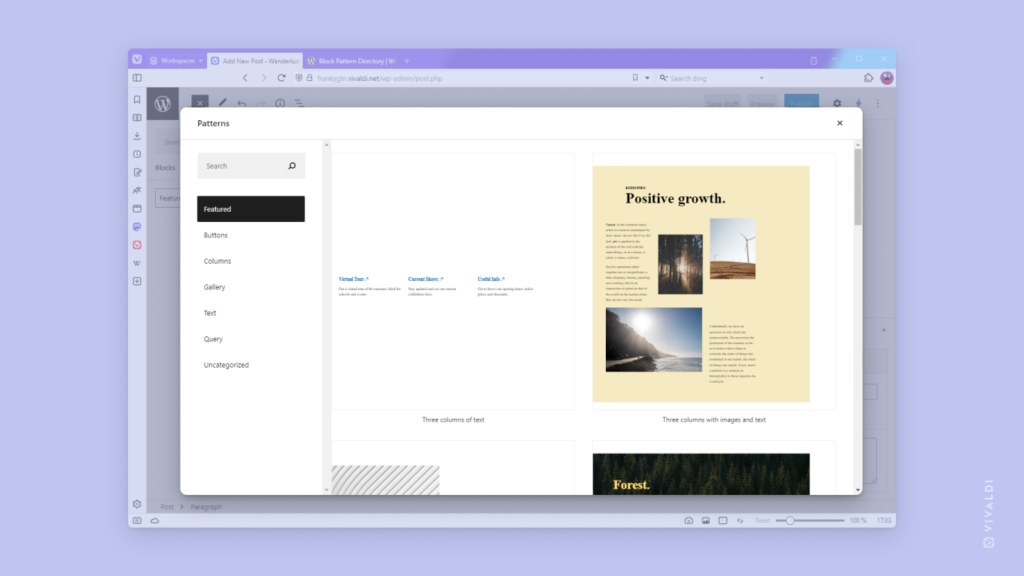
  2. Click on “Toggle block inserter” and go to the Patterns tab. (Click on “Explore” for a bigger view.)
  3. Browse through available patterns and click on the one you want to add to your post/page.
  4. Replace the example content with your own text and images.

For an even bigger selection of Patterns, visit https://wordpress.org/patterns/.

Pattern library open in Vivaldi Community Blog's editor.

Tip #282

Filter blog posts by category on blogs.vivaldi.net.

The Community on Vivaldi.net writes blog posts on various different topics. We’ve created a number of categories blog authors can list their posts in. That way, readers can read posts on topics they’re interested in more easily and bloggers can increase the visibility of their content.

To see a selection of blog posts on the topic you’re interested in:

  1. Go to blogs.vivaldi.net.
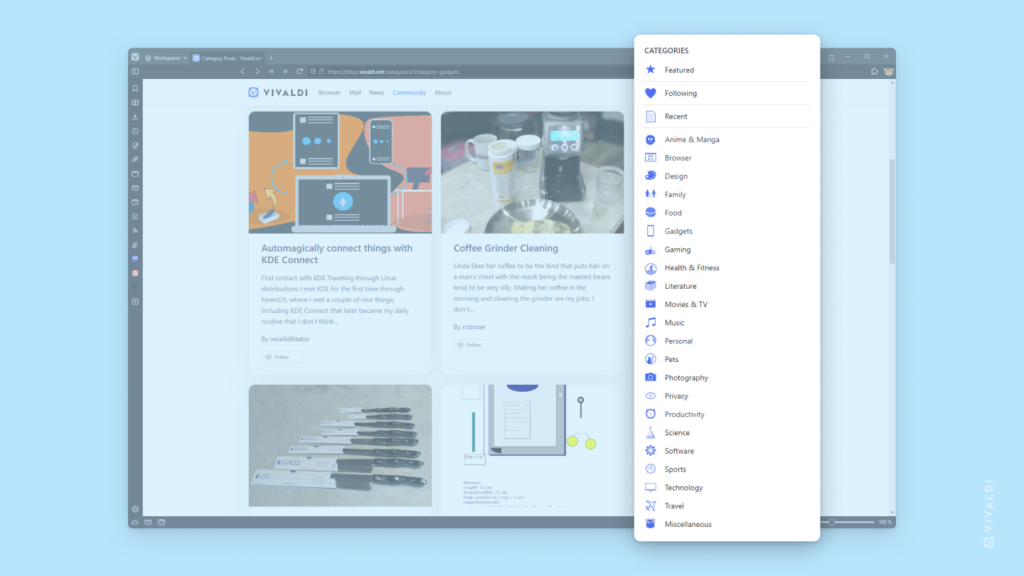
  2. In the menu on the right side of the page, click on one of the categories.
  3. Browse blogs on the chosen topic.
Community blogs page open on the Gadgets category. List of categories is highlighted.

Tip #256

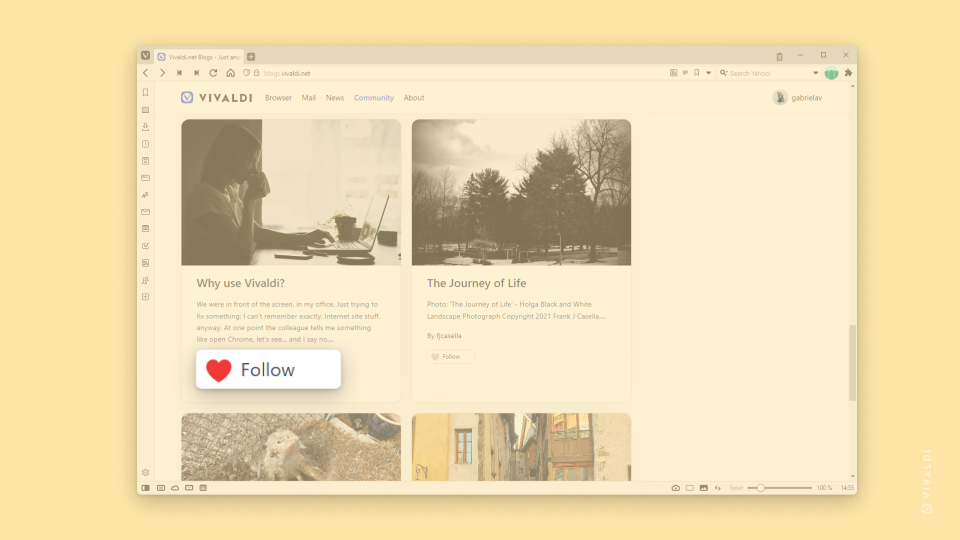
Click ♥ Follow to keep track of new posts from your favorite bloggers on Vivaldi.net.

There are many active bloggers in the Vivaldi Community, who write on all topics imaginable. To see the latest posts from your favorite bloggers make sure to follow them. There are several ways to do that. But first make sure that you’re logged in to your Vivaldi account.

  • Visit their blog and click ♥ Follow on the black menu bar at the top of the page.
  • When you come across one of their posts on blogs.vivaldi.net, click ♥ Follow on the post preview (see image below).
  • On the WordPress Dashboard > Reader click ♥ Follow on the post preview.

You can also see the posts from followed blogs in a few places:

Blogs.vivaldi.net page open in Vivaldi browser with Follow button below one of the posts magnified.