Tip #604

Decide which outgoing emails should get your signature and which should not.

A signature is a personalized section that is automatically added to the end of messages you send from Vivaldi Mail. When you’ve created a signature in Mail settings it’ll be added all new emails you start writing. Optionally, you can add the signature also to reply emails and emails you’re forwarding.

To review signature settings:

  1. Go to Settings > Mail > Mail Accounts.
  2. Select an account.
  3. Add a signature, if you don’t have one already.
  4. Below the signature input field, decide whether, in addition to new emails you write, you also want to include the signature in replied and forwarded messages.
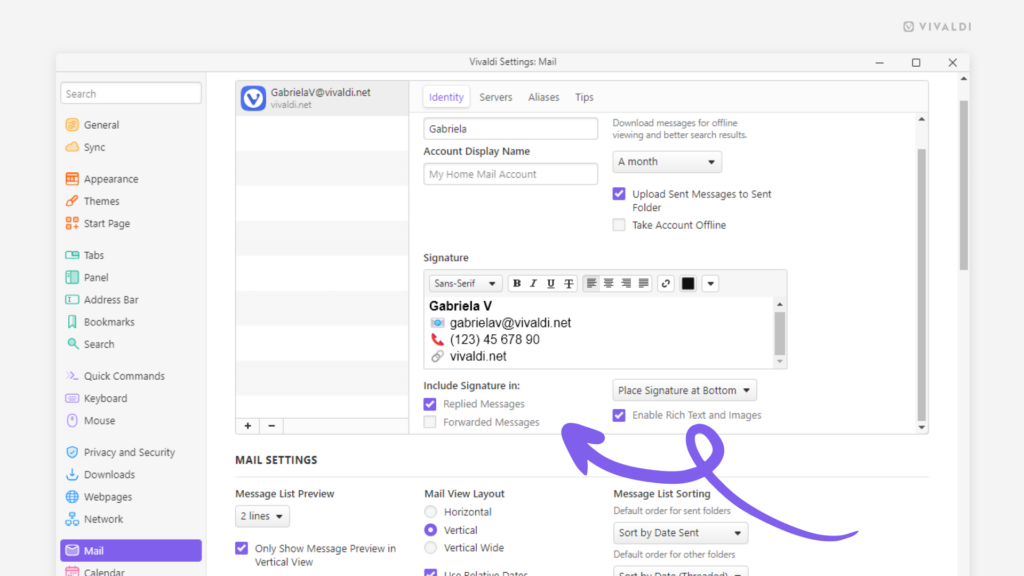
Mail account settings in Vivaldi. An arrow is pointing at the two signature options for including the signature in replied and forwarded emails.

Tip #585

Skip scrolling and jump to the latest emails with a click of a button.

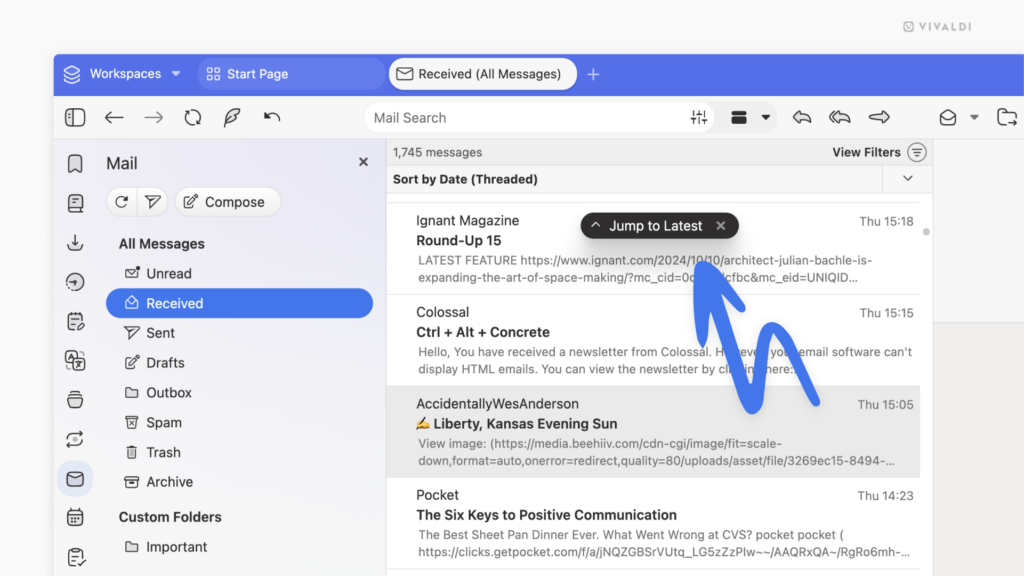
Vivaldi Mail‘s “Jump to Latest” button makes it easy to hop back to the most recent email with a single click.

The button is only visible when the newest emails are out of view. Whether the button is at the top or bottom of the list depends on whether you sort your mail in ascending or descending order.

Vivaldi Mail open on the list of emails. 
An arrow is pointing at the "Jump to Latest" button.

Tip #578

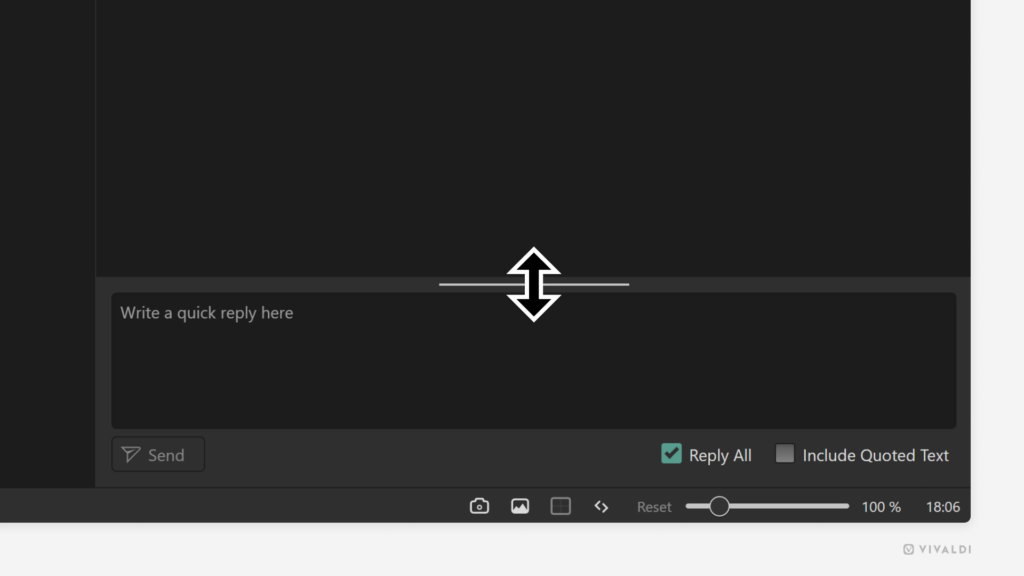
Click and drag to easily resize or minimize Vivaldi Mail’s Quick Reply.

Is your quick reply email getting longer than expected or do you temporarily want to hide it altogether?

To resize the Quick Reply field:

  1. Place the mouse cursor on the top edge of the Quick Reply section.
  2. Click and drag upwards to expand the area and downwards to make it smaller. Drag all the way down towards the bottom edge of the window to minimize it altogether.
Corner of the Vivaldi browser window showing the Quick Reply area in Vivaldi Mail. A mouse cursor is placed at the line that allows to resize Quick Reply.

Tip #562

Switch between Reply and Reply All as you’re drafting the email message.

When you’re writing a reply email, do you sometimes reassess and decide that instead of replying to just the sender you should send the email to all recipients or vice versa? Luckily, in Vivaldi Mail, you don’t need to discard the draft and start again.

To switch between Reply and Reply All:

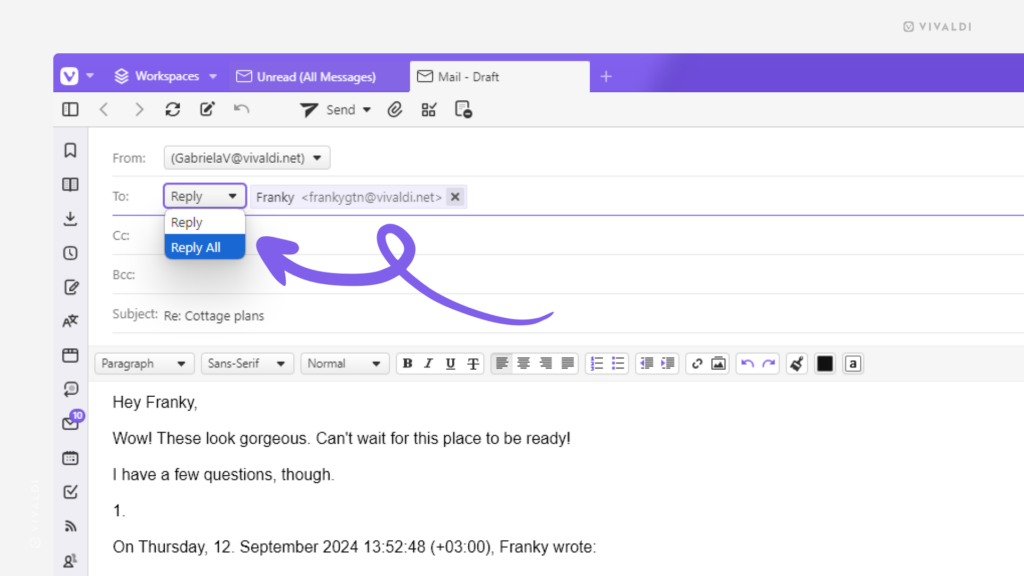
  1. Look to the “To” field in the email composer.
  2. Open the dropdown menu in front of the email address(es).
  3. Select Reply or Reply All/Reply List.
Vivaldi Mail's with an email draft open in the composer. An arrow is pointing at the dropdown menu where you can switch between Reply and Reply All.

Tip #550

Choose whether you want to see absolute or relative dates in Vivaldi Mail.

Like the browser, Vivaldi Mail can be customized to the smallest nuance. For example, you can display the received/sent date for all messages with an absolute timestamp (e.g. 26. August 2024) or use relative timestamps (e.g. Today, Friday) for more recent messages.

To make your choice:

  1. Go to Settings > Mail > Mail Settings > Mail View Layout.
  2. Enable/disable “Use Relative Dates”.

Tip #543

Get a sneak peek of the emails from previews in the Message List.

When dealing with a lot of mail, seeing the first few lines of the message can help to gauge the importance of the email – whether to open it immediately or leave it for later.

To adjust your preview settings:

  1. Go to Settings > Mail > Mail Settings > Message List Preview.
  2. Choose how many lines of text you want to see (0-3).

Also, make sure that “Download Messages to Generate Previews on Demand” is enabled and if you’re using a horizontal layout in Vivaldi Mail, disable “Only Show Message Preview in Vertical View”.

Vivaldi Mail with 2 lines of preview enabled for the Message List.

Tip #535

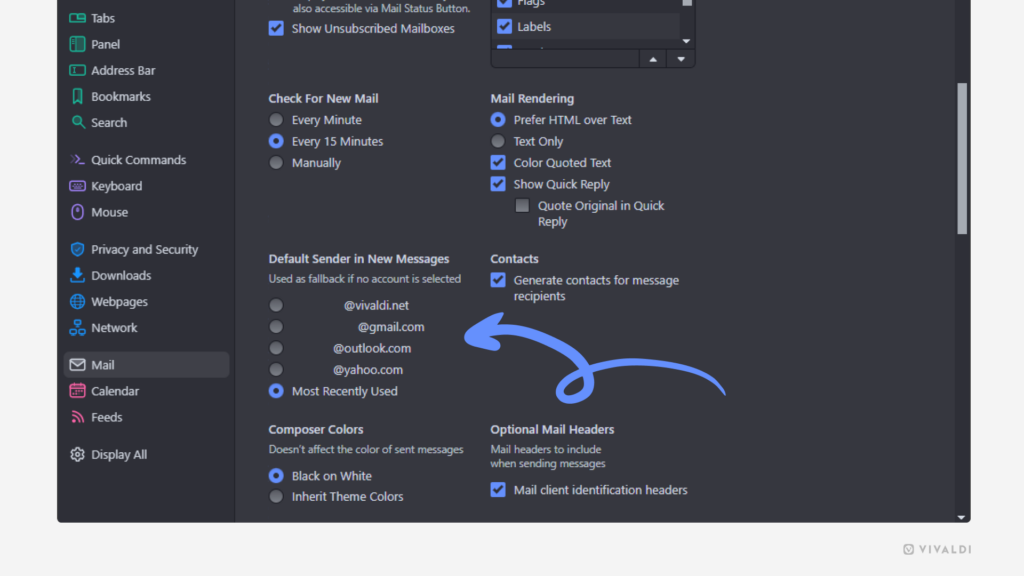
Pick a default sender email address for Vivaldi Mail.

If you tend to send more emails from one account than others, consider making it the default sender in Vivaldi Mail. That way, you don’t need to double-check with each new email you’re writing, from which address it’ll be sent.

To set a default sender in Vivaldi Mail:

  1. Go to Settings > Mail > Mail Settings > Default Sender in New Messages.
  2. Select your preferred email address.
Mail Settings with an arrow pointing to default mail sender setting.

Tip #529

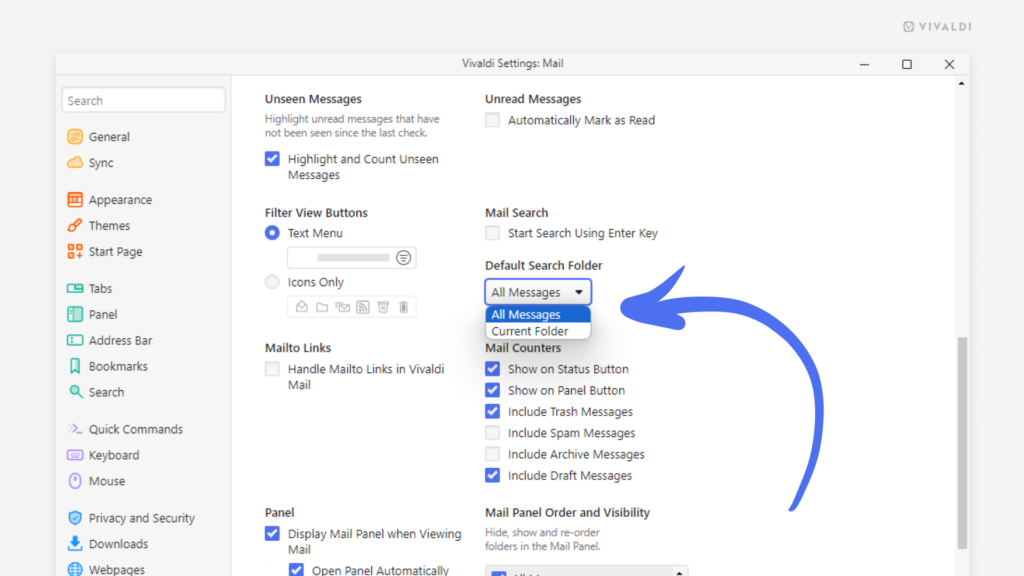
Pick the appropriate default search scope in Vivaldi Mail.

Do you prefer to start searching by casting a wide net and hoping the best result shows up that way or do you like to start small and expand if nothing good comes up? By changing the default search folder (All messages vs Current Folder) in Vivaldi Mail, you can tailor the mail client to match your style. If the default isn’t a good match for a particular search you can always adjust the scope in search filters.

To change the default search folder.

  1. Go to Settings > Mail > Mail Settings > Default Search Folder.
  2. Select whether to always search through all messages or only in the folder you currently have open.
Mail Settings with an arrow pointing at the Default Search Folder setting.

Tip #522

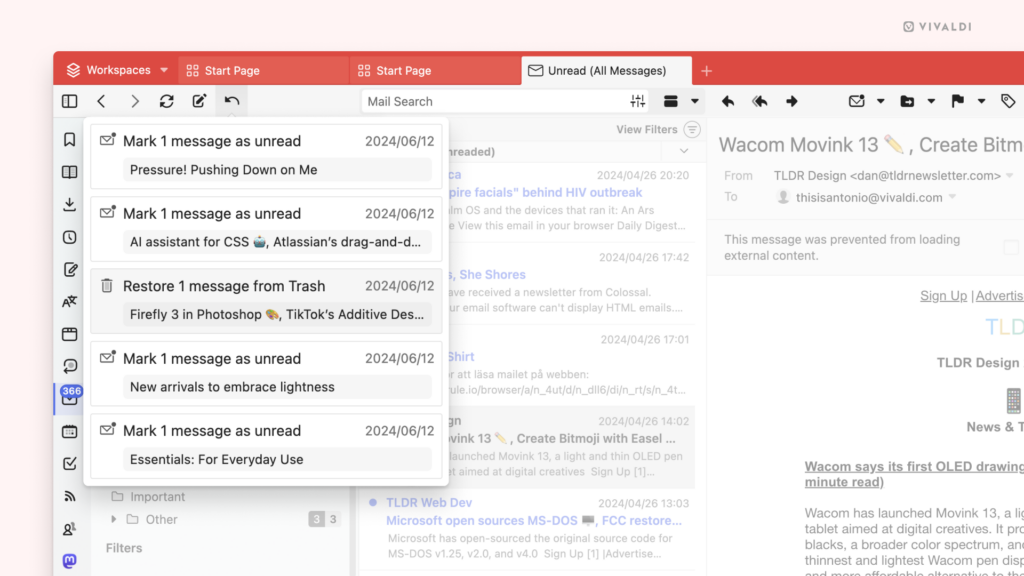
Undo accidental deleting and marking a message as read actions in Vivaldi Mail.

Did you unintentionally move an email to the Trash folder or did you change your mind about marking a message read? In Vivaldi Mail, you’ll find a menu listing your latest actions, so you can undo the ones you need.

To undo an action:

  1. Click the “Undo the Latest Mail Actions” button on the Mail toolbar.
  2. Select which message you want to restore to its previous state.
Undo menu in Vivaldi Mail.

Tip #513

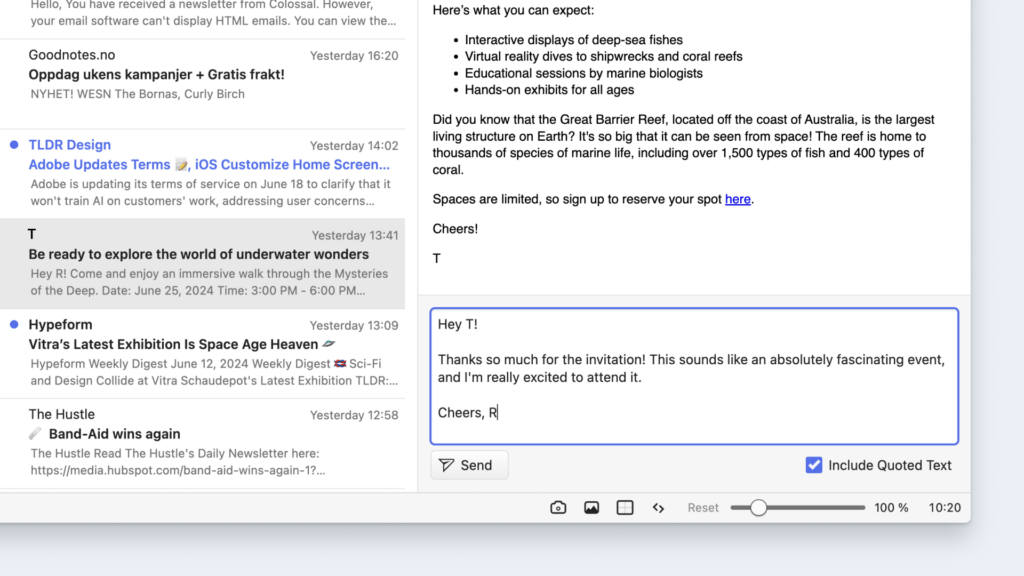
Skip Vivaldi Mail’s composer window and send a quick reply message right below the open email.

Vivaldi Mail’s Quick Reply is perfect for those fast, short replies, and feels like using an instant messenger. By removing the need to switch screens to open the composer window, this feature allows you to respond to emails more quickly.

To send a quick reply:

  1. Open the email message you want to reply to.
  2. Focus on the text field at the bottom of the message pane.
  3. Type your message.
  4. Click “Send”.
Vivaldi Mail with a message being typed in the Quick Reply field.

Tip #498

Give your accounts in Vivaldi Mail display names.

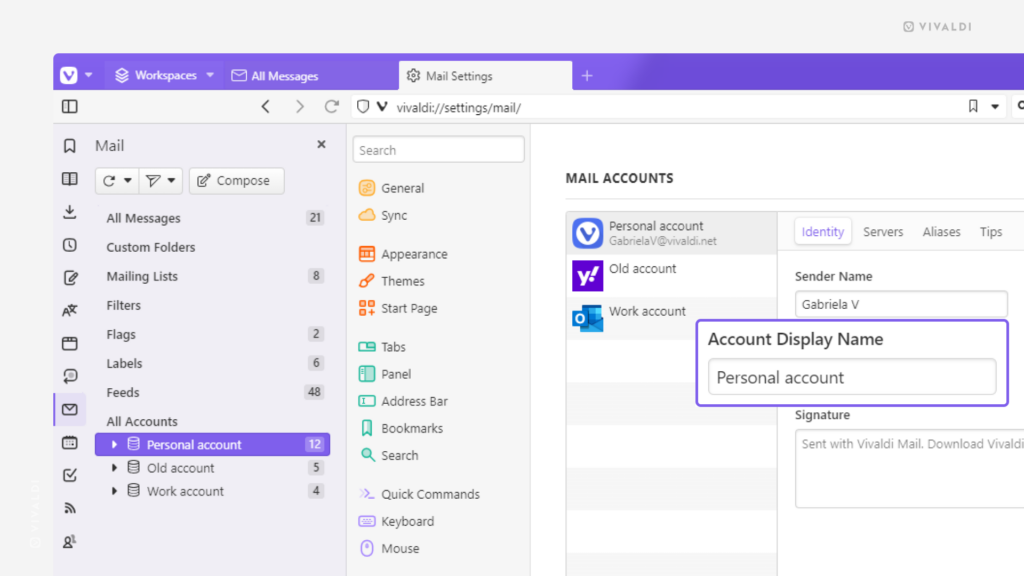
Vivaldi Mail helps you organize and manage all your mail accounts from a single location in the Vivaldi browser. To make it easier to differentiate your accounts, you can give each account a display name.

To add a display name to an account:

  1. Go to Settings > Mail > Mail Accounts.
  2. Select an account.
  3. Enter a name in the “Account Display Name” field.
Vivaldi browser window showing the Mail Panel and Mail settings.

Tip #493

Sort Vivaldi Mail messages by the criteria that makes the most sense for you.

You can change the sorting order of Mail messages separately in each view, but it’s always good to have a fitting default setting.

To change the default sorting order:

  1. Go to Settings > Mail > Mail Settings > Mail List Sorting.
  2. Select your preferred option:
    • Sort by Sender
    • Sort by Subject
    • Sort by Date Received
    • Sort by Date (Threaded)

Tip #490

Use search filters in Vivaldi Mail to find the message you’re looking for.

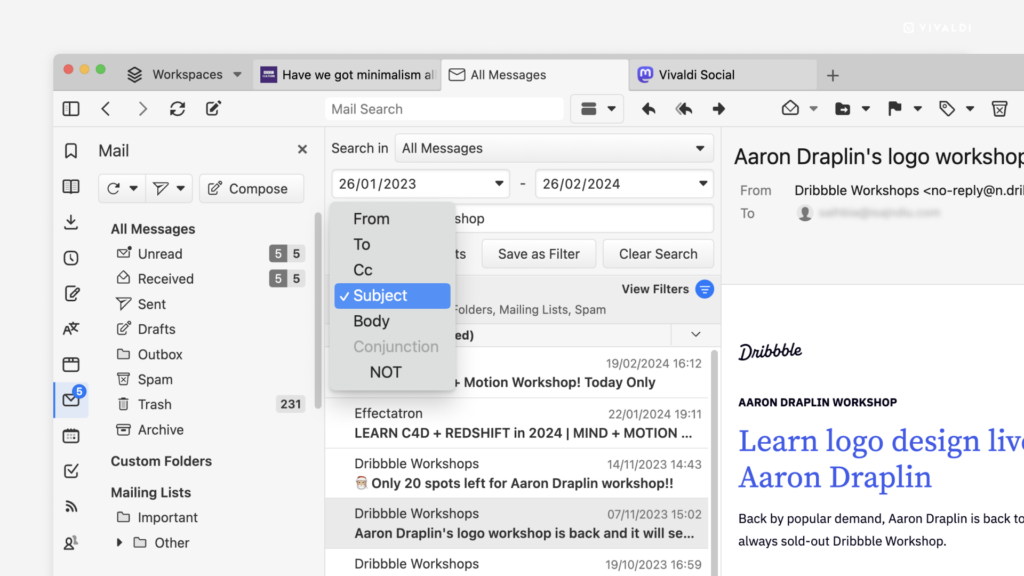
Scrolling through your long lists of messages isn’t really an option if you receive a lot of mail. That’s when the search field with its filters comes to the rescue helping you find the message you’re looking for.

To search for a message in Vivaldi Mail:

  1. Type something relevant to the message in the search field.
  2. Use the available filters to narrow down your search.

The options include:

  • Searching through all messages or specific accounts or folders.
  • Specifying the date range.
  • Looking for senders or recipients (From, To, CC).
  • Searching by the email subject.
  • Searching by something in the body of the message.
  • Showing only messages that include attachments.
  • Use the conjunction NOT to only find messages that do not match with the search keyword.
Vivaldi Mail with focus on the search section.